

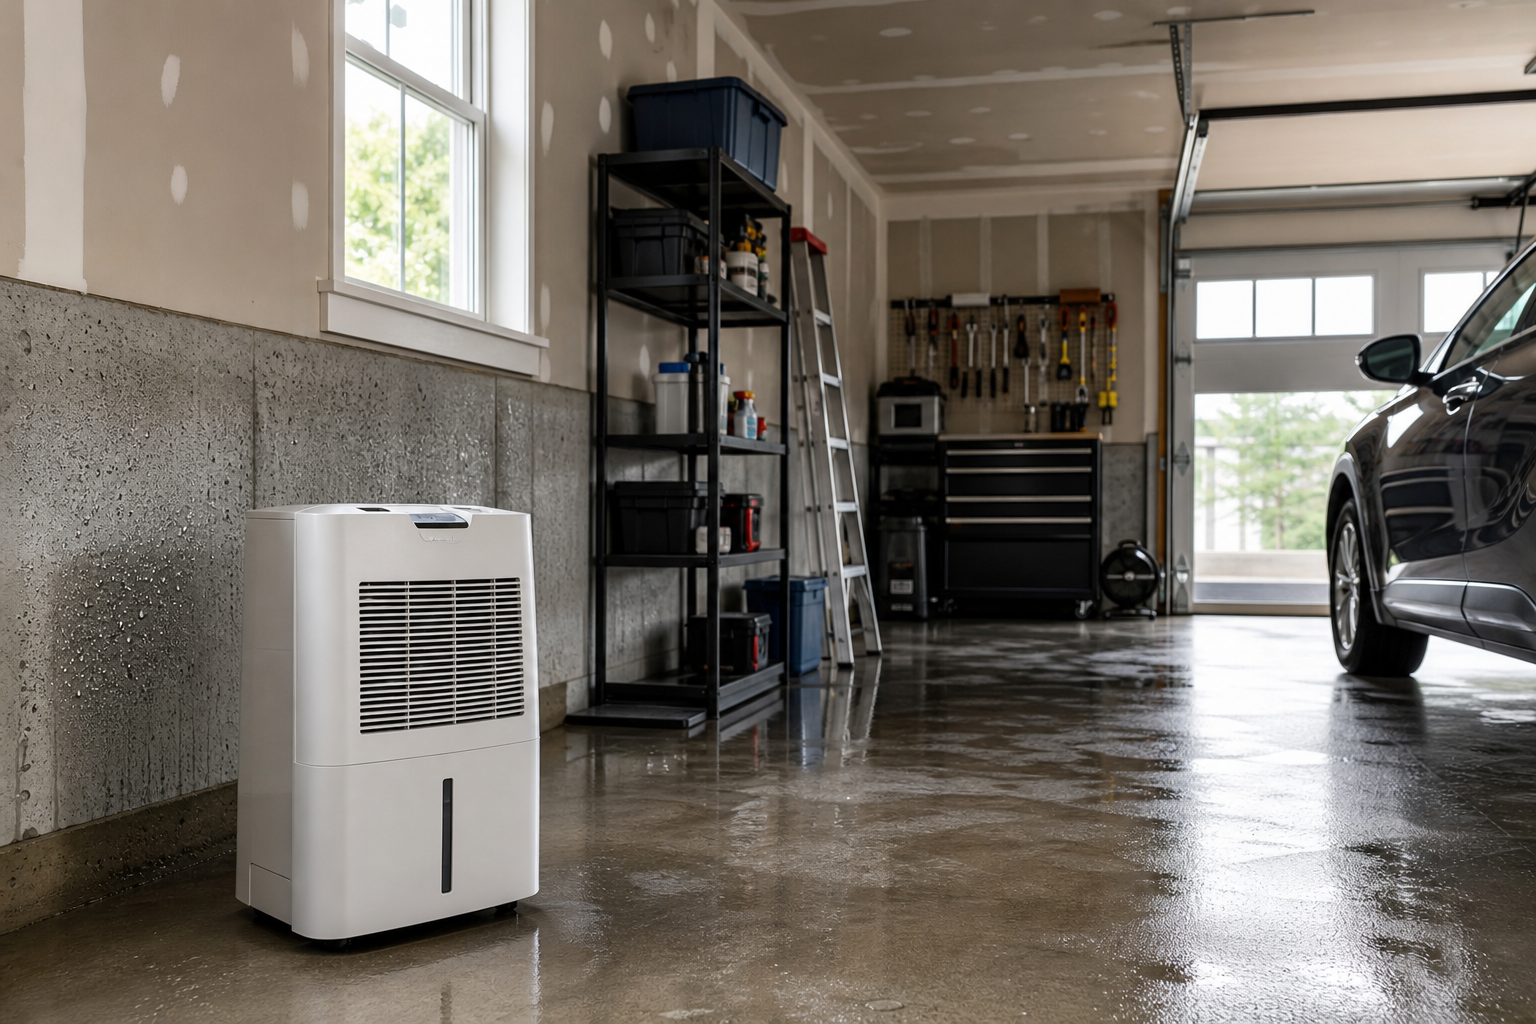
Dealing with a situation where garage humidity is too high is one of those garage frustrations that catches you off guard. Everything seemed fine until one day you notice condensation on tools, a musty smell, or worse, rust forming on your workbench. The reassuring truth is that these issues almost always trace back to identifiable causes with practical solutions.
This guide covers the most common culprits in diagnostic order, starting with the simplest checks. Most readers find their answer within the first few sections without needing a service call. We’ll walk through how to diagnose what’s actually happening in your space, then match the fix to the root cause.
Understanding the Basics
Humidity problems in garages stem from two distinct sources: condensation and vapor transmission. They look similar (both cause moisture) but require different fixes. Get the diagnosis wrong and you’ll throw money at a solution that doesn’t address your actual problem.
A simple plastic sheet test identifies which type you have. Tape a 2-foot square of plastic flat on the floor, seal all edges with duct tape, and leave it 48 hours. Moisture on top of the plastic means condensation. Humid air is hitting a cool surface and depositing water. Moisture underneath the plastic means vapor transmission. Water is coming up through the concrete slab itself. Different root cause, different fix.
Most garages have only passive ventilation, meaning air leaking around the garage door and whatever tiny gaps exist in the walls. That’s inadequate for any space where you’re running equipment, working up a sweat, parking wet vehicles, or storing anything that off-gases moisture. A single wall-mounted exhaust fan creates deliberate airflow that removes heat, moisture, and fumes. The improvement is immediate and dramatic.
Mount an exhaust fan high on the wall opposite the garage door for heat removal. Hot air collects at the ceiling; the fan pulls it out while cooler air enters through the open door or a low intake vent. A 1,400 CFM fan exchanges the air in a typical two-car garage (400 to 500 square feet with an 8-foot ceiling) every 3 to 4 minutes. That means moisture doesn’t have time to settle.
Placement matters. Install the fan at least six feet off the floor, ideally near a corner. Wire it to a switch inside the door so you can flip it on when you enter. Run it during and after activities that generate moisture: parking a snow-covered car, running a table saw that kicks up dust, painting, or just working in the space on a humid summer day.
Troubleshooting Condensation Issues
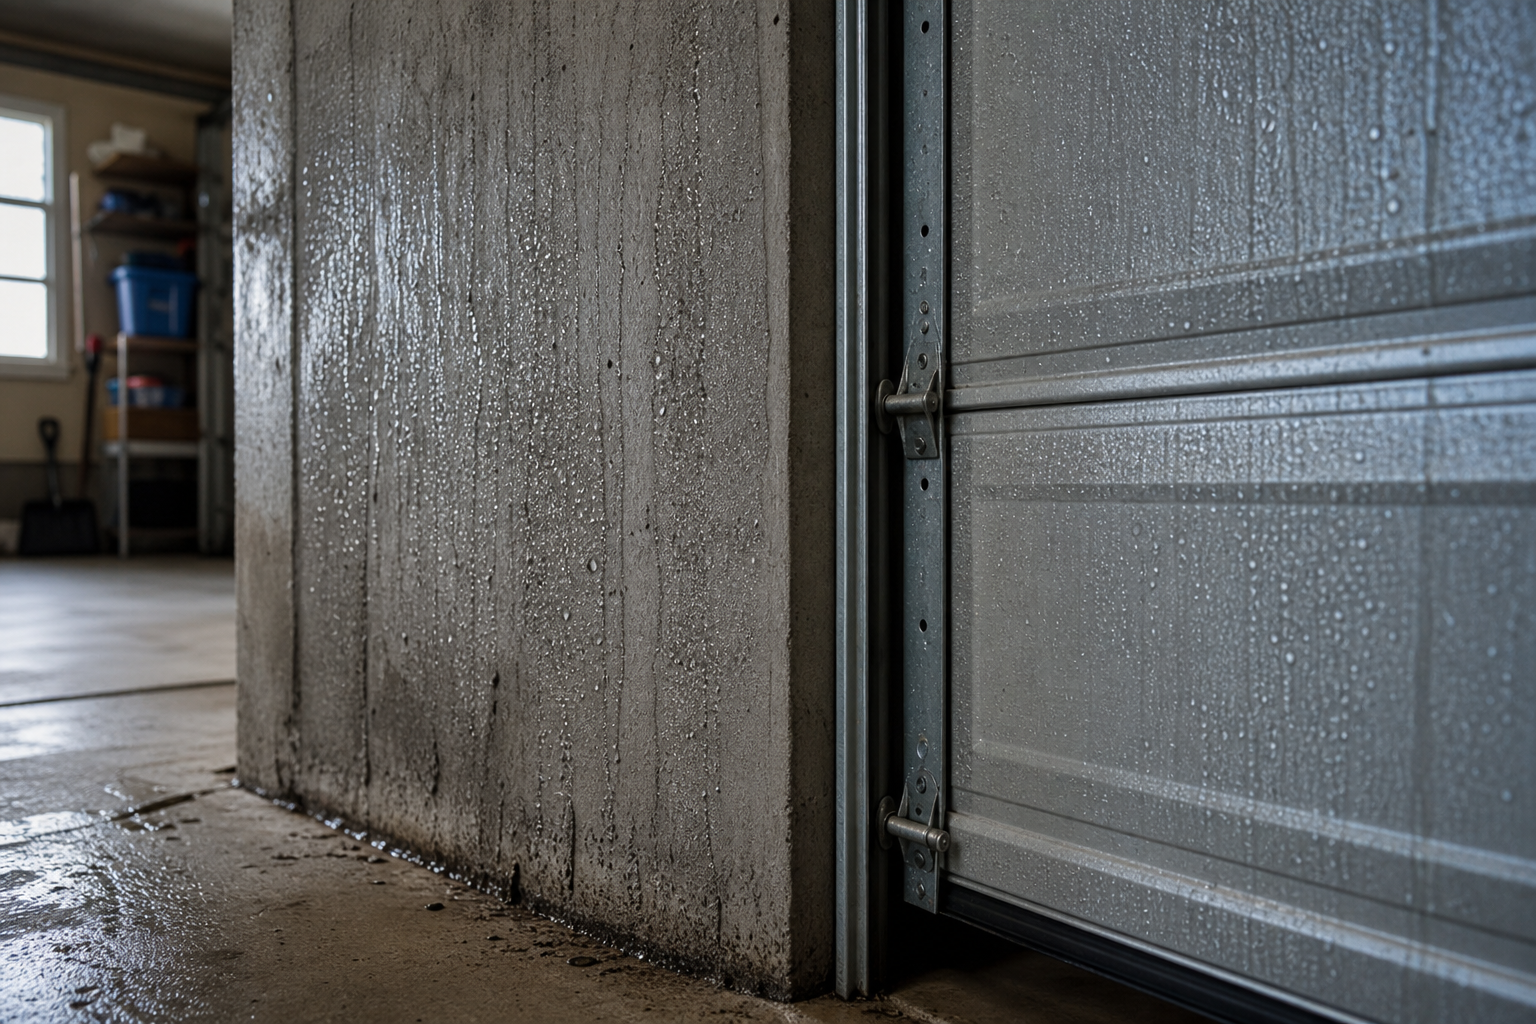
Condensation happens when warm, humid air hits a cooler surface. In a garage, the usual suspects are the concrete floor (which stays cool even when the air warms up), metal tools and surfaces, and the garage door itself on cold mornings.
The fix is controlling both temperature and moisture. You need to either warm the surfaces so they’re not condensation magnets, or remove enough moisture from the air that condensation can’t form even when temperatures vary.
A dehumidifier is the most direct solution for condensation. A 50-pint unit keeps relative humidity below 60% in most two-car garages, which is low enough to prevent condensation on all but the coldest surfaces. Choose a model with auto-defrost if your garage drops below 65 degrees in winter, since standard units ice up in cool conditions and stop working.
Place the dehumidifier in a central location, not shoved in a corner. It needs airflow on all sides to pull moisture efficiently. Set it to drain into a floor drain if you have one, or into a 5-gallon bucket if you don’t. A bucket fills fast, expect to empty it every day or two during humid months.
Run the dehumidifier continuously during humid seasons (late spring through early fall in most climates). The cost is noticeable but not outrageous. A 50-pint unit pulls around 300 watts, so running it 24/7 costs roughly competitively priced to competitively priced a month depending on your electric rate. That’s cheaper than replacing rusted tools or dealing with mold.
Pair the dehumidifier with ventilation for best results. Crack the door or a window during dry weather to let moisture-heavy air escape and drier air replace it. Seal the door tight during rainy or very humid conditions so you’re not fighting a losing battle against outside air.
Insulating the garage door reduces condensation on the door itself. An insulated door stays closer to room temperature, which means less surface area where moisture can condense. Retrofit kits exist for most standard doors and install in an afternoon. You’ll see immediate results on cold mornings.
Addressing Vapor Transmission Through the Slab
Vapor transmission is moisture moving up through the concrete slab from the ground underneath. This happens when the slab was poured without a vapor barrier, or when the existing barrier has failed. It’s more common in older garages and in regions with high water tables.
Vapor transmission requires a penetrating concrete sealer, silane or siloxane based, that blocks moisture migration through the slab. These sealers soak into the concrete and chemically bond within the pores, creating a barrier that water vapor can’t cross. They don’t sit on the surface like a coating; they become part of the concrete.
Apply penetrating sealer to clean, dry concrete. That “dry” requirement is tricky when you’re dealing with a slab that’s constantly damp. You may need to run a dehumidifier and fans for several days to get the surface dry enough for the sealer to penetrate. Check the manufacturer’s instructions for acceptable moisture levels, most require the slab to be below 12% moisture content before application.
Clean the concrete thoroughly before sealing. Sweep, then scrub with a concrete degreaser to remove oil, dirt, and any existing coatings. Rinse well and let it dry completely. Any contamination on the surface blocks sealer penetration and undermines the whole job.
Apply the sealer according to the manufacturer’s rate. Don’t thin it, don’t apply it thicker than specified, don’t skip the second coat if the instructions call for two coats. Formulations differ between brands; what works for one product can cause failure with another. If the data sheet says 4 hours between coats at 60 degrees minimum, those numbers aren’t suggestions.
Severe cases may need a dedicated vapor barrier coating or membrane system before any decorative finish. These are topical barriers that sit on the surface rather than penetrating. They’re more expensive and require pristine surface prep, but they stop vapor transmission completely when applied correctly. Expect to hire this out, these systems need specialized equipment and expertise.
A quality concrete moisture meter makes a noticeable difference in results. You’re not guessing whether the slab is dry enough; you’re measuring.
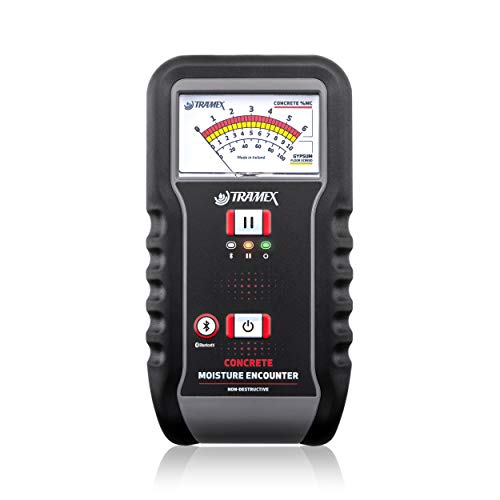
Concrete Moisture Meter
Essential for confirming slab dryness before sealer application
Ventilation Strategies That Actually Work
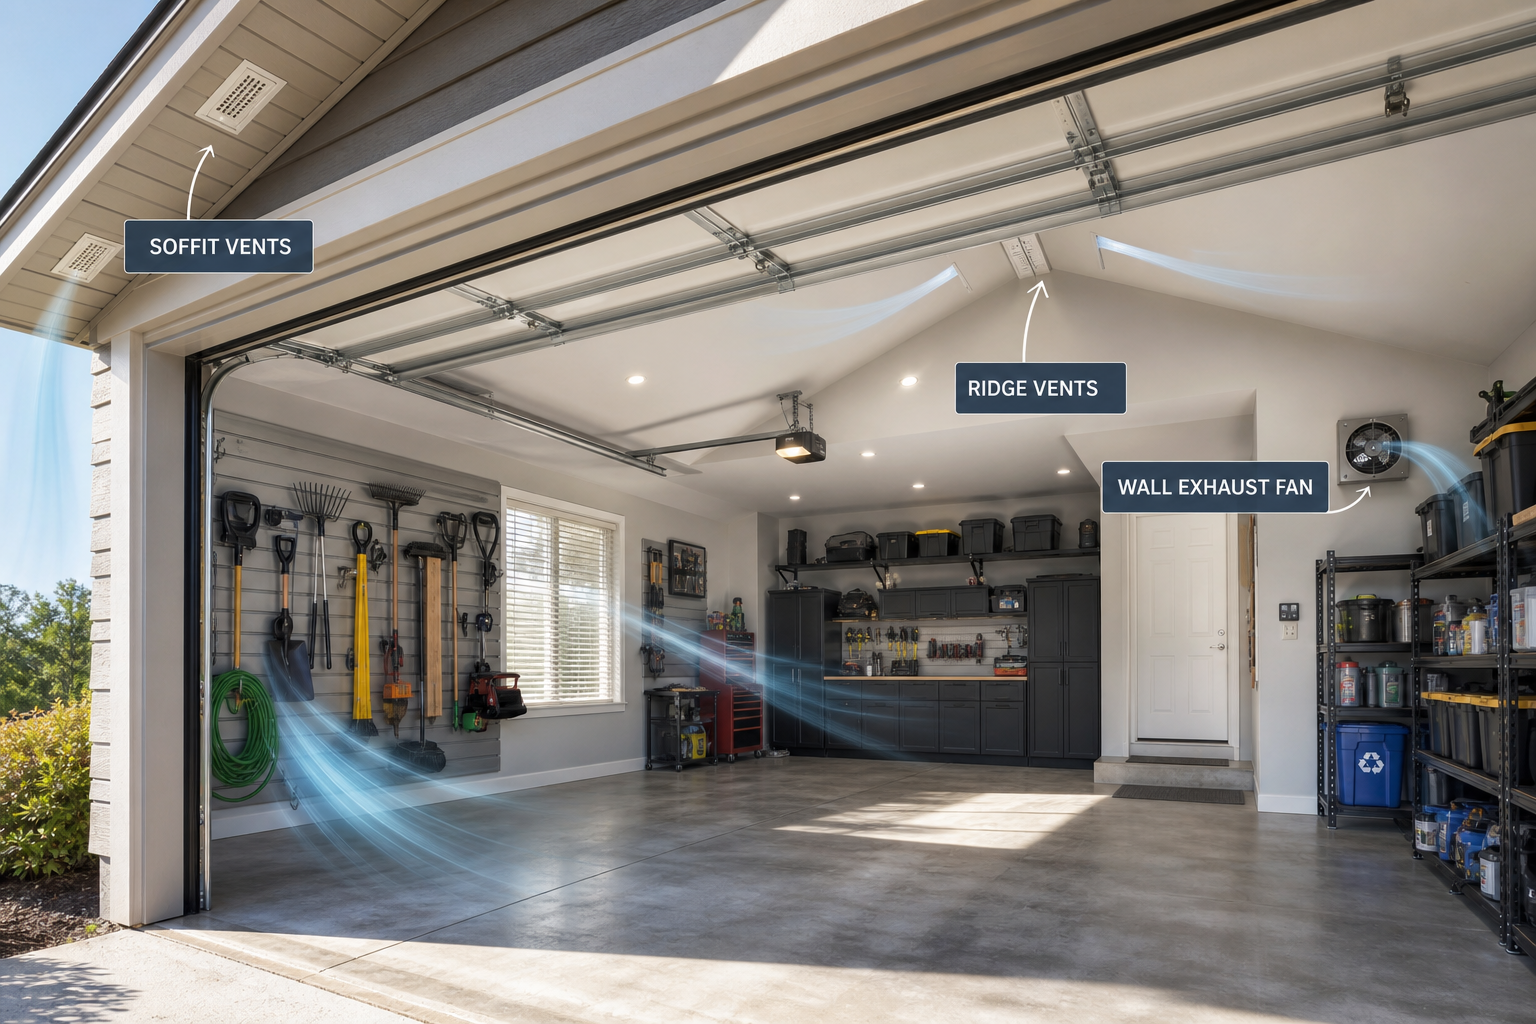
Ventilation isn’t just cracking a window and hoping for the best. Effective ventilation means creating intentional airflow that moves moisture out and brings drier air in. You need both an intake and an exhaust, and they need to be positioned so air actually moves through the space instead of swirling around in one spot.
The simplest setup is an exhaust fan opposite the garage door with the door itself cracked a few inches as the intake. The fan pulls humid air out; replacement air enters through the gap at the bottom of the door. This creates a continuous flow that sweeps the entire space.
Add a powered intake vent on the opposite wall from the exhaust if you want to keep the garage door closed. This is useful in winter when you’re heating the space or in summer when you’re running a portable AC unit. The intake pulls in outside air; the exhaust pulls it back out after it’s moved through the garage. Size the intake to match the exhaust fan’s CFM rating so you’re not creating negative pressure.
Don’t undersize your exhaust fan. A small fan runs constantly and still can’t keep up. Calculate your garage volume (length × width × height in feet), then choose a fan rated for at least 8 to 10 air changes per hour. For a 20 × 20 × 8 garage (3,200 cubic feet), that’s a fan rated for at least 430 CFM. Going bigger is fine; you can always dial it down with a speed controller.
Position matters as much as size. Mount the fan at the highest practical point on the wall opposite your main entry. Hot, humid air rises and collects at the ceiling. The fan pulls it out before it has a chance to condense on cooler surfaces below. A fan mounted low on the wall just recirculates air in the lower half of the space while the humid air stays trapped above.

Ridge vents and gable vents help if your garage has an attic space or a peaked roof. These passive vents allow hot air to escape without a powered fan. They’re not enough on their own, but they reduce the load on your exhaust fan and improve overall air circulation.
Run your exhaust fan on a timer or a humidistat controller. A timer runs the fan for a set period after you leave the garage, say, 30 minutes to clear out moisture from a recently parked car. A humidistat switches the fan on automatically when humidity climbs above your setpoint (usually 60%) and switches it off when humidity drops back down. Both options are cheap and prevent you from forgetting to run the fan manually.
Climate-Specific Approaches
Four-season climates need different strategies than warm-humid or dry-desert climates. What works in Arizona fails in Michigan, and what’s essential in Florida is overkill in Colorado.
Cold-winter regions deal with thermal shock. Bringing a snow-covered car into a garage that’s even slightly warmer than outside instantly dumps moisture into the air as snow melts. The fix is ventilation plus heat. Run your exhaust fan for at least 20 minutes after parking a wet vehicle. If you heat your garage, crack the door to exhaust moisture-heavy air rather than letting it condense on cold surfaces overnight.
Warm-humid climates (think Gulf Coast, Southeast) fight constant moisture infiltration from outside air. A dehumidifier runs nearly year-round in these regions. Seal the garage tight, weatherstrip the door, seal gaps around windows, caulk penetrations where utilities enter. You’re creating a controlled environment and defending it against outside humidity rather than relying on ventilation to fix the problem.
Dry climates rarely see humidity problems unless water is entering from an unusual source: a leaking water heater, a clothes dryer venting into the garage, or groundwater coming up through a slab. Fix the source and the problem disappears. A dehumidifier is usually unnecessary.
Transitional seasons (spring and fall) cause problems everywhere because temperatures swing. The slab stays cool while the air warms up during the day, creating perfect condensation conditions. Run ventilation during the warmest part of the day to expel humid air, then close up at night when temperatures drop.
Equipment and Tools Worth the Investment

A good hygrometer monitors humidity so you know when intervention is needed. Digital models with remote sensors let you check garage conditions from inside the house. Set the sensor in a central location at eye level, not on the floor or right next to the door where readings won’t represent the whole space. Expect to check current pricing on Amazon for a reliable unit.
A wet/dry vacuum with a long hose reaches condensation puddles and helps clean up before applying sealers or coatings. You’ll use it for other garage tasks too, cleaning sawdust, vacuuming out the car, picking up spills. Choose a model with at least a 6-gallon tank and a 5-horsepower motor for adequate suction.
Invest in quality tools for tasks you’ll repeat. A reliable stud finder, a good level, a quality tape measure, and proper safety gear (eye protection, hearing protection, respirator) make every project easier and safer. These tools pay for themselves across multiple projects over the years.
Practical Planning Tips
Before starting any garage project, take stock of what you have and what you need. Walk the space with a tape measure and a notepad. Record dimensions, note existing electrical outlets and their amperage, check for moisture issues with the plastic sheet test, and photograph anything you want to change. This baseline assessment prevents surprises mid-project and helps you budget materials accurately.
Consider the seasonal timing of your humidity fix. Installing an exhaust fan or applying concrete sealer is easier in mild weather (50 to 80 degrees). Dehumidifiers work best when installed before humid season starts, not in the middle of a crisis. Addressing humidity in spring sets you up for a dry summer; tackling it in fall prepares you for winter condensation.
Factor in maintenance when choosing your approach. A dehumidifier needs its filter cleaned monthly and its coils vacuumed seasonally. An exhaust fan should be dusted twice a year and the motor lubricated if it’s not a sealed bearing unit. Penetrating sealers need reapplication every 3 to 5 years. The lowest-maintenance option isn’t always cheapest initially, but it usually wins over a 5 to 10-year window when you include touch-ups, repairs, and replacements.
Prioritize your projects based on impact and urgency. Moisture problems that risk structural damage (water infiltration through the foundation, failing slab vapor barriers) come first. Comfort improvements (dehumidification, better ventilation) come second. Cosmetic upgrades (floor coatings, paint, organization systems) come last. Following this order ensures you’re building each improvement on a solid foundation rather than putting nice finishes over a moisture problem that’ll ruin them.
Common Mistakes to Avoid
Rushing surface prep is the number one cause of failed concrete sealer applications. If you’re applying a penetrating sealer to stop vapor transmission, the concrete must be clean and dry. Oil stains, old coatings, dirt, and moisture all block penetration. Spend the time to prep properly or accept that you’ll be doing this job twice.
Undersizing your dehumidifier seems like a money-saving move but costs more in the long run. A 30-pint unit struggling to keep up in a large two-car garage runs constantly, uses more electricity than a properly sized 50-pint unit cycling on and off, and still doesn’t maintain target humidity. Buy once, buy right.
Ignoring the root cause leads to endless frustration. If you’re running a dehumidifier constantly and humidity stays high, you have a ventilation problem or an active water source the dehumidifier can’t overcome. If you sealed the slab but still see moisture, the sealer either wasn’t applied correctly or you’re dealing with condensation instead of vapor transmission. Step back, retest, and confirm what’s actually happening before throwing more money at the problem.
Mixing ventilation strategies creates conflicts. Don’t run an exhaust fan and a dehumidifier simultaneously. The fan pulls in humid outside air faster than the dehumidifier can dry it. Choose one approach based on your climate and stick with it. Ventilation works when outside air is drier than inside air. Dehumidification works when outside air is humid and you’re keeping it out.
When to Call a Professional
DIY covers most of what’s
