

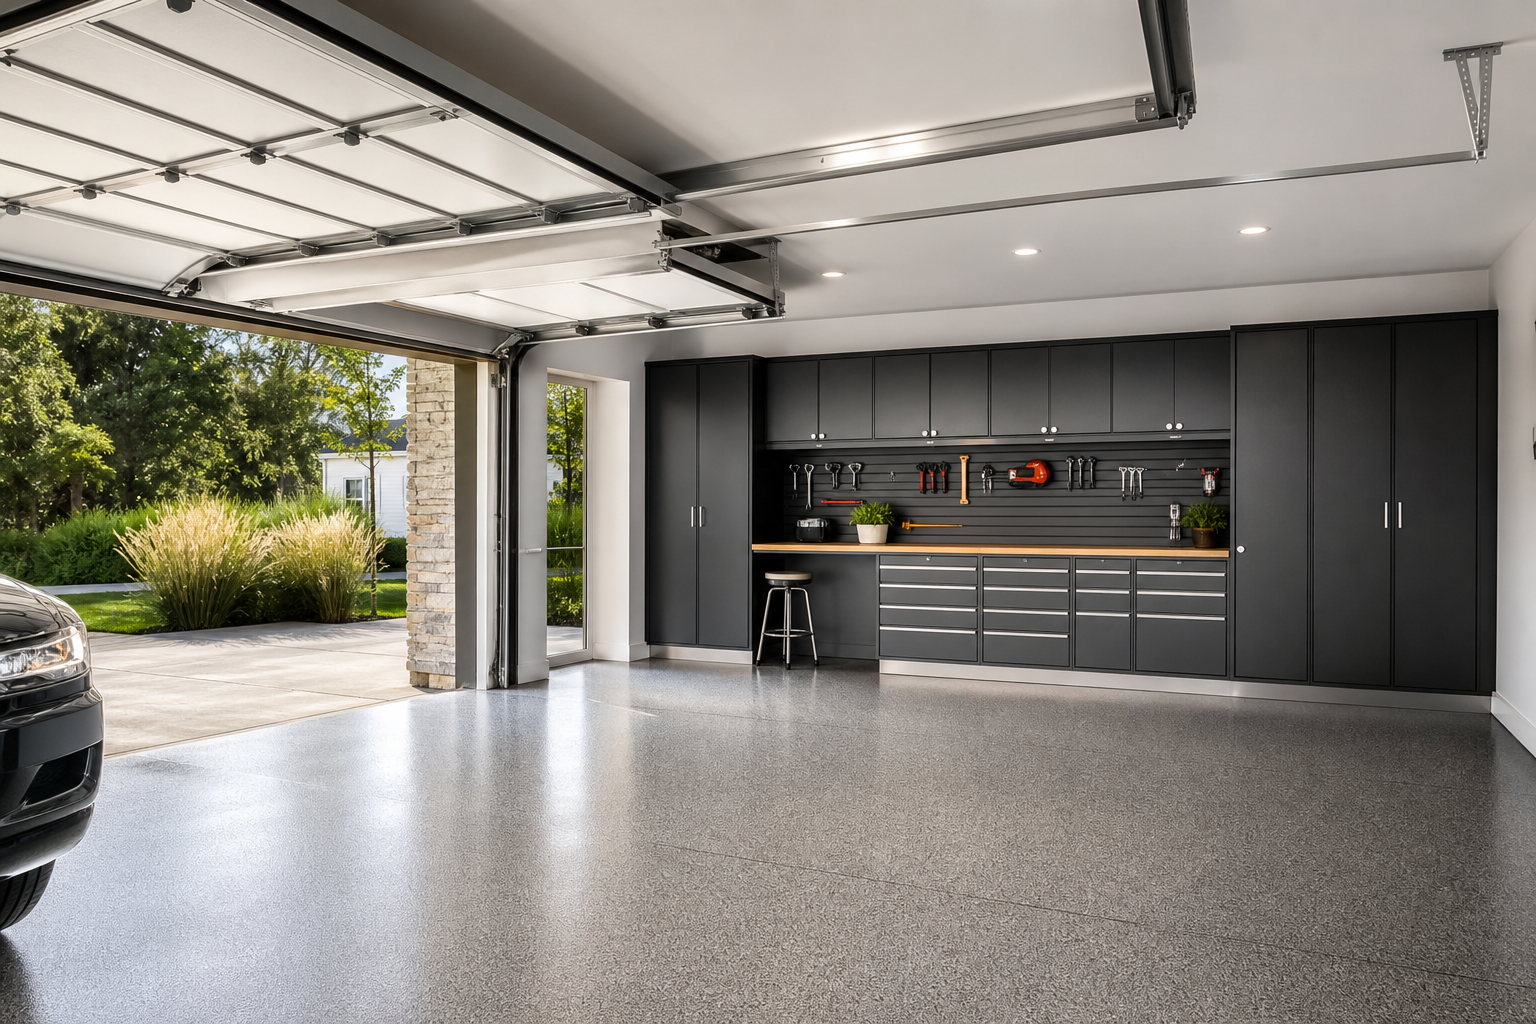
A full garage renovation ranges from competitively priced to competitively priced for a typical two-car space, with most homeowners spending competitively priced to competitively priced. That wide range comes down to scope: are you coating the floor and adding shelves, or are you insulating, rewiring, installing climate control, and building a full workshop? The real number depends on which problems you’re solving and how much you’re willing to do yourself.
Below, you’ll find detailed breakdowns for each component of a garage renovation, realistic cost ranges based on DIY versus professional installation, and the factors that push projects toward the high or low end of the spectrum.
Understanding the Basics
A full renovation touches multiple systems: flooring, walls, ceiling, electrical, storage, lighting, insulation, and sometimes HVAC. Treating these as separate line items rather than a single lump sum makes planning easier and helps you phase the work if budget is tight.
Start with structural and safety issues. Fix cracks in the slab, repair faulty wiring, address moisture problems, and ensure the garage door operates safely. Building cosmetic improvements on top of unresolved foundation issues wastes money. A floor coating won’t fix a slab that’s heaving from poor drainage. New drywall won’t solve a mold problem caused by missing vapor barrier.
Phasing the project over several months spreads the cost and lets you learn as you go. Tackle electrical and insulation first (both require open walls), then move to drywall and paint, then flooring, and finish with storage and organization. This sequence minimizes rework and keeps each phase manageable.
DIY can cut total costs by 40 to 60 percent, but only on tasks that match your skill level. Hanging drywall, painting, installing slatwall accessories, and applying floor coatings are reasonable DIY projects for someone comfortable with tools and willing to follow instructions carefully. Electrical panel upgrades, structural modifications, and HVAC installation usually require licensed professionals. Mixing DIY and hired work strategically keeps costs down without sacrificing safety or quality.
Floor Coating (competitively priced-competitively priced)
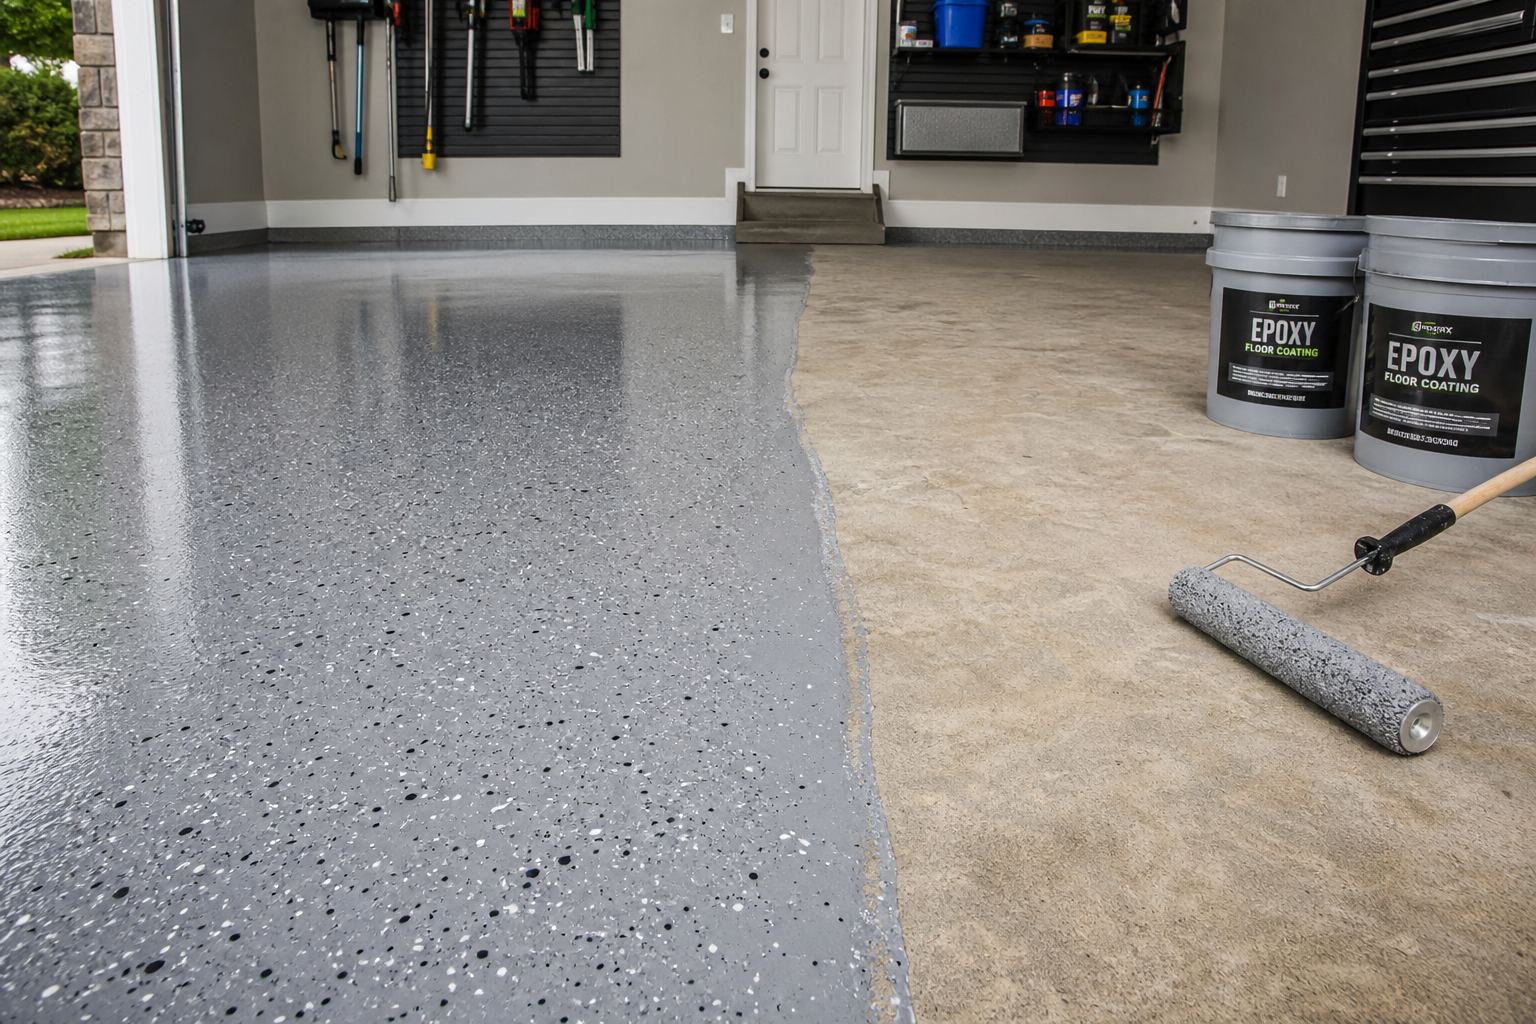
Floor coating is the most visible part of most garage renovations. Budget single-part epoxy kits run competitively priced to competitively priced for a two-car garage and last three to five years under normal use. Mid-range two-part epoxy systems competitively priced to competitively priced in materials and hold up for seven to ten years. Premium polyaspartic or polyurea coatings installed by professionals run competitively priced to competitively priced but deliver fifteen to twenty years of performance with better UV resistance, faster cure times, and superior chemical resistance.
Surface preparation drives roughly 80 percent of a coating’s long-term performance. Concrete needs a CSP 2 to 3 surface profile for proper adhesion. Diamond grinding achieves this reliably. Acid etching is a budget alternative on clean, unsealed concrete but creates a lighter profile that’s less durable in high-traffic areas.
Never shortcut cure time. Most two-part epoxies need 24 hours for foot traffic, 72 hours for heavy use, and seven days before vehicle parking. Polyaspartic systems cure faster, often allowing vehicles within 24 hours. Parking too early causes tire marks, soft spots, or full sheet delamination.
Apply coatings when temperatures are falling, not rising. Warming concrete expels trapped air through the wet coating (outgassing), creating bubbles. Evening application avoids this. Most epoxies perform best between 55 and 85 degrees Fahrenheit with the slab surface in the same range.
Start with a small test area if you’re uncertain. A 4 by 4-foot section in an inconspicuous spot lets you evaluate adhesion, appearance, and workability without committing to the full project. Troubleshooting a small test area is far easier than redoing everything.
For proper floor preparation, sealing your garage floor before applying epoxy is crucial for long-lasting results.
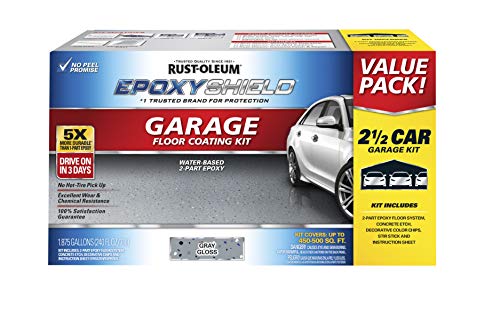
Garage Floor Epoxy Coating Kit
Professional-grade results at DIY prices with excellent durability
Understanding Epoxy Chemistry
Two-part epoxy creates a chemical bond far stronger than any single-can product. When resin and hardener mix, cross-linking produces a dense, chemical-resistant surface. This reaction is sensitive to temperature, humidity, and mixing ratios, making adherence to the data sheet critical.
Pot life varies by product: 30 to 60 minutes for standard epoxies, as little as 10 to 15 minutes for polyaspartic coatings. Plan your approach before mixing and work in manageable sections so you never feel rushed near the end of a batch.
Wall Finish and Paint (competitively priced-competitively priced)
Bare studs or old pegboard aren’t doing you any favors. Finishing the walls makes the space cleaner, brighter, and easier to organize. Drywall runs competitively priced to competitively priced per square foot installed, including mud, tape, and primer. A typical two-car garage has roughly 500 square feet of wall area, putting professional drywall installation competitively priced to competitively priced. DIY cuts that to competitively priced to competitively priced in materials.
For DIY installations, our guide on garage drywall finishing tips for beginners covers essential techniques for professional-looking results.
Primed drywall needs two coats of paint. Semi-gloss or satin latex in white or light gray reflects light well and cleans easily. Budget competitively priced to competitively priced for paint and supplies if you’re doing it yourself. Professional painters charge competitively priced to competitively priced per square foot, adding competitively priced to competitively priced to the total.
Slatwall or FRP (fiberglass reinforced panels) are alternatives to drywall in garages that see heavy use or need flexible storage. Slatwall panels run competitively priced to competitively priced per square foot and accept a wide range of hooks, baskets, and shelves. FRP competitively priced to competitively priced per square foot and resists moisture, stains, and impacts better than drywall. Both install over studs or existing drywall and provide a finished look with built-in utility.
Storage Systems (competitively priced-competitively priced)
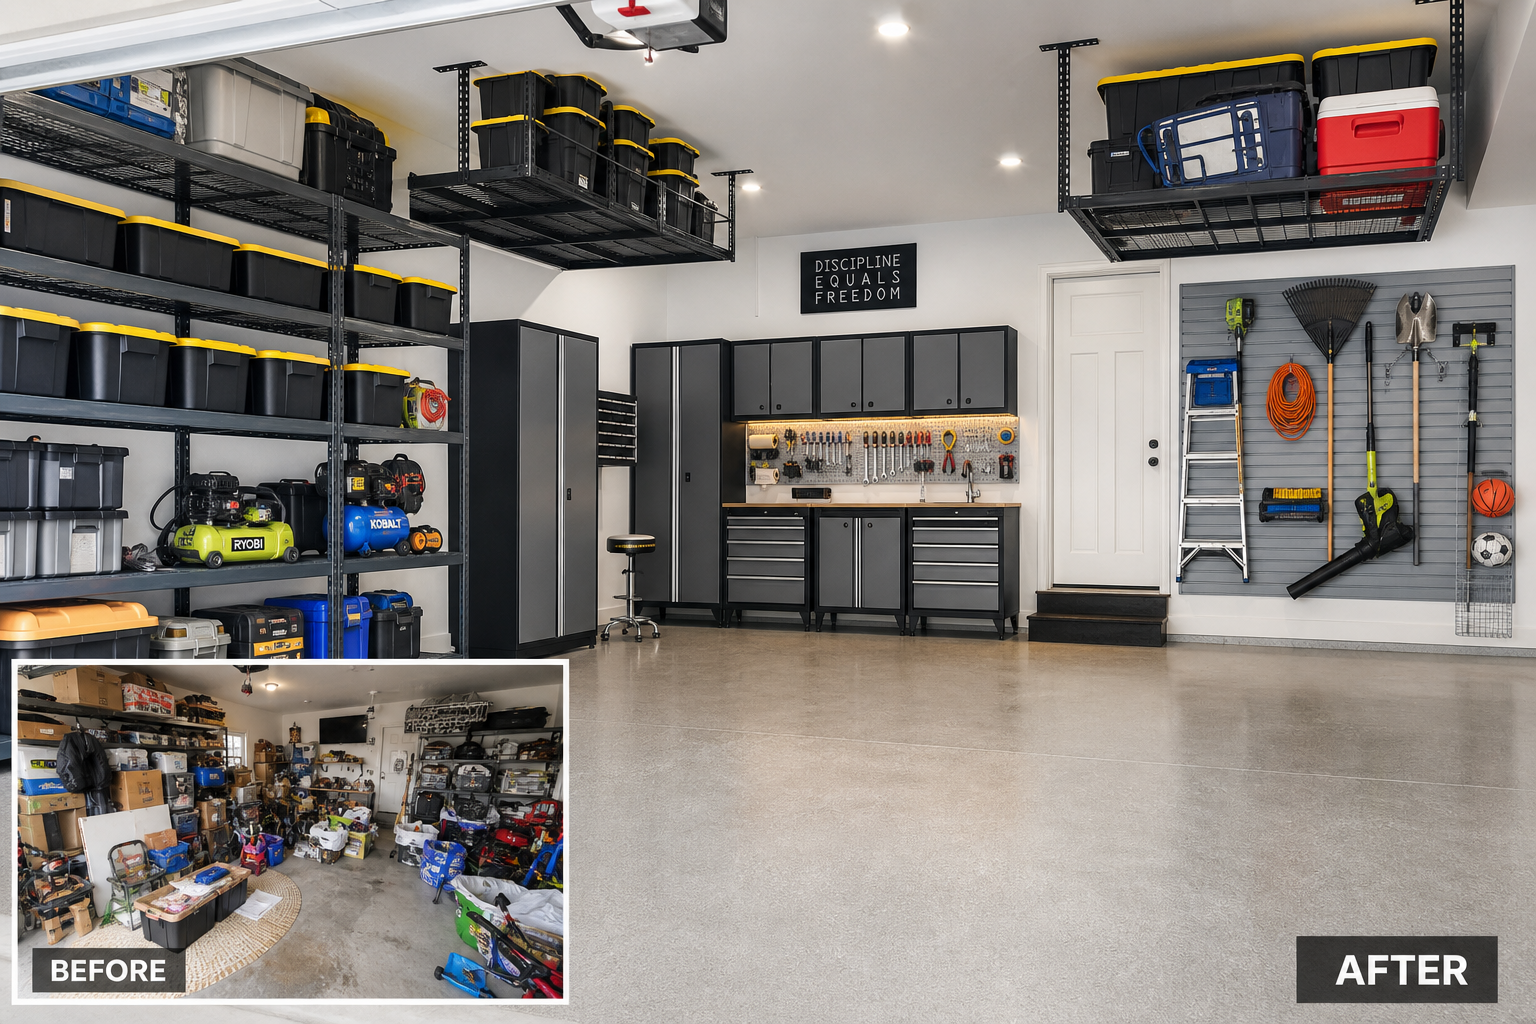
Storage transforms a garage from a junk pile into a functional workspace. Overhead racks, wall-mounted systems, cabinets, and shelving all play a role depending on what you’re storing and how much floor space you’re willing to give up.
Overhead storage racks competitively priced to competitively priced for ceiling-mounted units that hold seasonal items, camping gear, or bins of holiday decorations. These keep bulky, infrequently used items out of the way without eating into wall or floor space. Installation takes two to four hours for someone comfortable with a drill and a ladder.
For heavy-duty overhead storage solutions, consider motorized ceiling storage lifts that make accessing stored items much easier.
Wall-mounted slatwall or pegboard systems run competitively priced to competitively priced depending on coverage area and accessories. Slatwall is stronger and cleaner-looking than pegboard but costs more. Pegboard is the budget option and works fine for lighter tools and small items. Both systems let you reconfigure storage as needs change without drilling new holes.
Freestanding cabinets and workbenches range from competitively priced for basic steel cabinets to competitively priced for custom-built hardwood workbenches with integrated storage and power. Off-the-shelf options from big-box stores land in the middle: competitively priced to competitively priced for a decent set of base cabinets and a work surface that handles typical garage tasks.

Lighting Upgrade (competitively priced-competitively priced)
Most garages come with a single porcelain fixture and a 60-watt bulb. That’s not enough light for detail work, and it leaves corners dark. Upgrading to LED shop lights or integrated fixtures makes the space usable for more than parking.
LED shop lights competitively priced to competitively priced each and deliver 4,000 to 8,000 lumens per fixture. A two-car garage needs four to six fixtures for even coverage at 50 lumens per square foot, putting total cost competitively priced to competitively priced in materials. Installation is simple: most units daisy-chain together and plug into a standard outlet, though hardwiring them to a switch provides cleaner results.
Recessed LED panels or flush-mount fixtures run competitively priced to competitively priced each and require hardwiring. Budget competitively priced to competitively priced for materials and installation if you’re hiring an electrician to add circuits and mount fixtures. These look cleaner than shop lights and distribute light more evenly, but they take longer to install and cost more upfront.
Task lighting at the workbench is separate from general lighting. A dedicated 300-lumen-per-square-foot light over the work surface eliminates shadows and makes precision work easier. Under-cabinet LED strips or adjustable desk lamps handle this competitively priced to competitively priced.
For workspace lighting, check out our guide to the best garage workbench lighting solutions to eliminate shadows and improve visibility.
Insulation (competitively priced-competitively priced)
Insulation makes a garage usable year-round in cold climates and keeps it cooler in summer heat. Fiberglass batts competitively priced to competitively priced per square foot and fit between studs. Spray foam competitively priced to competitively priced per square foot but seals gaps better and delivers higher R-value per inch.
A two-car garage with 500 square feet of wall area and 400 square feet of ceiling needs roughly 900 square feet of insulation. Fiberglass batts run competitively priced to competitively priced in materials. Spray foam competitively priced to competitively priced installed. Most homeowners choose batts for walls and either skip ceiling insulation or add a layer of rigid foam board competitively priced to competitively priced per square foot.
Insulating the garage door itself makes a bigger difference than most people expect. Retrofit kits competitively priced to competitively priced and cut heat loss through the door by 30 to 50 percent. Installation takes an hour and requires nothing more than a utility knife and spray adhesive.
Electrical Work (competitively priced-competitively priced)
Adding circuits, outlets, and dedicated lines for tools or EV chargers is common in a full renovation. Running a new 20-amp circuit competitively priced to competitively priced per circuit if you’re hiring an electrician. Installing a subpanel to handle multiple new circuits runs competitively priced to competitively priced. A 240-volt line for a welder, air compressor, or EV charger competitively priced to competitively priced depending on distance from the main panel and whether the run is surface-mounted conduit or fished through walls.
For EV owners, our garage EV charging station installation guide covers the electrical requirements and installation process in detail.
GFCI outlets are required in garages. They competitively priced to competitively priced each and trip when they detect a ground fault, preventing shocks. Standard 15-amp outlets run competitively priced to competitively priced each, but code requires GFCI protection in garage locations.
When you’re opening walls for insulation or drywall, that’s the time to add outlets and lighting circuits. Fishing wire through finished walls costs more and takes longer.
Climate Control (competitively priced-competitively priced)
Heating and cooling a garage depends on how you use the space. A portable electric heater (competitively priced to competitively priced) or a wall-mounted electric unit (competitively priced to competitively priced) handles occasional use in cold weather. A gas-fired unit heater (competitively priced to competitively priced plus installation) works better for daily use in a workshop. Mini-split heat pumps (competitively priced to competitively priced installed) provide both heating and cooling and are the most efficient option for year-round climate control.
Insulation is a prerequisite for any climate control system. Heating or cooling an uninsulated garage wastes energy and struggles to maintain comfortable temperatures.
For year-round comfort in workshop spaces, radiant floor heating provides even, efficient warmth that works especially well with concrete floors.
Budget, Mid-Range, and Premium Scenarios
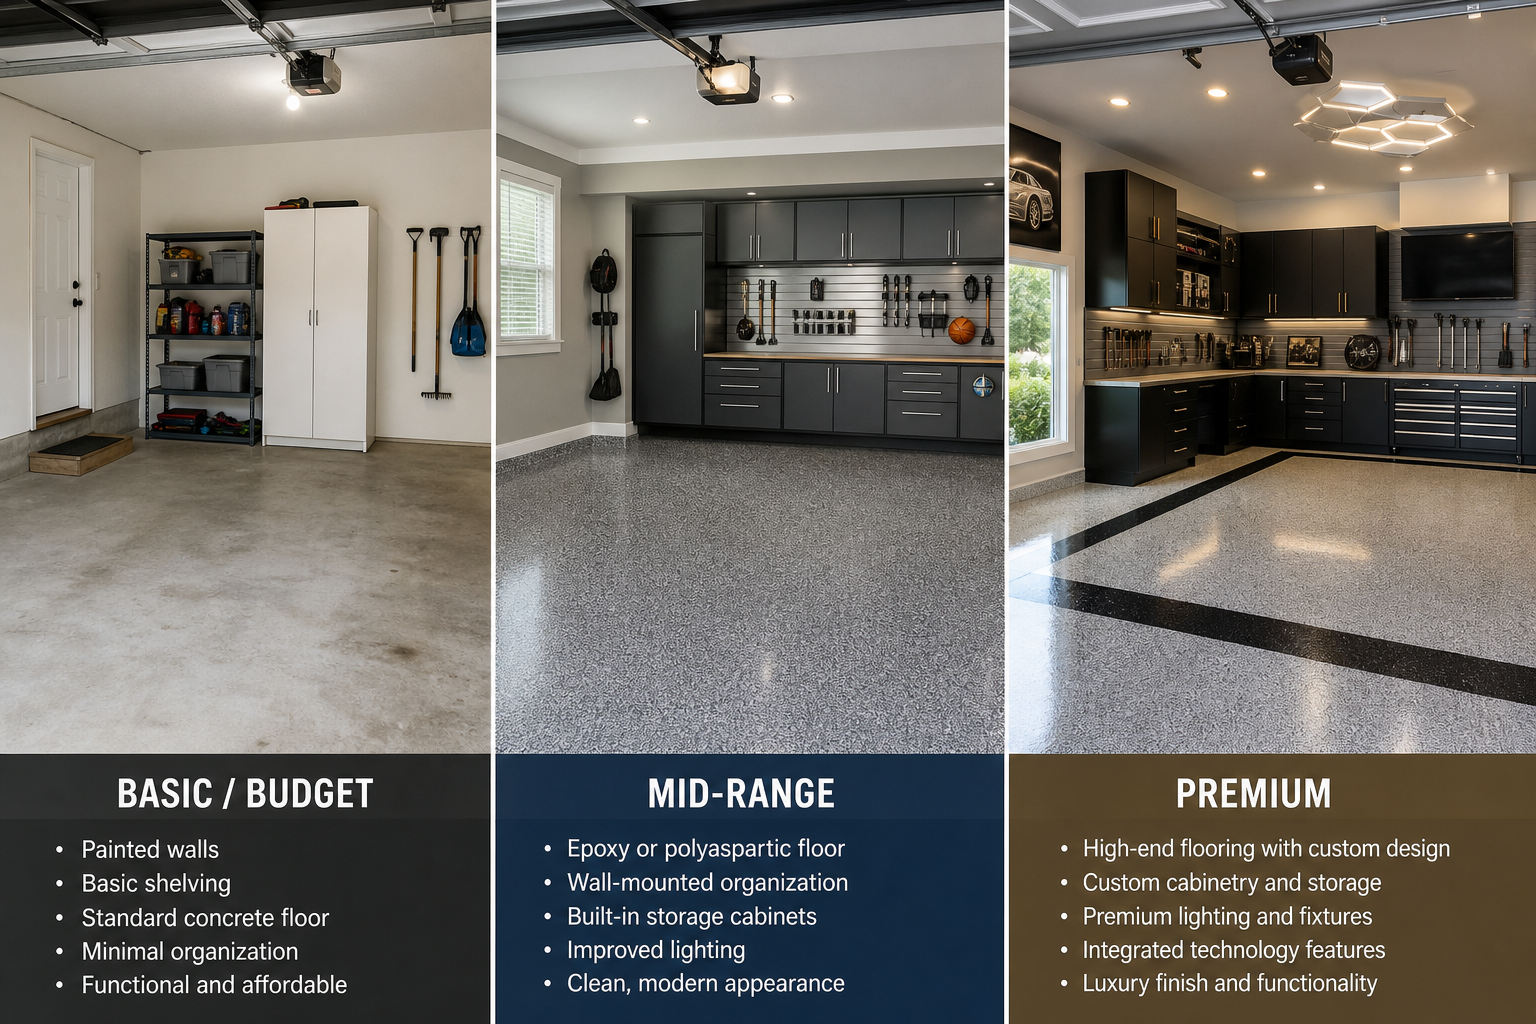
Budget Renovation (competitively priced to competitively priced)
DIY epoxy floor coating (competitively priced), paint and basic drywall finish (competitively priced), overhead storage and slatwall (competitively priced), LED shop lights (competitively priced), fiberglass insulation in walls only (competitively priced), and one or two new electrical circuits (competitively priced). This covers the essentials and delivers a clean, organized space without premium finishes.
Mid-Range Renovation (competitively priced to competitively priced)
Professional polyaspartic floor coating (competitively priced), finished and painted drywall (competitively priced), complete storage system with cabinets and overhead racks (competitively priced), hardwired LED lighting (competitively priced), full insulation including ceiling (competitively priced), subpanel and multiple new circuits (competitively priced), and insulated garage door (competitively priced). This is the sweet spot for most homeowners: durable finishes, good functionality, and a space that handles year-round use.
Premium Renovation (competitively priced to competitively priced)
High-end polyurea floor coating with custom color (competitively priced), slatwall on all walls with extensive accessories (competitively priced), custom cabinetry and built-in workbench (competitively priced), recessed LED lighting on multiple zones with dimming (competitively priced), spray foam insulation throughout (competitively priced), upgraded electrical panel and dedicated 240-volt circuits (competitively priced), mini-split HVAC system (competitively priced), and insulated carriage-style garage door (competitively priced). This level suits homeowners using the garage as a primary workshop, gym, or hobby space.
Practical Planning Tips
Prioritize your projects based on impact and urgency. Safety issues (faulty wiring, CO risk, structural problems) come first. Comfort improvements (insulation, lighting, climate control) come second. Cosmetic upgrades (floor coatings, paint, organization systems) come last. Following this order ensures you’re building each improvement on a solid foundation.
Invest in quality tools for tasks you’ll repeat. A reliable stud finder, a good level, a quality tape measure, and proper safety gear (eye protection, hearing protection, respirator) make every project easier and safer. These tools pay for themselves across multiple projects over the years.
Research local building codes and permit requirements for your specific project. Electrical work, structural modifications, and HVAC installations often require permits and inspections. Working without required permits can create liability issues, insurance complications, and problems when selling the home.
Keep the workspace organized throughout. Debris and clutter cause errors and safety issues. Clear tools and waste between major steps rather than letting mess accumulate to the end.
Wear appropriate protection throughout: safety glasses, gloves, respirator when working with chemicals or dust. Ventilate when using adhesives, paints, or solvents. These aren’t optional precautions.
Measure twice, buy once. Calculating square footage for flooring, drywall, insulation, and paint before ordering prevents mid-project runs to the store and reduces waste. Add 10 percent to your material estimates to
