

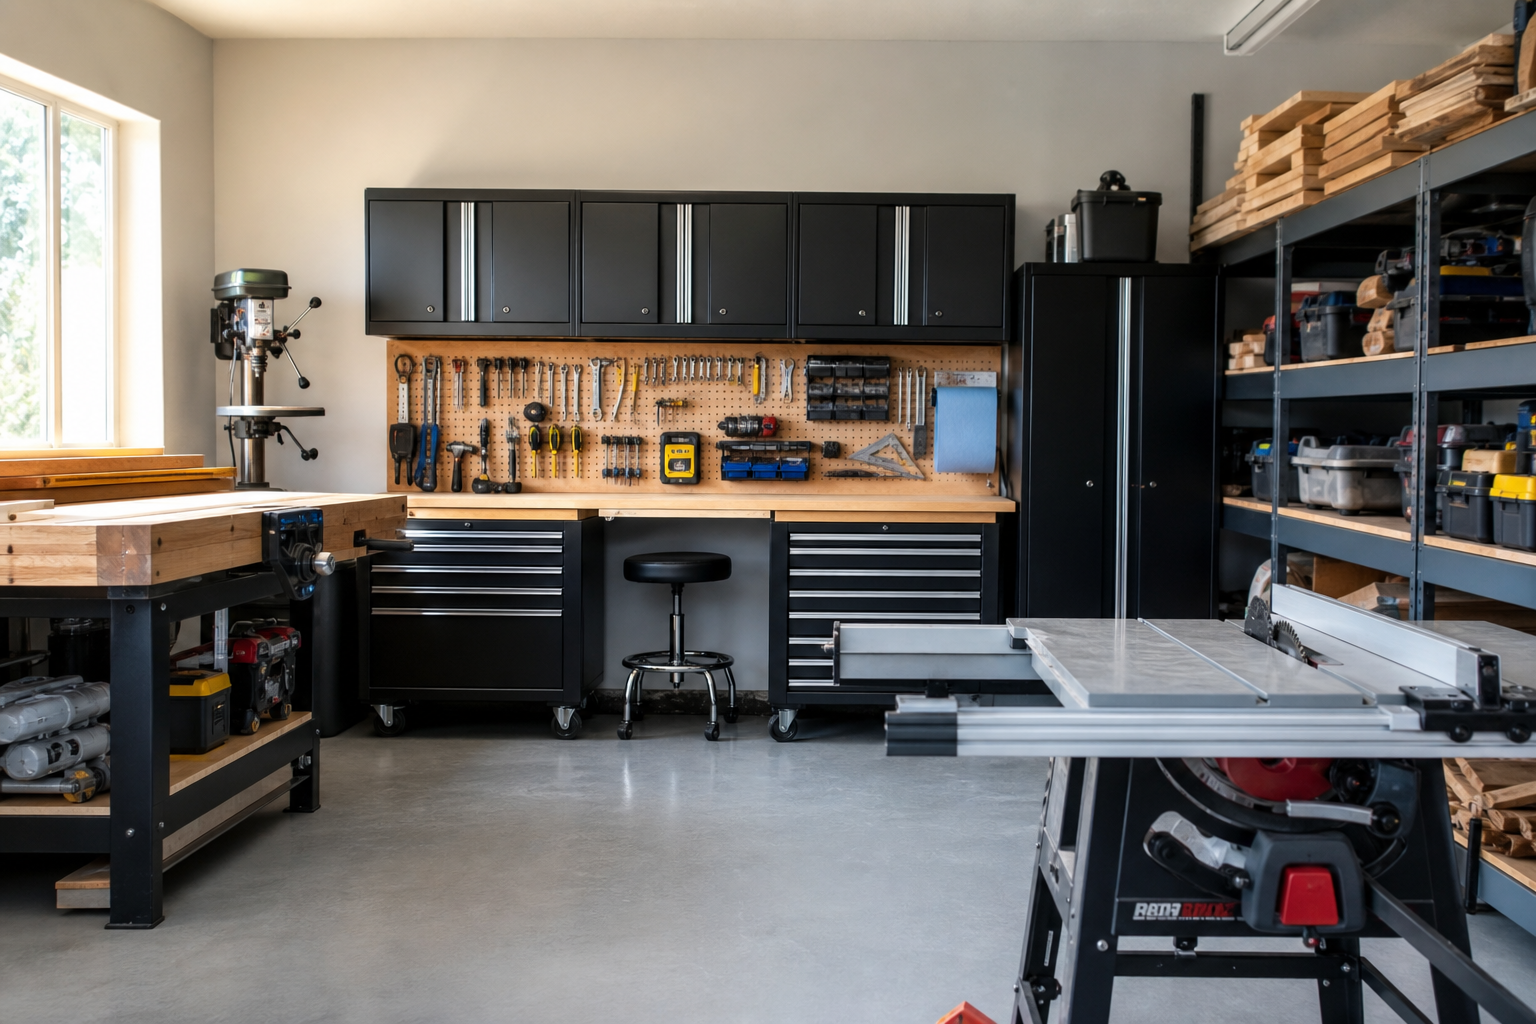
Deciding to build a DIY garage workshop layout is a smart garage upgrade that most homeowners can handle over a weekend. The catch is that technique matters, and details that seem minor during the process determine long-term quality.
Here’s the complete process organized into manageable steps. Read through it entirely first, then work section by section.
Understanding the Basics
Budget build: 2×4 frame, 3/4-inch plywood top, 1/4-inch hardboard surface layer. The hardboard is smooth, replaceable, and cheap to swap every few years. A lower shelf between the legs doubles as storage and a frame brace.
Standard height: 34 to 36 inches for general tasks. Over 6 feet tall? Try 38 inches. Detail work: add 4 inches. Heavy tasks like planing: subtract 2 to 4 inches. An adjustable bench eliminates the compromise if you do varied work.
Depth: 24 inches minimum, 30 inches is the sweet spot. Beyond 36 inches the back becomes hard to reach. Mount a shelf or pegboard on the wall behind the bench to keep tools close without using work surface area.
Width depends on available space and the type of work you do. Eight feet handles most projects. Four-foot sections work better in tight layouts or L-shaped configurations. Breaking a long bench into separate units gives you flexibility to rearrange later.
Framing with 2x4s keeps costs low and provides enough strength for typical workshop tasks. Use 2x6s for the legs if you plan to mount a vise or work regularly with heavy material. The extra width distributes clamp forces better and reduces wobble. Screw construction beats nails for a workbench, you’ll likely adjust or repair something eventually, and screws come apart cleanly.
The plywood top takes the real abuse. Three-quarter-inch construction-grade plywood provides a solid base. Hardwood plywood costs two to three times as much but resists dents better. The hardboard surface layer protects the plywood and gives you a smooth, flat work surface. When it gets cut up or stained, pull it off and replace it easily.
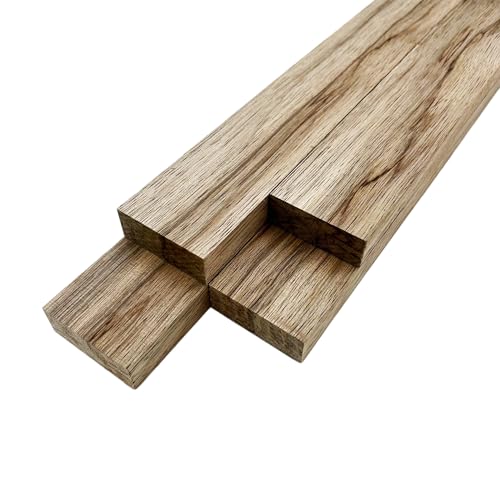
Workbench Building Materials
Essential materials for building a sturdy, budget-friendly garage workbench
Zone-by-Zone Planning
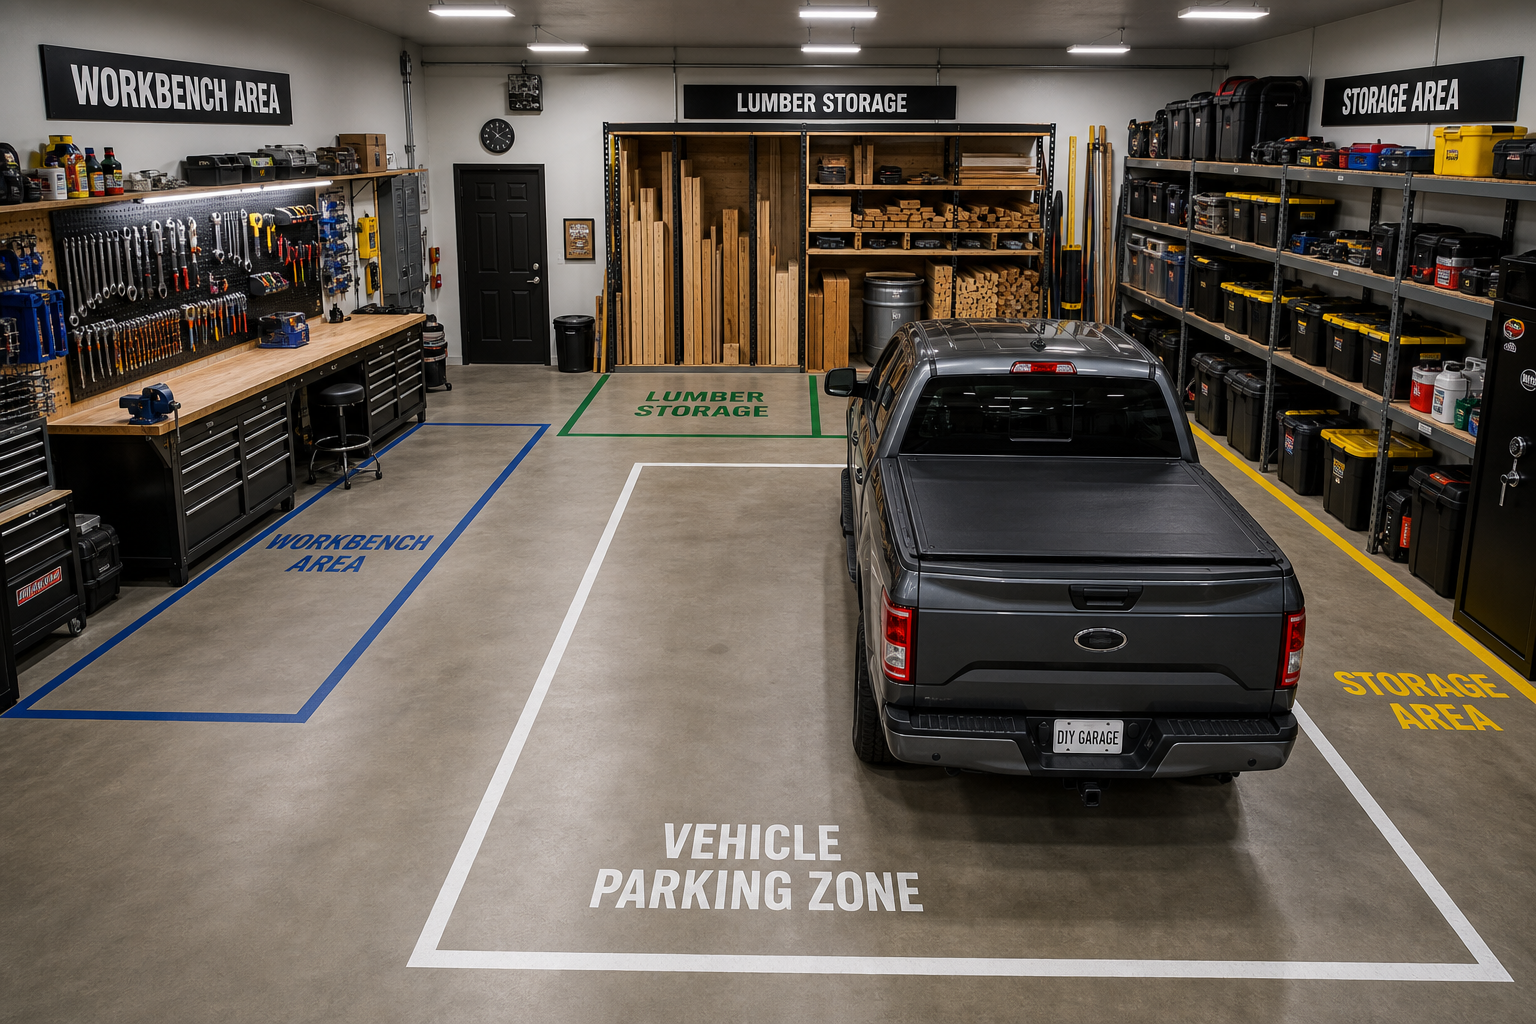
Zone-by-zone planning for 400-800 square foot spaces starts with identifying your core work triangle: primary workbench, tool wall, and material storage. Place these three within easy reach of each other. You shouldn’t take more than three steps between any two points in this triangle.
Primary workbench goes against the longest clear wall. This becomes your assembly and detail-work station. Keep it away from the garage door if possible, cold drafts in winter and dust intrusion during nice weather both disrupt precision work.
Tool wall goes directly behind or beside the workbench. Pegboard, slatwall, or French cleats all work. The goal is one-step access to frequently used hand tools. If you’re considering different storage options, check out our guide on installing garage slat wall accessories for modern organization solutions.
Material storage (lumber rack, sheet goods cart, hardware bins) belongs on the opposite wall or in a corner. You access this less frequently than tools, so a few extra steps don’t hurt workflow. Vertical storage for long stock keeps floor space open.
Measure the area before buying anything. Note ceiling height, electrical outlet locations, and any obstructions like water heaters or HVAC equipment. A detailed floor plan on graph paper or in a free tool like SketchUp prevents expensive mistakes. Drop exact dimensions into the plan: bench length, depth, tool wall width, clearance for opening drawers or cabinet doors.
Check for unusual conditions that affect layout. Uneven concrete floors mean you’ll shim bench legs or build in adjustable feet. High humidity areas need rust prevention for tool storage, drawer liners, vapor-phase emitters, or a small dehumidifier. Extreme temperature swings affect adhesive choice for mounting systems and finish durability on work surfaces.
Budget 50% more time than guides suggest if this is your first project of this type. The learning curve is real, and careful work produces better results than rushing to meet an estimated timeline.
Traffic flow matters more than most builders initially realize. Leave 36 inches of clearance in front of workbenches and storage for comfortable standing work. Forty-eight inches is better if you regularly work with long material or sheet goods. These measurements assume you’ll stand in one spot, add another 12 inches if you move back and forth frequently or work with a partner.
Secondary zones fill in around the core triangle. A finishing area with good ventilation and lighting goes near a window or exhaust fan. A sharpening station needs only a small corner with a power outlet. Mobile tool carts park under benches or in dead space when not in use.
Lumber Rack Design and Safety
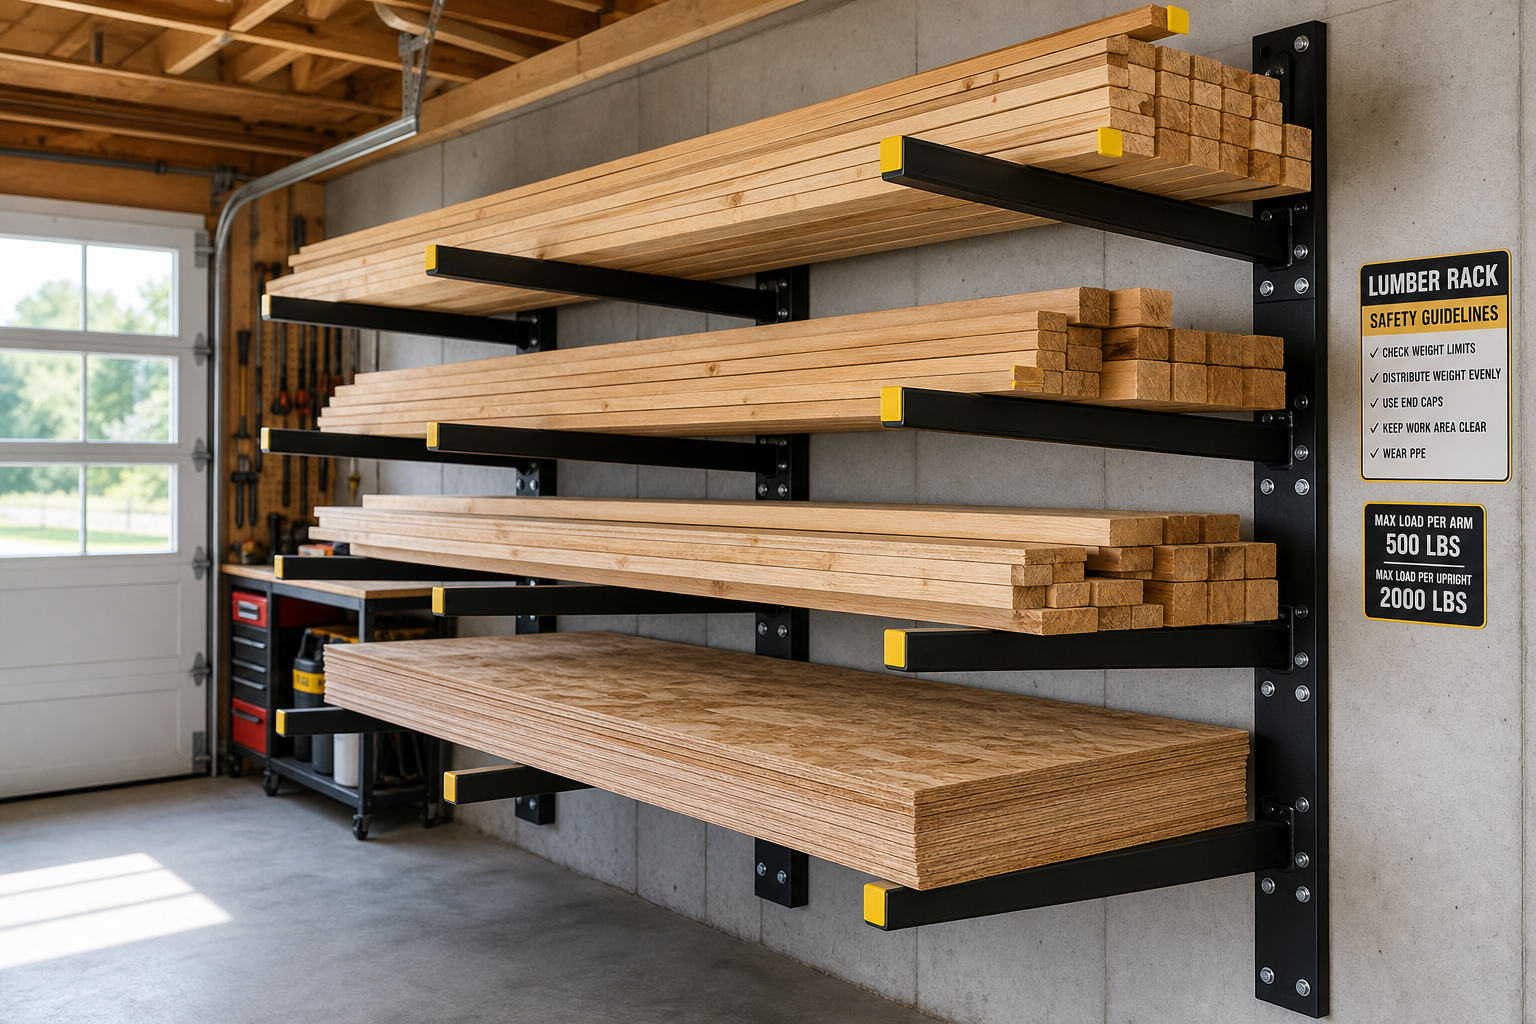
Lumber rack and safety clearances depend on what you store and how much weight it carries. Wall-mounted racks handle most needs in a home workshop. Brackets anchored into studs every 16 inches support 50 to 75 pounds per linear foot. Use lag screws, not drywall anchors, for lumber storage.
Mount the first rack level at 48 inches for easy loading and unloading. Add a second level at 72 inches if you have the ceiling height and store enough material to justify it. Space the brackets 32 to 48 inches apart for dimensional lumber. Closer spacing prevents sagging with heavy hardwood boards.
Build simple racks from 2×4 frames screwed into studs. Angle the arms upward slightly (5 to 10 degrees) so boards rest against the wall and won’t slide forward. Line the arms with carpet scraps or pipe insulation to prevent dents in finished lumber.
Ceiling-mounted racks work in garages with open joist bays and 10-foot or higher ceilings. These keep long stock completely out of the way but require a ladder or step stool for access. Only practical for material you access occasionally. Lag bolts into joists rated for the total load plus a 50% safety margin.
Vertical storage in a corner takes less wall space and works well for shorter pieces. Build a simple frame from 2x4s with horizontal slats every 12 inches. Lean boards against the slats, sorted by length or species. This system doesn’t scale well beyond 30 or 40 board-feet of storage.
Check clearances around the rack. Leave 12 inches in front so you can pull boards out without hitting the opposite wall or nearby equipment. Allow 6 inches at the ends for boards that overhang the rack. Mark the floor with tape showing the swing radius for your longest stored material, this prevents parking something in the path.
Sheet Goods Storage
Sheet goods storage requires different planning. Plywood and MDF sheets weigh 50 to 90 pounds each and measure 4×8 feet, making them awkward to handle alone. Vertical storage in a slot rack uses less floor space but you need help extracting sheets from the middle of the stack.
A simple sheet goods cart uses a plywood base on locking casters with vertical dividers every 6 to 8 inches. Build the dividers tall enough (50 inches minimum) to keep sheets from flopping over. This cart rolls to the table saw when you need to break down a sheet and tucks against a wall the rest of the time.
Free 3D SketchUp Template and Electrical Planning
A detailed digital model helps you spot problems before cutting wood or drilling holes. SketchUp’s free web version handles basic garage layout work. Drop in scaled models of your workbench, tool storage, and major equipment to test different arrangements.
Electrical outlet placement drives workflow efficiency. The basic rule: outlets every 4 feet along walls where you’ll use power tools. This keeps extension cords short and prevents trip hazards. Mount outlets 18 to 24 inches above the finished workbench height so cords drop naturally without crossing the work surface.
Place at least two duplex outlets behind the primary workbench. You’ll routinely run a sander, drill, and shop vacuum at the same time. A single outlet creates a tangle of power strips and adapters. Dedicated circuits for high-draw equipment (table saws, dust collectors, air compressors) prevent nuisance breaker trips.
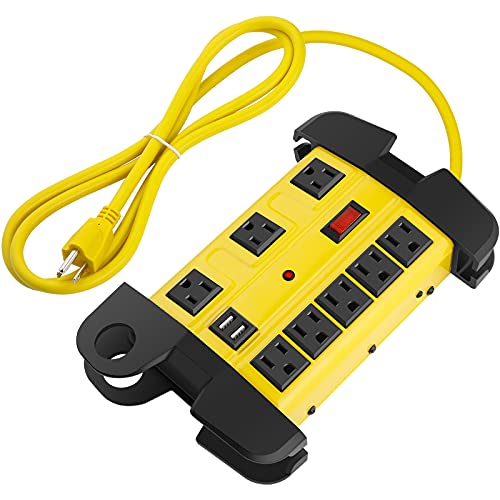
Heavy-Duty Power Strip
Essential for managing multiple tool connections safely in workshop environments
USB charging ports built into outlets handle phone, battery packs, and headlamp charging without blocking standard plug space. These outlets eliminate the need for separate charging adapters.
Map lighting on the same plan. Overhead shop lights every 4 feet provide general illumination. Add task lighting directly over the workbench, LED strip lights or adjustable swing-arm lamps. You can’t measure, cut, or assemble accurately in poor light. For specific lighting recommendations, see our garage workbench lighting guide.
Work in small, manageable sections for better quality control. Build and install one wall of storage completely before starting the next section. Rushing large areas creates inconsistencies and errors you’ll notice forever.
Wear appropriate protection throughout: safety glasses, gloves, respirator when working with chemicals or dust. Ventilate when using adhesives, paints, or solvents. These aren’t optional precautions.
Electrical Requirements
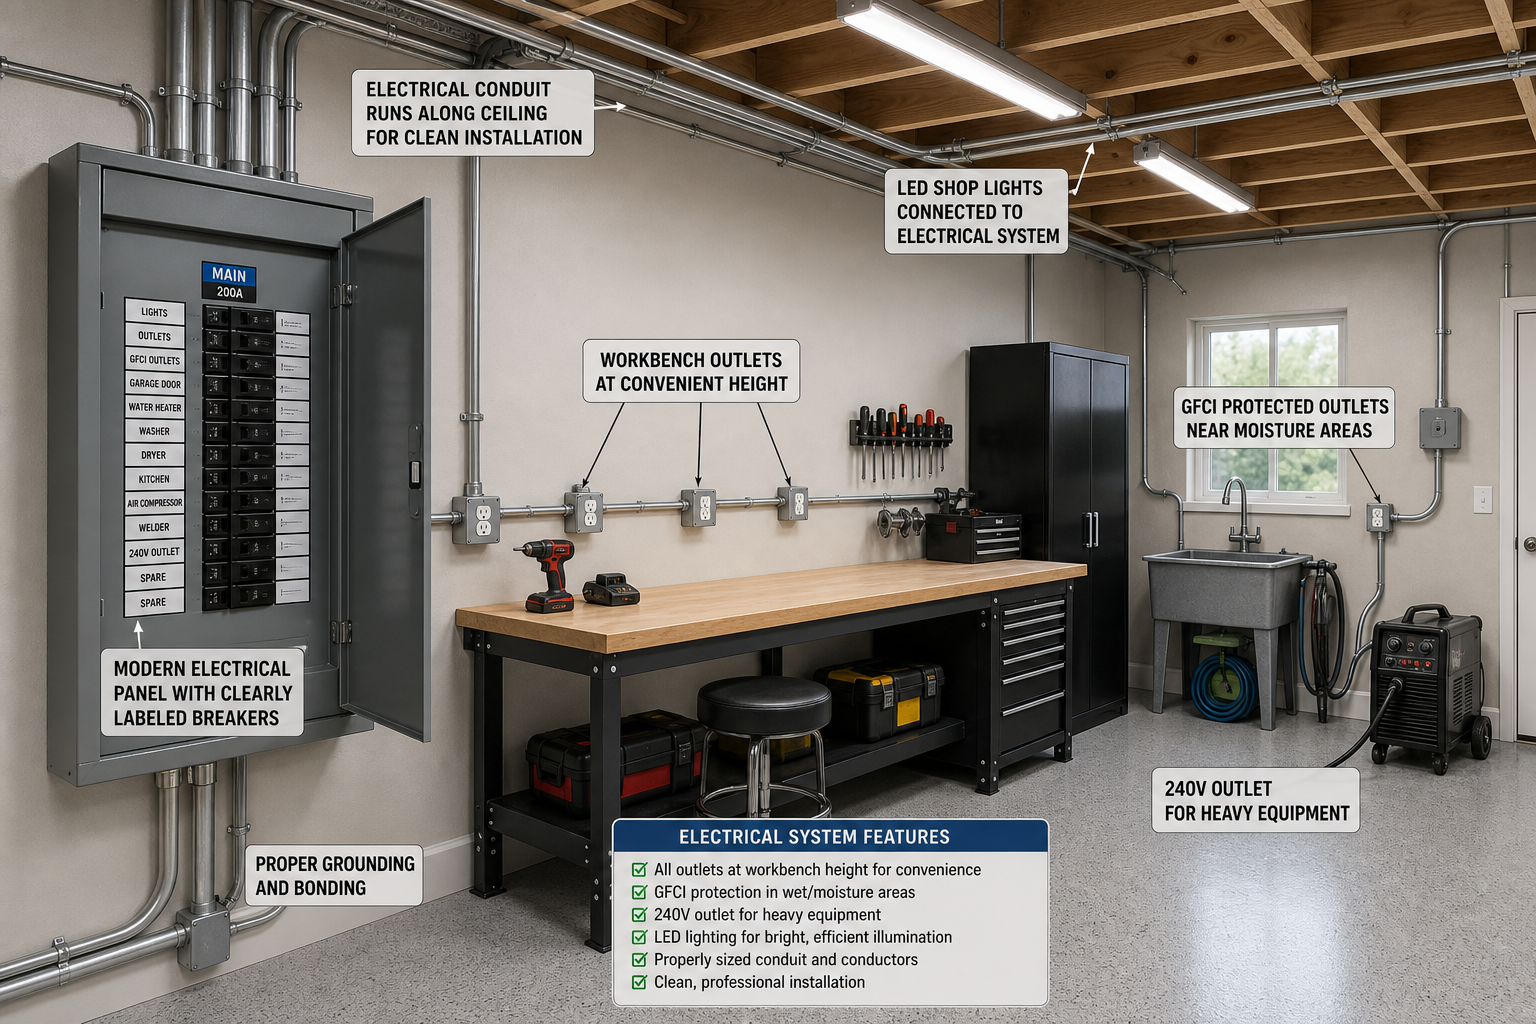
240V circuits (for welders, compressors, EV chargers) use thicker wire (10 AWG for 30A, 6 AWG for 50A) and double-pole breakers. Installation typically requires a permit and licensed electrician unless you have substantial electrical experience. Our EV charging station installation guide covers these requirements in detail.
Most garages were wired with one or two 20-amp circuits, enough for basic lighting and an outlet. Power tools, compressors, heaters, and EV chargers easily exceed that original capacity. Dedicated circuits for high-draw equipment are the standard solution.
Calculate your total electrical load before planning new circuits. A 15-amp circuit handles 1,800 watts continuously, a 20-amp circuit handles 2,400 watts. Table saws draw 12 to 15 amps at startup, dust collectors 10 to 12 amps, air compressors 15 to 20 amps. Running two high-draw tools on the same circuit trips the breaker.
GFCI protection is required by code for all garage outlets. These outlets trip when they detect ground faults, preventing shocks from damaged cords or wet conditions. Standard GFCI outlets work fine for most tools.

20-Amp GFCI Outlet
Code-compliant electrical safety for garage workshops with reliable ground fault protection
Conduit protects exposed wiring in garages where it’s subject to physical damage. Metal conduit costs more and takes longer to install than romex in walls, but it’s required by code in most jurisdictions for exposed runs. PVC conduit works for low-risk areas and costs less than metal.
Plan outlet height based on how you’ll use them. Bench-height outlets (40 to 48 inches) keep cords off the floor. Floor-level outlets work for stationary equipment that stays plugged in. Ceiling outlets serve overhead tools like grinders or drop lights.
Practical Planning Tips
Research local building codes and permit requirements for your specific project. Electrical work, structural modifications, and HVAC installations often require permits and inspections. Working without required permits can create liability issues, insurance complications, and problems when selling the home.
Set a realistic timeline and budget before buying anything. Most garage projects take 50% longer and cost 20% more than initial estimates, especially for first-timers. Build that buffer into your plan so unexpected discoveries don’t derail the entire project or blow the budget.
Consider the seasonal timing of your project. Floor coatings apply best in mild weather (50 to 85 degrees). Insulation projects are most motivating (and noticeable) before extreme weather hits. Electrical and plumbing work can happen year-round but should be completed before insulating or finishing walls over the wiring.
Buy materials in phases as you complete sections rather than all at once. Lumber and sheet goods stored in a garage for weeks can warp or absorb moisture. Buying what you need for the current weekend’s work keeps material fresh and frees up space.
Rent specialized tools rather than buying them for a one-time project. A pneumatic framing nailer, concrete drill, or conduit bender rental costs less per day than purchasing. This strategy only breaks even if you’ll use the tool on multiple projects.
Account for waste when estimating materials. Ten to fifteen percent over calculated need covers mistakes, defects in purchased material, and unexpected discoveries. Running out of plywood or lumber mid-project when you’re on a roll is frustrating and costs extra trips.
Tips for Better Results
- Take photos at each stage. Visual documentation helps troubleshoot later and provides reference for future projects.
- Stage tools and materials within reach before starting. Mid-project supply runs interrupt time-sensitive steps.
- Allow extra curing time beyond manufacturer minimums. Those minimums assume ideal conditions that garages rarely provide.
- Work in sections small enough to finish before material sets. Consistent technique across sections produces the most uniform results.
- Label everything during construction. Mark stud locations, electrical lines, and shutoff valves before covering them with finished surfaces.
- Keep a project notebook with measurements, product names, paint codes, and supplier information. You’ll reference this for years.
- Test-fit assemblies before final installation. Discovering a 1/8-inch measurement error after glue-up is too late.
- Clean up daily. Sawdust and debris accumulate fast and create safety hazards. A clean workspace prevents mistakes.
- Secure loose material before leaving the garage. Boards leaning against walls fall. Unsecured tools on benches get knocked to the floor.
Start with a small test area if you’re uncertain about a technique or finish. A 2×2-foot section lets you evaluate appearance and workability without committing to the full project. Troubleshooting a small test area is far easier than redoing everything.
Factor in maintenance when choosing your approach. The lowest-maintenance option isn’t always cheapest initially, but it usually wins over a 5 to 10-year window when you include touch-ups, repairs, and replacements. Sealed concrete floors need annual resealing. Pegboard needs periodic replacement. Slatwall lasts decades with no maintenance.
Common Mistakes to Avoid
Undersized workbench legs wobble under heavy use. Use 4x4s for legs on benches over 6 feet long or where you’ll mount a vise. The extra material eliminates flex that ruins precision work.
Skipping the lower shelf between bench legs wastes storage space and weakens the frame. A simple plywood shelf 12 inches off the floor stores power tools, clamps, and accessories while bracing the leg assembly against racking.
Mounting pegboard directly to drywall without furring strips prevents you from inserting hooks. Pegboard needs 3/4-inch clearance behind it. Screw 1×2 furring strips to studs every 16 inches, then mount the pegboard to the strips.
Installing outlets too low on the wall means cords drape across the work surface. Mount outlets at bench
