

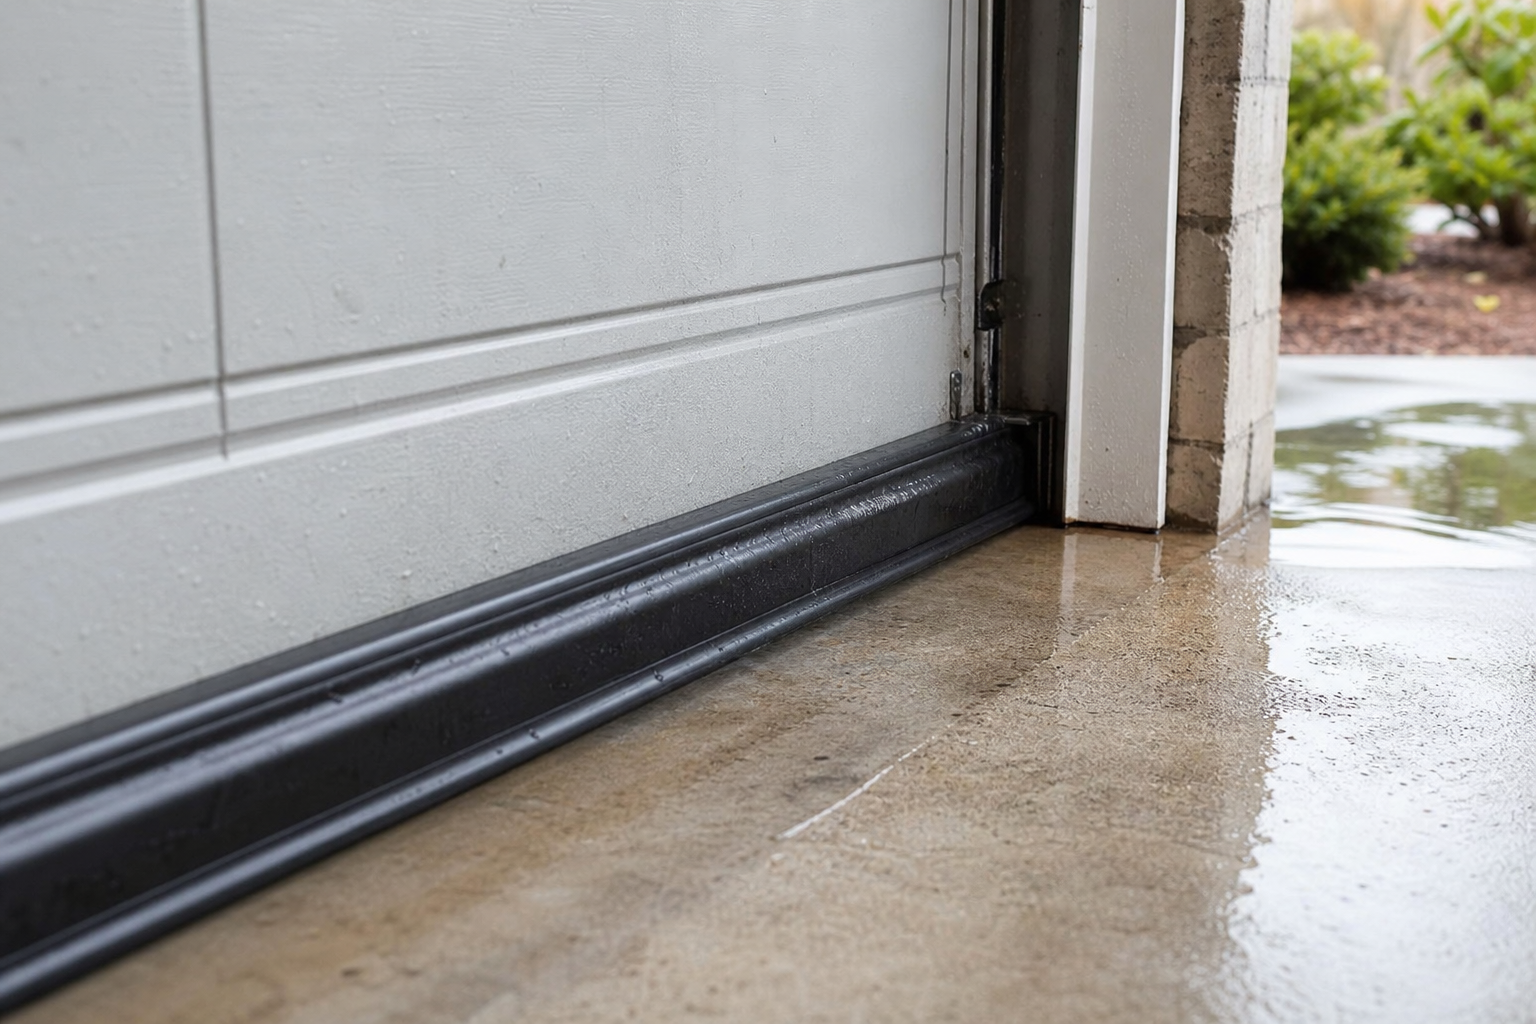
Dealing with a garage door seal letting water in is one of those garage frustrations that catches you off guard. Everything seemed fine until one day you notice something isn’t right. The reassuring truth is that these issues almost always trace back to identifiable causes with practical solutions.
This guide covers the most common culprits in diagnostic order, starting with the simplest checks. Most readers find their answer within the first few sections without needing a service call.
Understanding the Basics
EPDM rubber is the most durable material. It resists UV, stays flexible below freezing (unlike vinyl, which cracks), and bounces back after compression. PVC seals cost less but need more frequent replacement in extreme climates.
Garage doors use three seal types: bottom, side (jamb), and header (top). Replacing all three gives the best results. If budgeting, start with the bottom seal, which takes the most abuse and makes the biggest difference.
Bottom seals come in T-shaped, bulb, beaded, and J-type profiles. Match the profile to your existing retainer channel (usually 3 or 4 inches wide). Measure channel width and height before ordering to avoid modification headaches.

EPDM Garage Door Bottom Seal
Superior durability and weather resistance compared to vinyl alternatives
Diagnosing Which Seal Is Failing
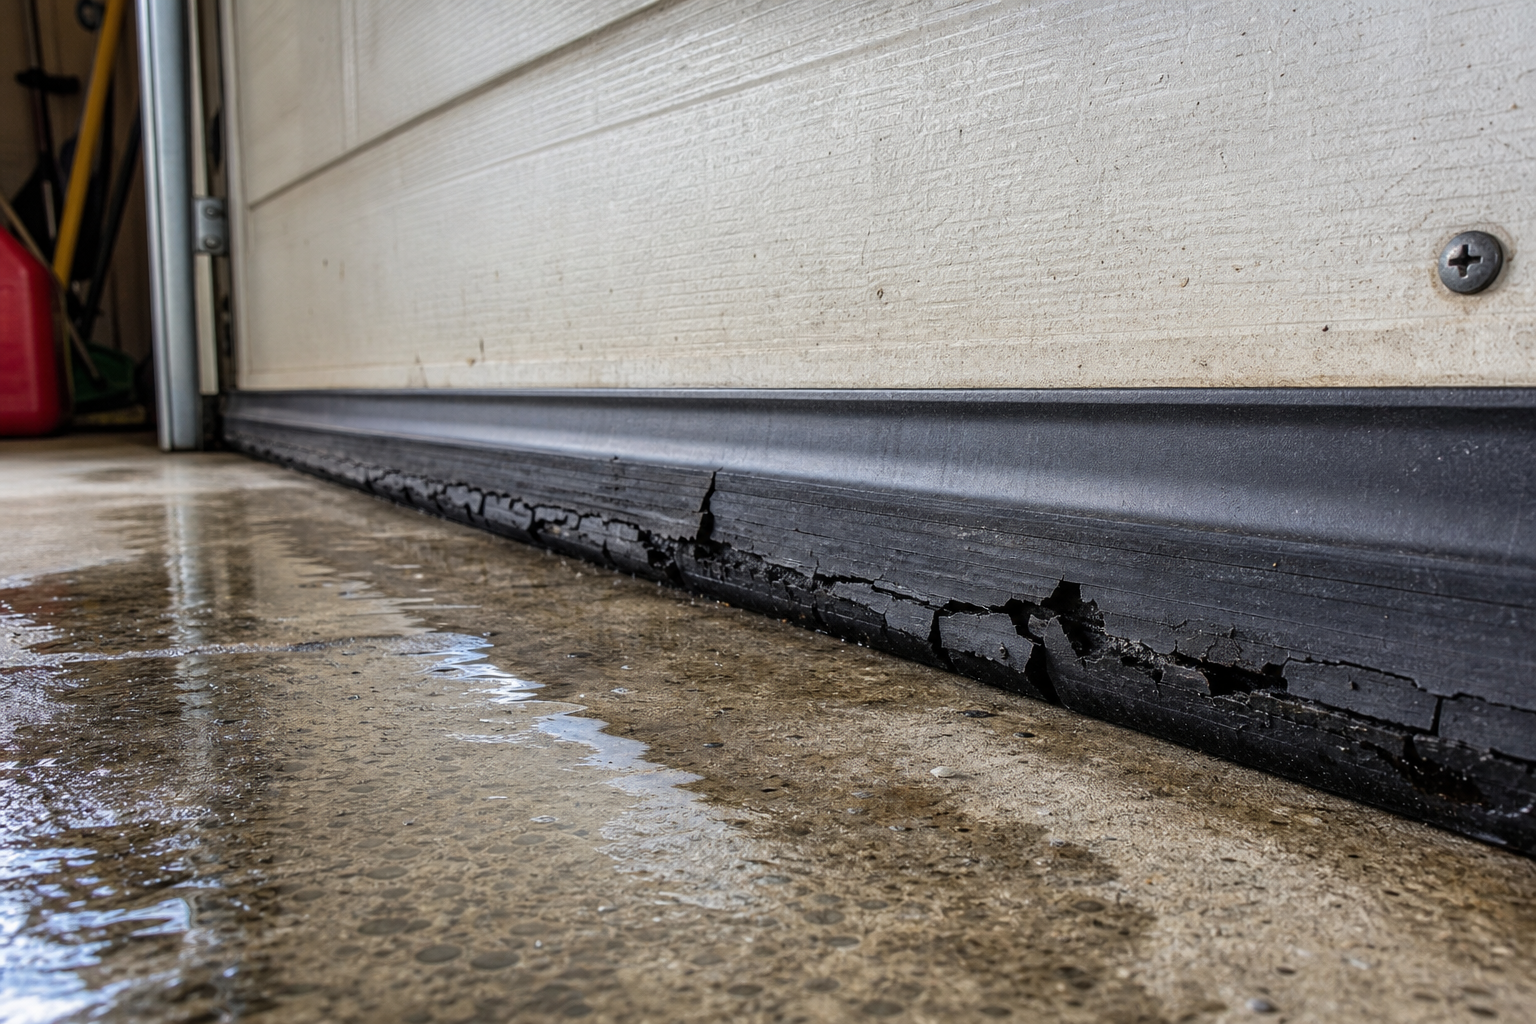
Understanding the specifics of your situation helps you choose the right approach. Your garage’s age, construction type, and local climate all influence what works best and what to avoid.
Measure twice and commit once. A tape measure and five minutes of verification prevent the mistakes that take hours to fix. This applies doubly to cuts, holes, and any irreversible step.
Factor in maintenance when choosing your approach. The lowest-maintenance option isn’t always cheapest initially, but it usually wins over a 5 to 10-year window when you include touch-ups, repairs, and replacements.
If you’re dealing with seal issues alongside other garage door problems, our garage door troubleshooting guide covers additional mechanical issues that can affect seal performance.
Measuring and Choosing the Right Profile
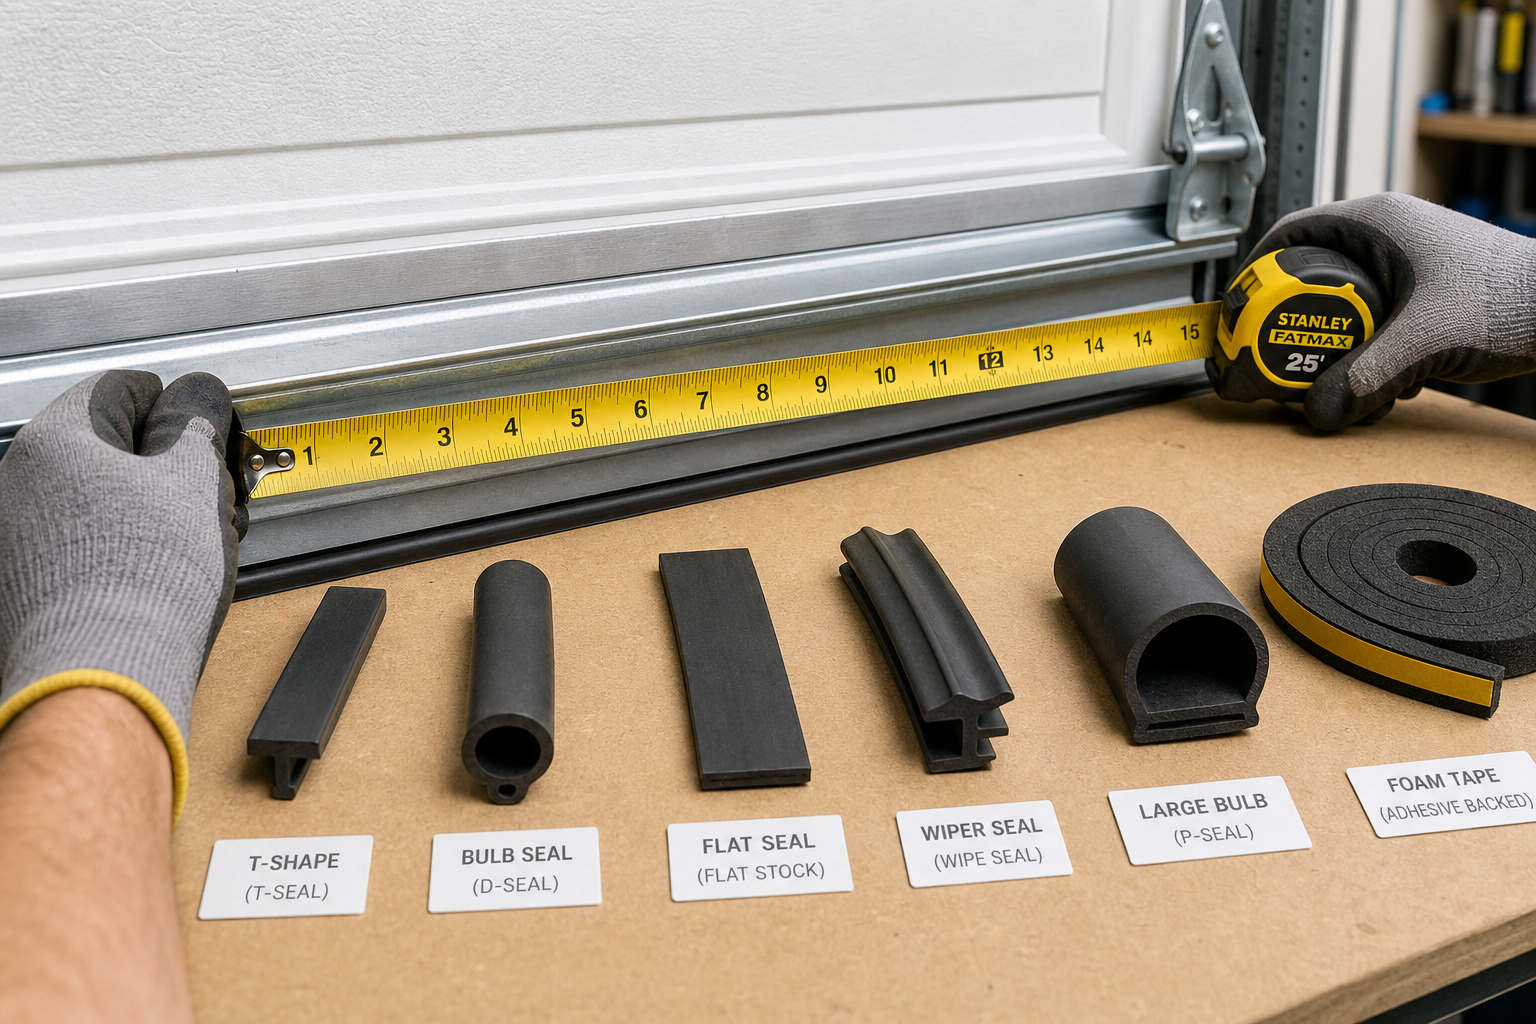
Proper measurement makes the difference between a result that lasts and one that needs redoing within a year. Take the time to assess your conditions before committing to a method or product.
Start with a small test area if you’re uncertain. A 4 by 4-foot section in an inconspicuous spot lets you evaluate adhesion, appearance, and workability without committing to the full project. Troubleshooting a small test area is far easier than redoing everything.
If this is your first project of this type, budget 50% more time than guides suggest. The learning curve is real, and careful work produces better results than rushing to meet an estimated timeline.
For complete weather protection, consider our weather stripping replacement guide which covers the side and header seals in detail.

T-Style Garage Door Seal
Most common profile type that fits standard retainer channels
The Threshold Seal Option
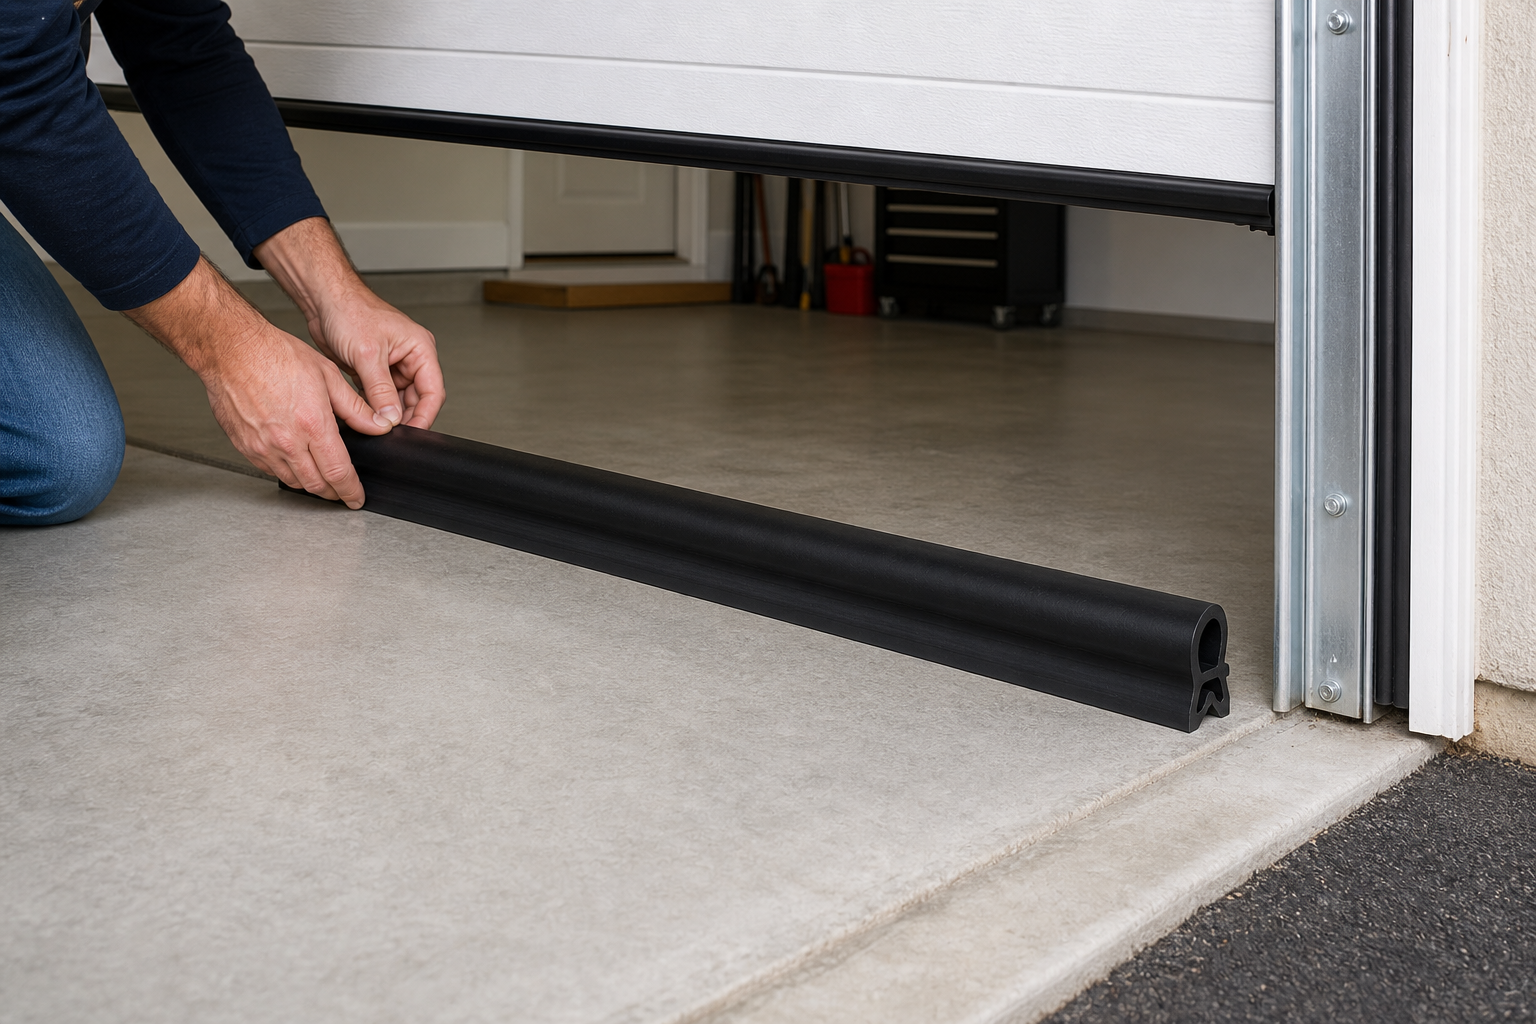
For sloped driveways with persistent water intrusion, threshold seals provide an alternative solution. These seals attach to the garage floor rather than the door itself, creating a barrier that water can’t cross.
Check specific requirements before purchasing materials. Measure the area, note unusual conditions (extreme temps, high humidity, uneven surfaces), and read product specs carefully. A mismatch between your conditions and the product’s rated range is the most common cause of unexpected failures.
Consider how this change fits the larger garage picture. Improvements in one area can shift dynamics elsewhere. Better insulation changes humidity patterns. Heavy storage affects the floor underneath. Think about interactions.
Additional Considerations
Moisture Control
Vapor transmission requires a penetrating concrete sealer (silane or siloxane based) that blocks moisture migration through the slab. Apply to clean, dry concrete and allow full cure. Severe cases may need a dedicated vapor barrier coating or membrane system before any decorative finish.
For condensation, a dehumidifier and improved ventilation are the most effective solutions. A 50-pint unit keeps relative humidity below 60% in most two-car garages. Choose a model with auto-defrost if your garage drops below 65 degrees, since standard units ice up in cool conditions.
Safety Sensor Considerations
When working on seals, check that your safety sensors remain properly aligned. Water infiltration can affect sensor performance, and seal replacement sometimes requires temporarily moving or adjusting sensor brackets.
Practical Planning Tips
Research local building codes and permit requirements for your specific project. Electrical work, structural modifications, and HVAC installations often require permits and inspections. Working without required permits can create liability issues, insurance complications, and problems when selling the home.
Prioritize your projects based on impact and urgency. Safety issues (faulty wiring, CO risk, structural problems) come first. Comfort improvements (insulation, lighting, climate control) come second. Cosmetic upgrades (floor coatings, paint, organization systems) come last. Following this order ensures you’re building each improvement on a solid foundation.
Consider the seasonal timing of your project. Floor coatings apply best in mild weather (50 to 85 degrees). Insulation projects are most motivating (and noticeable) before extreme weather hits. Electrical and plumbing work can happen year-round but should be completed before insulating or finishing walls over the wiring.
When to Call a Professional
DIY covers most of what’s listed above, but some situations need professional help. High-voltage electrical work, garage door spring replacement, structural modifications, and commercial-grade coatings requiring specialized equipment are all worth outsourcing. A botched repair often costs more to fix than hiring the right person from the start.
Get two to three quotes, verify licensing and insurance, and ask for recent references. A reputable contractor explains the process clearly, provides a written estimate, and backs the work with a written warranty.
Major seal failures that coincide with door panel damage may require panel replacement alongside seal work for a complete solution.
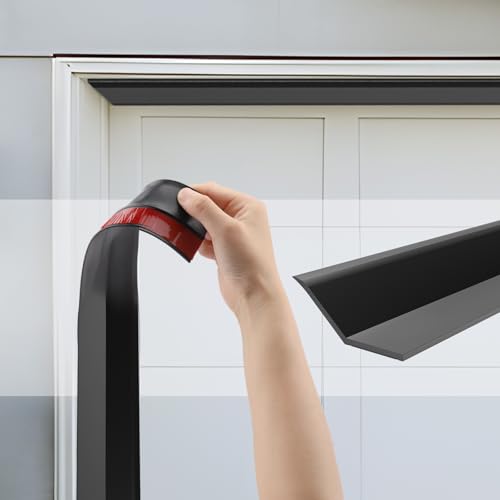
Garage Door Seal Kit
Includes bottom, side, and header seals for comprehensive protection
Frequently Asked Questions
How much should I budget for garage door seal replacement?
Costs vary widely by scope and materials. DIY saves significantly on labor. Check current Amazon pricing for accurate material estimates based on your specific seal requirements.
How long will new garage door seals last?
Quality EPDM seals typically provide years of reliable performance with proper installation. Preparation quality is the single biggest longevity factor. Vinyl seals may need replacement every 3-5 years in harsh climates.
What’s the most common mistake in seal replacement?
Rushing preparation. Whether it’s surface prep, measuring, or reading instructions, upfront time prevents expensive do-overs. Taking shortcuts during the cleaning and measurement phase leads to poor adhesion and premature failure.
Should I replace all seals at once or just the failing one?
Replacing all three seal types (bottom, side, and header) together gives the best results and prevents future water intrusion. However, if budgeting is a concern, start with the bottom seal since it handles the most water exposure and makes the biggest difference.
This article contains affiliate links. We may earn a small commission at no extra cost to you.
