

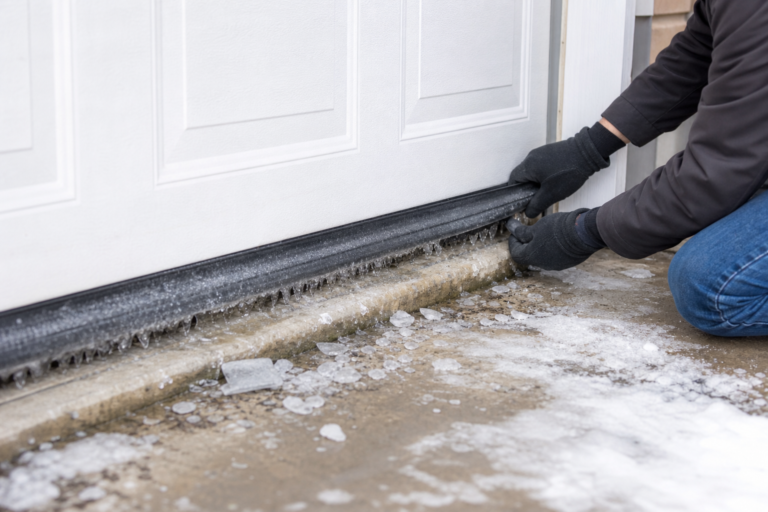
When your garage door weather seal keeps freezing to the ground, the temptation is to assume the worst. In reality, the cause is usually simpler and cheaper than expected. The key is working through possibilities systematically rather than guessing.
Below, you’ll find each common cause with specific diagnostic steps and fixes. Grab a flashlight and your basic toolkit, then work through these from easiest to most involved.
Understanding the Basics
Garage doors use three seal types: bottom, side (jamb), and header (top). Replacing all three gives the best results. If budgeting, start with the bottom seal, which takes the most abuse and makes the biggest difference.
EPDM rubber is the most durable material. It resists UV, stays flexible below freezing (unlike vinyl, which cracks), and bounces back after compression. PVC seals cost less but need more frequent replacement in extreme climates.
Bottom seals come in T-shaped, bulb, beaded, and J-type profiles. Match the profile to your existing retainer channel (usually 3 or 4 inches wide). Measure channel width and height before ordering to avoid modification headaches.
The retainer is that aluminum or vinyl track along the bottom edge of your door. It holds the rubber seal in place. Some retainers slide onto the door’s bottom rail, others screw directly into it. Knowing which type you have determines how you remove and replace the seal. Pull out a small section and look at how it’s attached before ordering a replacement.
Why Seals Freeze to Concrete
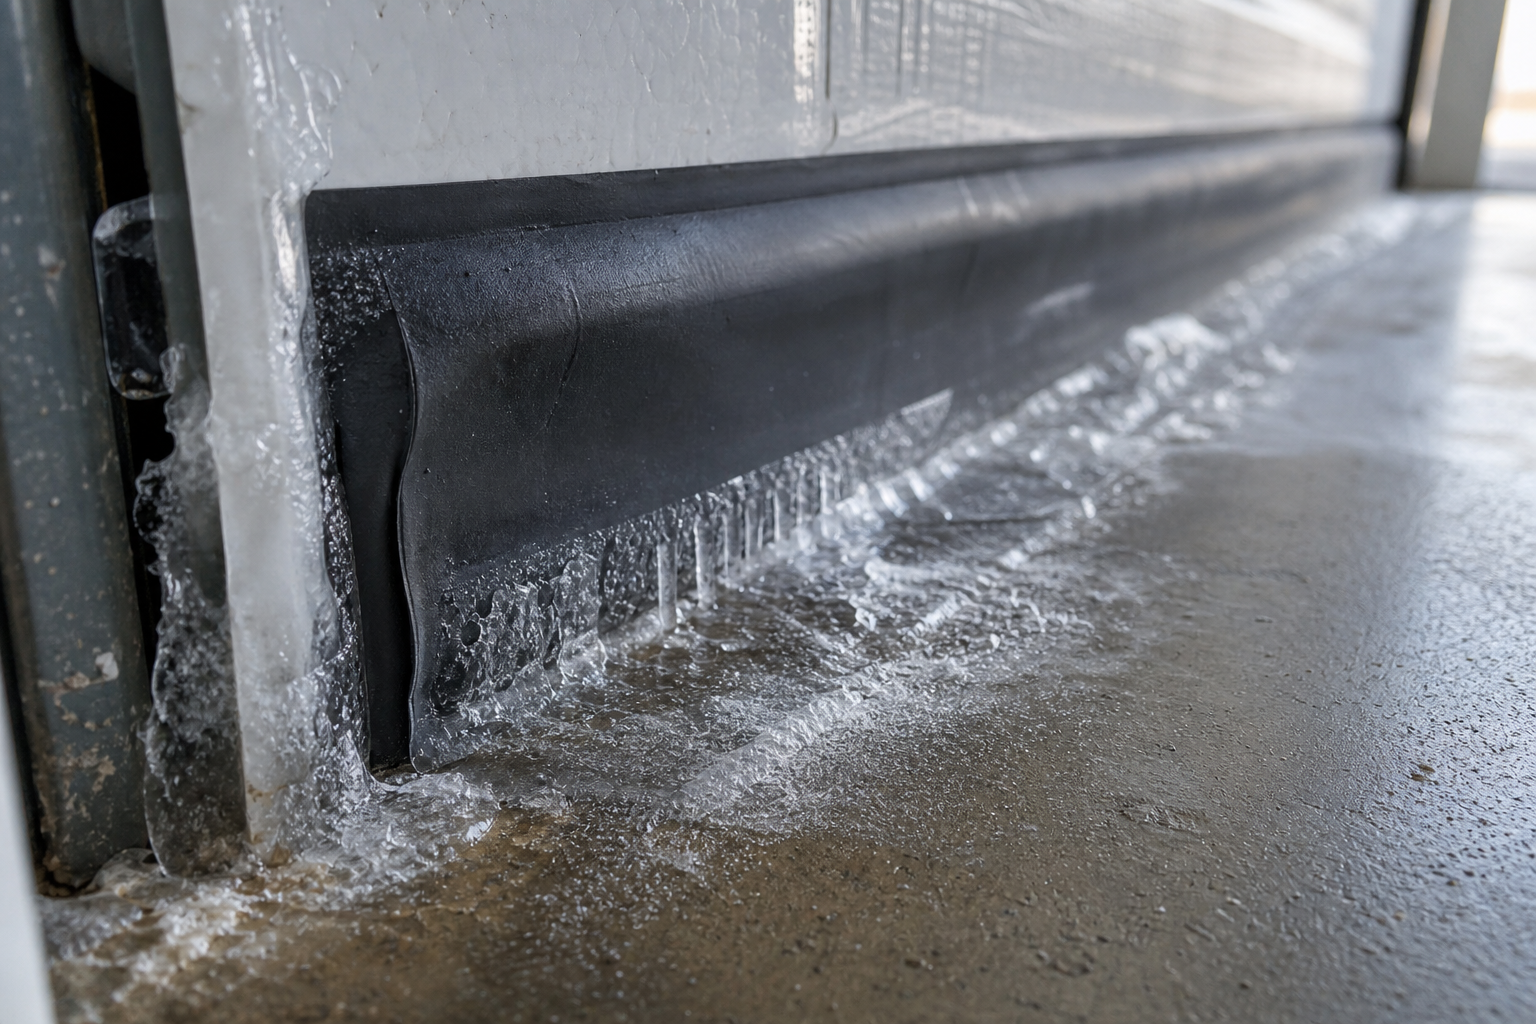
Rubber seals bond to wet concrete in freezing temps because moisture on the garage floor doesn’t have anywhere to go. The seal sits directly on the concrete, creating a perfect interface for ice to form. Once frozen, that bond can be strong enough to damage the seal or door opener when you try to open the door.
Three conditions combine to create the problem: moisture on the slab, subfreezing temperatures, and direct contact between rubber and concrete. Remove any one of those and the freezing stops.
Moisture comes from snow melt off your car, tracked-in slush, condensation, or groundwater vapor transmission through the slab itself. A quick test: after a cold night, check whether the wetness is only near the door (tracked in from outside) or spread across the entire floor (condensation or vapor issue). This tells you whether you’re dealing with a door-zone problem or a whole-garage problem.
Most Midwestern garages deal with this seasonally. You park a snow-covered car inside, the snow melts overnight, the water runs toward the door, and by morning it’s frozen solid against the seal. This is the most common scenario and the easiest to address.
Immediate Solutions That Work
Silicone spray creates a barrier between the seal and the concrete. Spray the bottom edge of the seal and the contact zone on the floor. Reapply every few weeks during winter. This doesn’t fix the root cause but it buys you time while you implement a permanent solution.
Cooking spray (PAM, Crisco) works the same way in a pinch. It’s less durable than silicone but safe for rubber and concrete. Wipe both surfaces clean first so the spray can adhere.
If the door is already frozen shut, don’t force it. You’ll tear the seal or burn out the opener. Pour lukewarm (not hot) water along the seal to melt the ice. Hot water can crack cold rubber. Once free, dry the area thoroughly and apply silicone spray before the next freeze.
A rubber threshold seal (also called a garage door threshold) installs on the floor just inside the door. It raises the contact point slightly and provides a smoother surface than bare concrete. The rubber-to-rubber contact is less prone to freezing than rubber-to-concrete. Thresholds are budget-friendly depending on door width and typically install with construction adhesive. Clean and dry the floor, apply adhesive according to package directions, press the threshold into place, and weight it down overnight.
Upgrading the Seal Itself
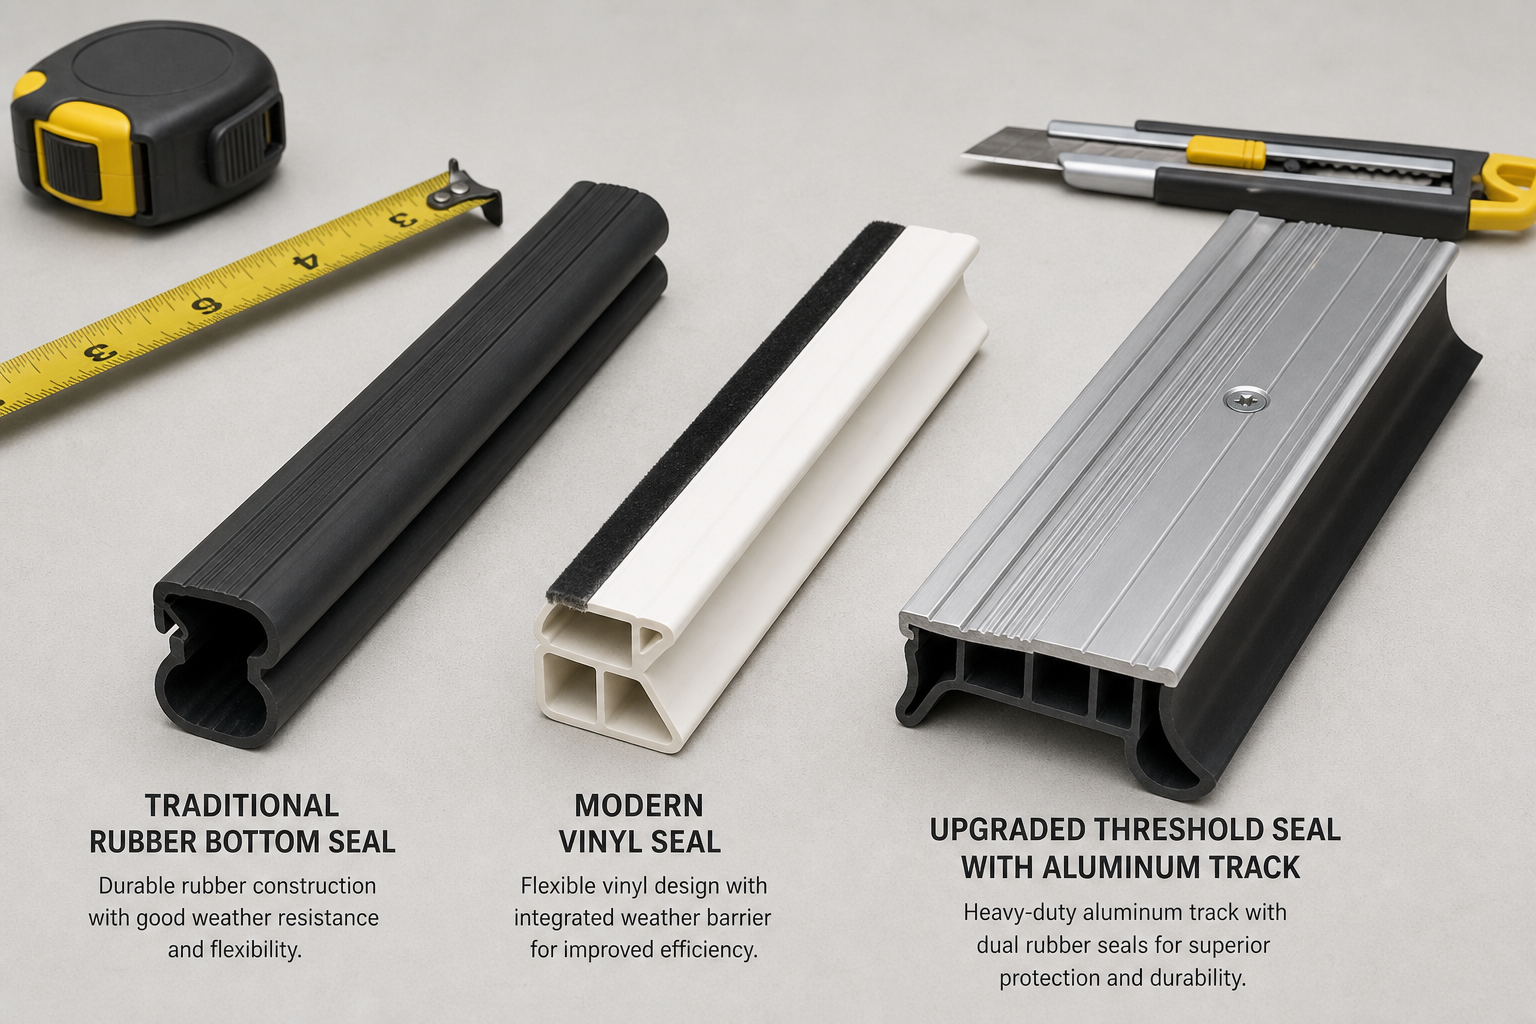
Brush-style seals replace the solid rubber bottom seal with a row of stiff bristles. They still block wind and debris but don’t create a continuous surface for ice to bond. The bristles flex individually, so even if a few freeze, the door still opens. They work best in climates with frequent freeze-thaw cycles.
The downside: brush seals allow more airflow than solid rubber. If your garage is heated or you’re trying to keep out dust, a brush seal won’t seal as tightly. They’re a trade-off between freeze resistance and insulation performance.
Vinyl seals are stiffer than EPDM, which means less surface contact with the floor. They’re also more prone to cracking in extreme cold. This stiffness helps in marginal freeze conditions but becomes a liability below 10°F. If your winters regularly drop below zero, stick with EPDM.

EPDM Garage Door Weather Seal
Superior freeze resistance and UV protection compared to vinyl alternatives
Dual-durometer seals combine a firm outer section with a softer contact edge. The firm section maintains shape, the soft edge conforms to the floor without excessive compression. These cost more but last longer and resist freezing better than single-material seals.
Addressing Moisture at the Source
If water pools near the door, you need better drainage. Check the garage floor slope. It should pitch toward the door at 1/8 inch per foot minimum, or toward a floor drain if you have one. Use a 4-foot level to check. If the floor slopes away from the door or sits flat, water will accumulate.
Resloping a garage floor is a professional job involving grinding or a self-leveling overlay. Expect reasonable pricing for a typical two-car garage depending on the scope. It’s not a first-choice fix, but if you’re already planning a floor coating or dealing with persistent water issues, correcting the slope makes sense.
A simpler option: cut a shallow channel in the concrete just inside the door. A 1/2-inch-deep, 2-inch-wide groove gives water a path to the sides rather than letting it sit against the seal. You can cut this with a masonry blade on a circular saw (wear a respirator, the dust is brutal) or hire it out.
For tracked-in snow and slush, install a drip edge or snow guard outside the door. These accessories catch melt before it enters the garage. A rubber or aluminum drip edge is competitively priced and screws into the door’s exterior bottom edge. It won’t stop all moisture but it reduces the volume significantly.
Dealing With Humidity and Vapor Transmission
Condensation happens when warm, humid air contacts a cold surface. In an unheated garage, the slab is often the coldest surface. If you see widespread moisture on the floor (not just near the door), you’re dealing with condensation, vapor transmission, or both.
A simple plastic sheet test identifies which type you have. Tape a 2-foot square of plastic flat on the floor, seal all edges, and leave it 48 hours. Moisture on top means condensation (humidity issue). Moisture underneath means vapor transmission (slab issue). Different root cause, different fix.
For condensation, reduce humidity. A quality garage dehumidifier makes a noticeable difference in results. Check current pricing on Amazon to find the right match for your project and budget. Size the unit to your garage volume (a two-car garage is roughly 4,000 to 5,000 cubic feet). Run it during winter months to keep relative humidity below 50%.
Improve ventilation by cracking a window or installing soffit and ridge vents if your garage has an attic above it. Cross-ventilation pulls humid air out before it condenses. Don’t vent directly to the outdoors in winter if the garage is heated, you’ll waste energy. Instead, use an exhaust fan on a timer or humidity sensor.
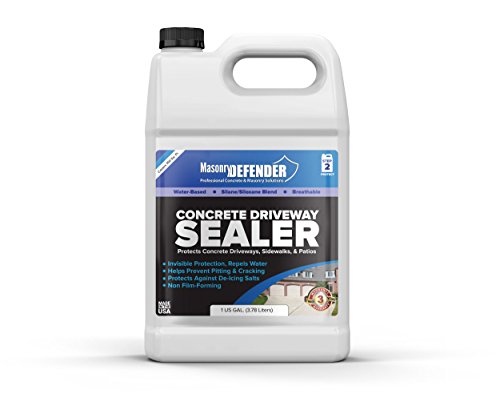
Vapor transmission requires a penetrating concrete sealer (silane or siloxane based) that blocks moisture migration through the slab. Apply to clean, dry concrete and allow full cure. Severe cases may need a dedicated vapor barrier coating or membrane system before any decorative finish.
Penetrating Concrete Sealer
Prevents moisture transmission through concrete slabs with long-lasting protection
Installation Tips for Replacement Seals
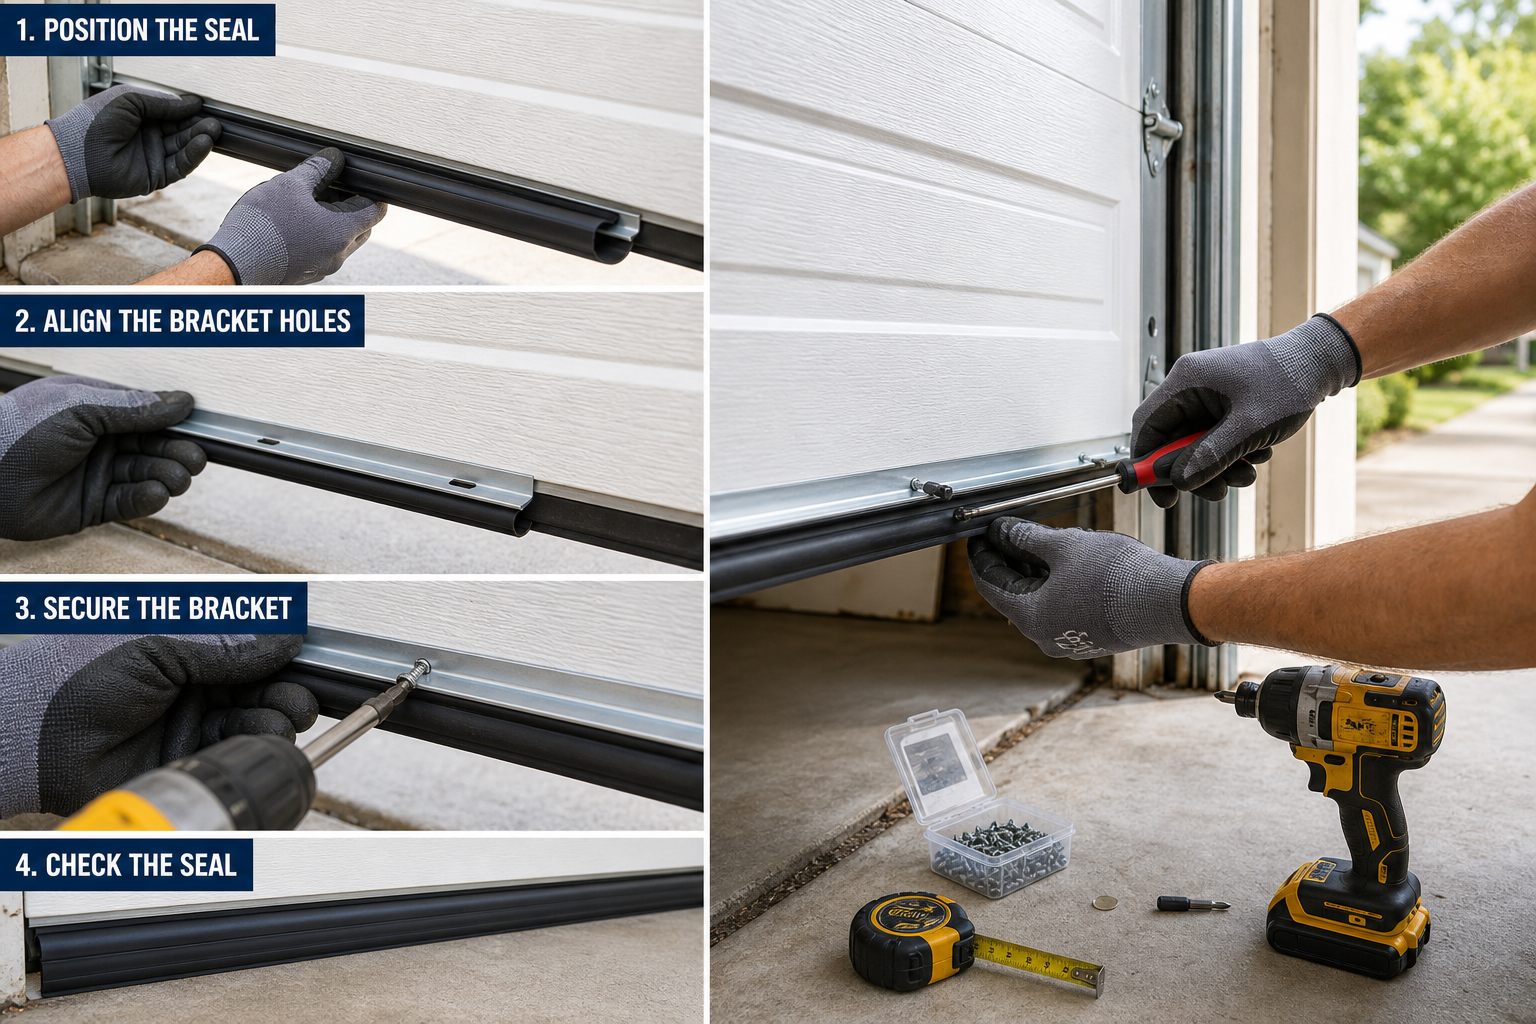
Remove the old seal by sliding it out of the retainer channel. If it’s stuck, a flat screwdriver or putty knife helps pry it loose. Some retainers have set screws at the ends, loosen those first.
Clean the retainer thoroughly. Dirt and old adhesive prevent the new seal from seating properly. A wire brush and soapy water work for most situations. Dry completely before installing the new seal.
New seals arrive coiled and stiff. Unroll them and let them sit in a warm space (70°F or higher) for a few hours before installation. This makes them easier to slide into the retainer. Some installers use dish soap as a lubricant, it dries without residue.
Cut the seal 1 to 2 inches longer than the door width. You can trim excess after installation, but cutting it too short leaves gaps at the ends. Use a utility knife or heavy scissors. A straight cut matters more than a perfect measurement.
Slide the seal into the retainer from one end, working slowly to avoid kinks. If the retainer screws onto the door, attach it loosely first, slide the seal in, then tighten the screws. Check that the seal sits evenly along the entire width before securing everything.
The seal should just barely touch the floor when the door is closed. Too much compression wears it out quickly and makes freezing more likely. Too little compression lets drafts and pests in. Adjust the down-limit on your garage door opener if needed. Most openers have a screw or dial on the motor unit that controls how far the door travels.
Seasonal Maintenance
Inspect seals every fall before the first freeze. Look for cracks, tears, compression set (permanent flattening), and gaps at the ends. Replacing a worn seal in October is easier than dealing with a frozen door in January.
Clean the seal and the floor contact zone a few times each winter. Salt, sand, and road grime build up and create texture that promotes ice formation. A simple wipe-down with a damp rag takes five minutes.
Reapply silicone spray monthly during freezing weather. It wears off with use and needs refreshing. Keep a can in the garage so you remember.
Check the threshold seal (if installed) for adhesive bond. Temperature cycling can loosen construction adhesive over time. Press down on the threshold periodically. If it moves, remove it, clean the old adhesive, and reinstall with fresh adhesive.
Practical Planning Tips
Before starting any garage project, take stock of what you have and what you need. Walk the space with a tape measure and a notepad. Record dimensions, note existing electrical outlets and their amperage, check for moisture issues, and photograph anything you want to change. This baseline assessment prevents surprises mid-project and helps you budget materials accurately.
Prioritize your projects based on impact and urgency. Safety issues (faulty wiring, CO risk, structural problems) come first. Comfort improvements (insulation, lighting, climate control) come second. Cosmetic upgrades (floor coatings, paint, organization systems) come last. Following this order ensures you’re building each improvement on a solid foundation.
Research local building codes and permit requirements for your specific project. Electrical work, structural modifications, and HVAC installations often require permits and inspections. Working without required permits can create liability issues, insurance complications, and problems when selling the home.
Check specific requirements before purchasing materials. Measure the area, note unusual conditions (extreme temps, high humidity, uneven surfaces), and read product specs carefully. A mismatch between your conditions and the product’s rated range is the most common cause of unexpected failures.
Keep the workspace organized throughout. Debris and clutter cause errors and safety issues. Clear tools and waste between major steps rather than letting mess accumulate to the end.
Cost Breakdown
Replacement bottom seals are budget-friendly for a two-car garage door depending on material and profile. EPDM costs more than vinyl but lasts two to three times longer. Side and header seals add another modest cost total.
Threshold seals range from basic rubber to heavy-duty models with integrated water channels. Add the cost of construction adhesive.
Silicone spray is very affordable per can. One can handles monthly applications for a full winter.
Dehumidifiers suitable for garage use start around reasonable pricing for a 30-pint model and go up for 50-pint units with built-in pumps and auto-restart features.
Professional seal replacement includes materials and labor and is reasonable if you don’t want to deal with the door yourself or if the retainer needs repair.
Floor slope correction or channel cutting costs vary widely depending on scope. Get quotes before committing.
When to Call a Professional
DIY covers most of what’s listed above, but some situations need professional help. High-voltage electrical work, garage door spring replacement, structural modifications, and commercial-grade coatings requiring specialized equipment are all worth outsourcing. A botched repair often costs more to fix than hiring the right person from the start.
Get two to three quotes, verify licensing and insurance, and ask for recent references. A reputable contractor explains the process clearly, provides a written estimate, and backs the work with a written warranty.
If your door freezes despite a new seal, proper drainage, and controlled humidity, the issue may be door alignment or a damaged retainer. A garage door technician can diagnose and fix these problems in one visit.
Spring replacement and opener motor work are not DIY projects. Garage door springs store enough energy to cause serious injury or death if they break during handling. Let a professional handle anything involving springs, cables, or high-tension hardware.
Frequently Asked Questions
Are hairline garage floor cracks normal?
Yes. Nearly all slabs develop them during curing. Under 1/8 inch and stable are cosmetic only and easy to fill before coating.
When are floor cracks a concern?
Wider than 1/4 inch, one side higher than the other, or visibly growing. These may indicate settlement requiring professional assessment.
Can I use a heater to prevent freezing?
A small space heater near the door can keep the seal above freezing, but it’s expensive to run all winter and creates a fire hazard if left unattended. Better to fix the moisture and insulation issues.
Does insulating the garage door help?
Yes, indirectly. An insulated door keeps the interior surface warmer, which reduces condensation. It won’t stop tracked-in snow from melting, but it helps with overall moisture control. Insulation kits are competitively priced and install in a few hours.
This article contains affiliate links. We may earn a small commission at no extra cost to you.
