

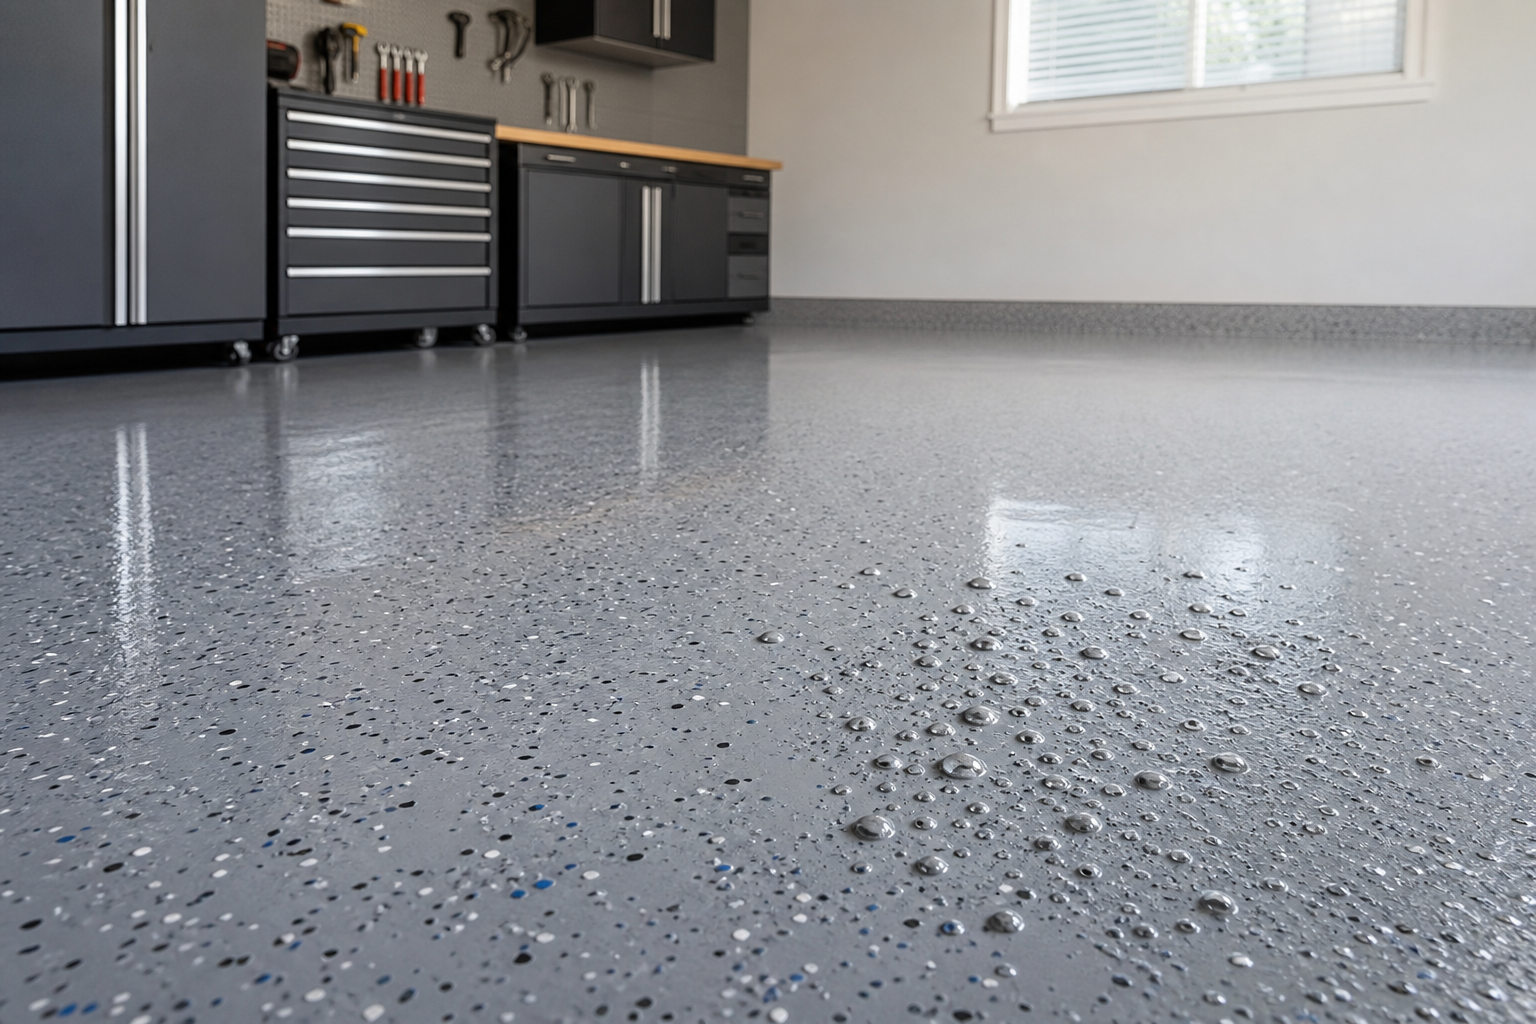
Dealing with a situation where epoxy floor bubbles is one of those garage frustrations that catches you off guard. Everything seemed fine until one day you notice something isn’t right. The good news is that these issues almost always trace back to identifiable causes with practical solutions.
This guide covers the most common culprits in diagnostic order, starting with the simplest checks. Most readers find their answer within the first few sections without needing a service call.
Understanding Epoxy Floor Bubble Basics
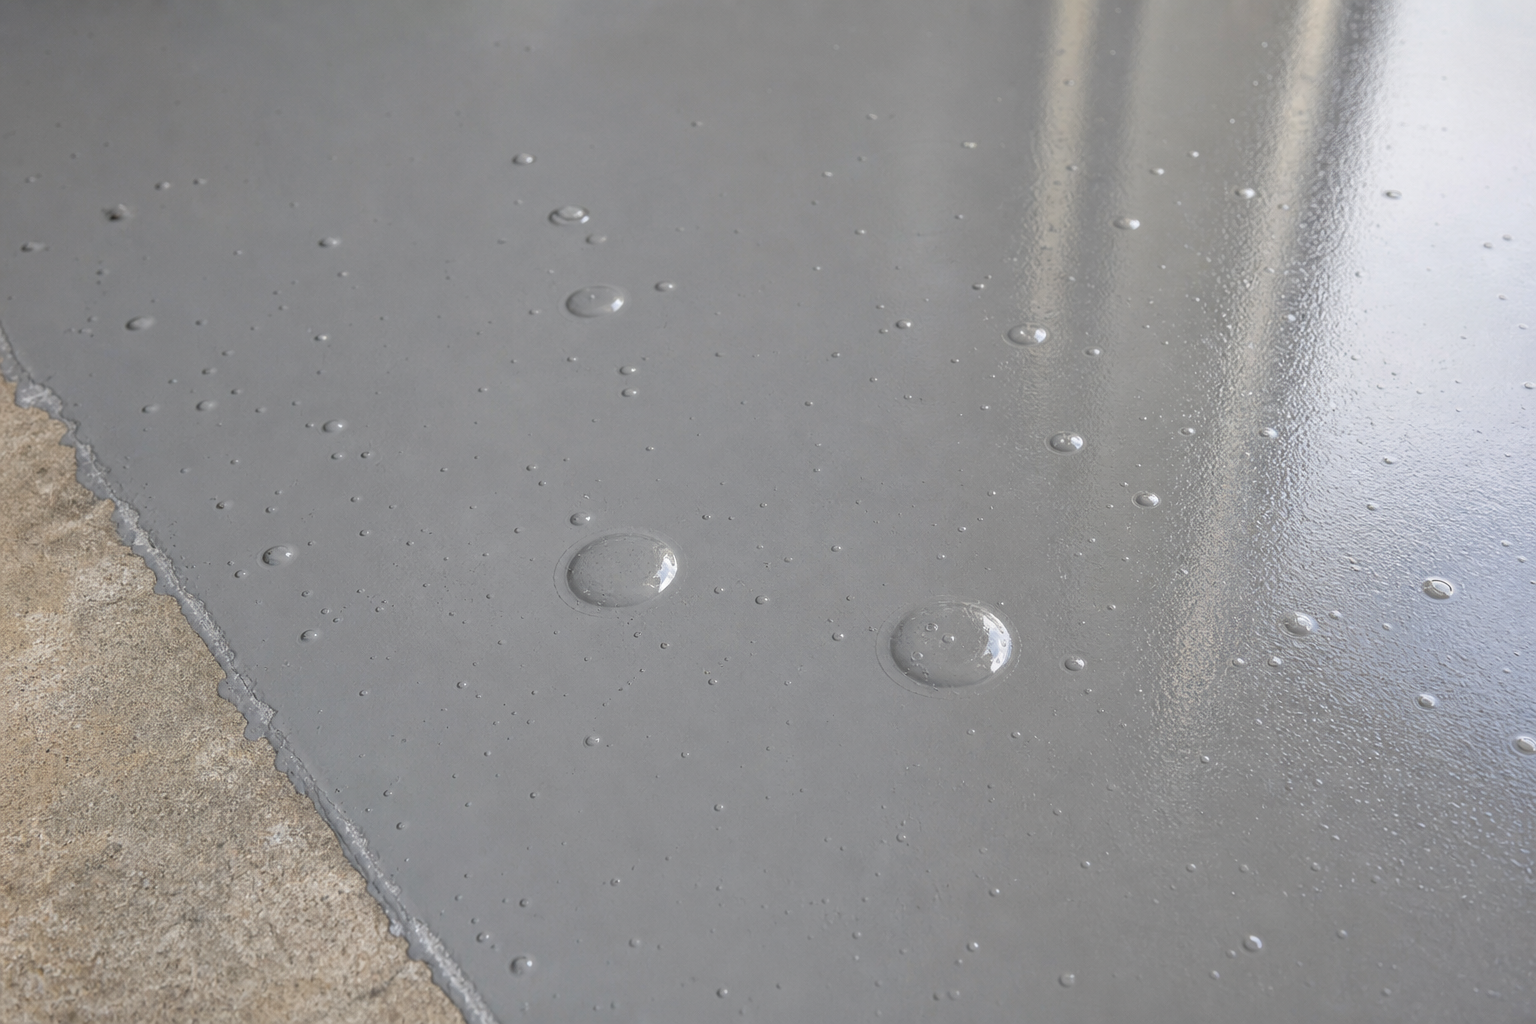
Before diving into solutions, it helps to understand what you’re dealing with. Epoxy floor bubbles typically appear as raised areas or blisters in your garage floor coating. They can range from small pin-sized bubbles to larger areas that feel spongy underfoot.
The key to fixing them lies in identifying whether you’re dealing with surface bubbles from trapped air or deeper issues related to moisture and concrete preparation. Each requires a different approach.
Start with a small test area if you’re uncertain. A 4 by 4-foot section in an inconspicuous spot lets you evaluate adhesion, appearance, and workability without committing to the full project. Troubleshooting a small test area is far easier than redoing everything.
The Science Behind Outgassing Bubbles
Bubbles in fresh coatings (outgassing) form when trapped air in concrete pores expands through the wet film. Rising temperatures push air out; falling temperatures draw it in. Evening application (declining temps) produces fewer bubbles.
Aggressive rolling also whips air into the mix, creating smaller but widespread bubbles throughout the surface. This is why application technique matters as much as timing.
Temperature swings during curing can worsen the problem. Your garage floor acts like a giant heat sink, and rapid temperature changes create pressure differences that force air through the coating.
Understanding this process helps you prevent future issues. Proper surface preparation and sealing your garage floor before epoxy application can eliminate most outgassing problems.

Moisture-Related Bubble Formation
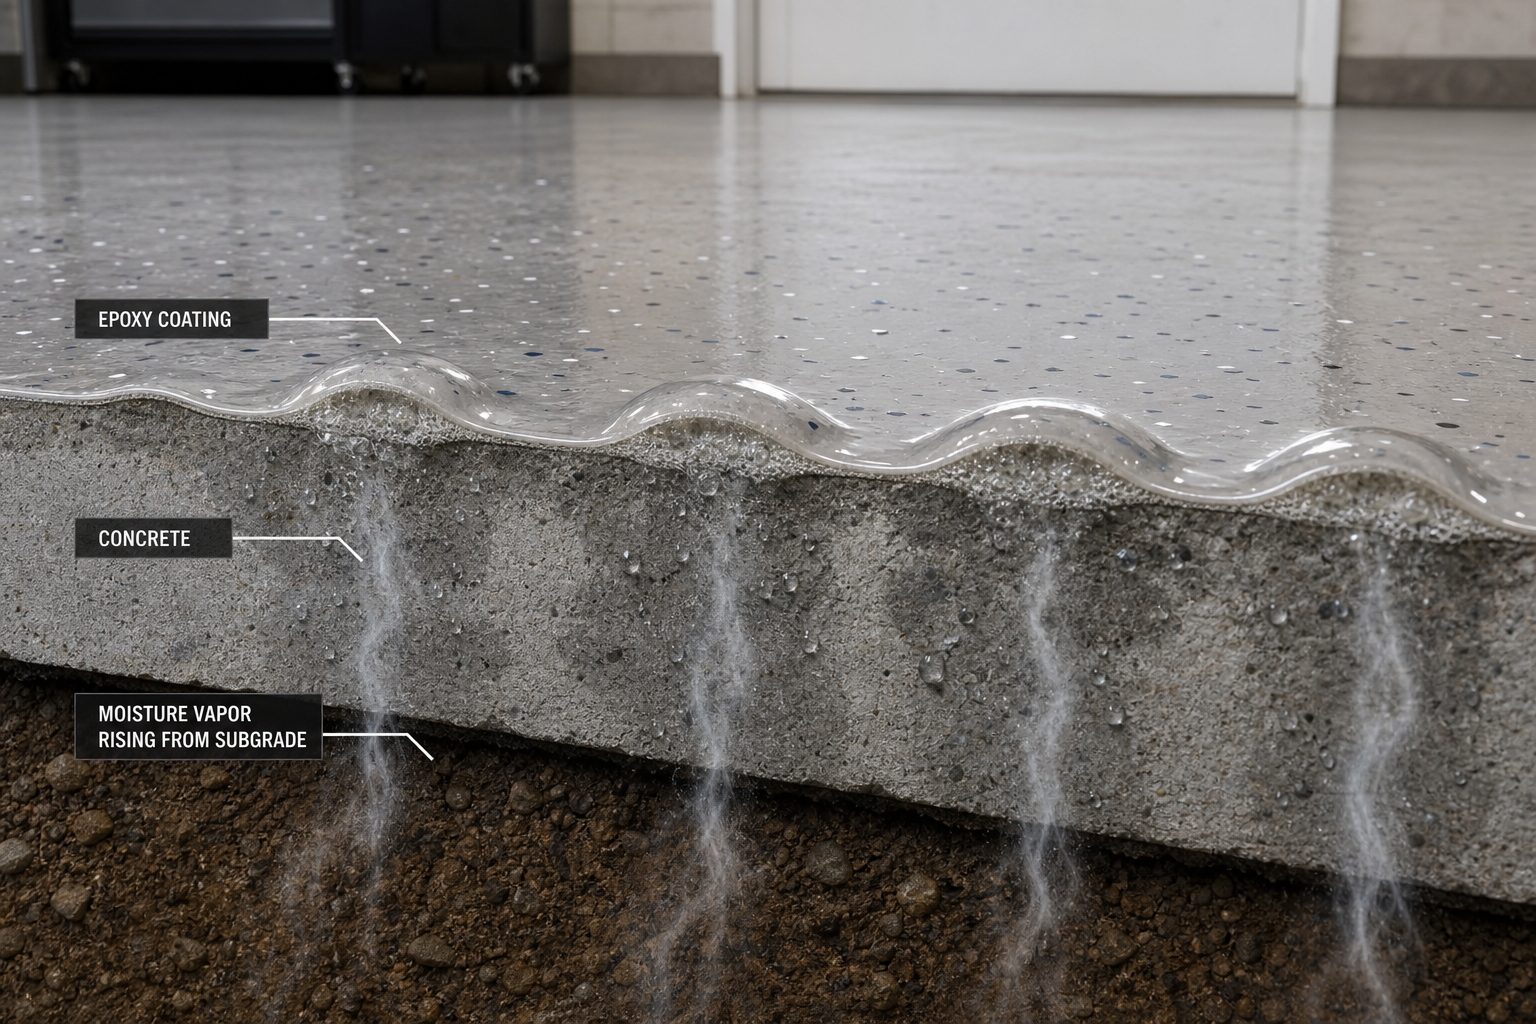
Moisture in a garage comes from two primary sources. Vapor transmission moves water through the concrete slab from soil below. Condensation forms when warm humid air contacts the cooler slab surface. Each requires a different solution, and treating the wrong one wastes time and money.
Vapor transmission requires a penetrating concrete sealer (silane or siloxane based) that blocks moisture migration through the slab. Apply to clean, dry concrete and allow full cure. Severe cases may need a dedicated vapor barrier coating or membrane system before any decorative finish.
You can test for moisture issues by taping plastic sheets to different areas of your concrete floor. Leave them for 24-48 hours. Condensation under the plastic indicates vapor transmission problems.
Surface Moisture vs. Deep Moisture
Surface moisture typically creates bubbles that appear within hours of application. These bubbles are often larger and more obvious. Deep moisture problems may not show up for days or weeks as water slowly migrates through the concrete.
For surface moisture issues, better ventilation and timing your application for dry conditions usually solves the problem. Deep moisture requires proper primer application and potentially moisture-blocking systems.
Repair vs. Complete Redo
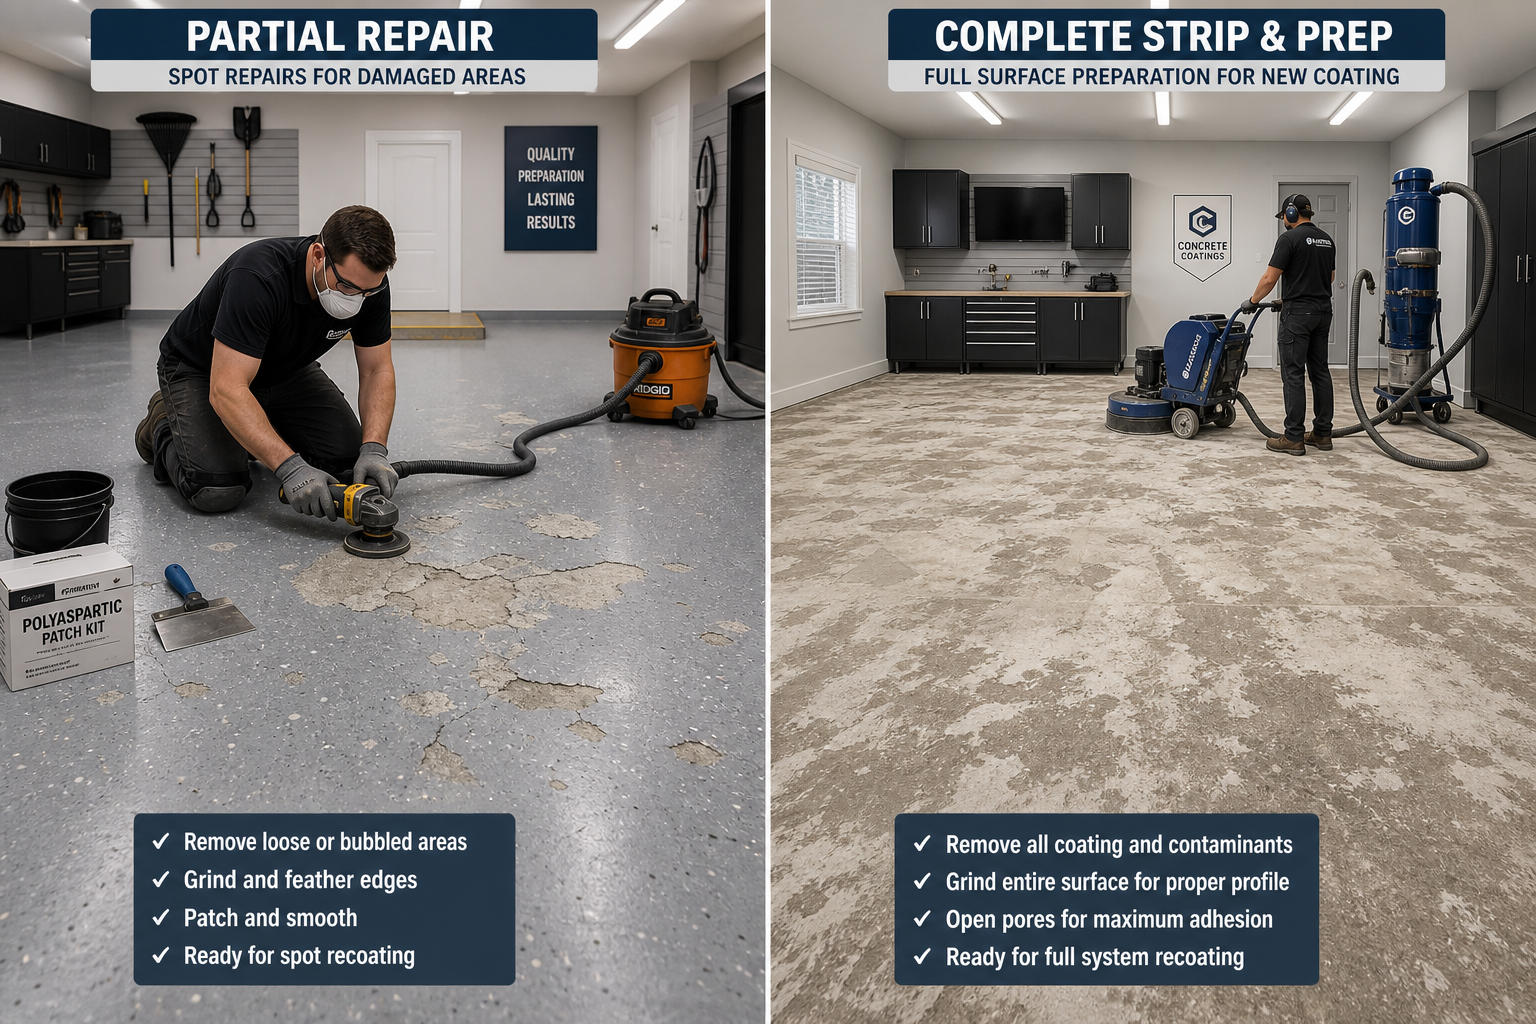
How to pop and re-coat small areas versus when the whole floor needs to be stripped and redone depends on the extent and cause of your bubble problem. The details here make the difference between a result that lasts and one that needs redoing within a year.
Small, isolated bubbles (less than 10% of your floor area) can often be spot-repaired. Use a sharp utility knife to carefully cut out the bubbled area. Sand the edges smooth, clean thoroughly, and apply new coating with proper overlap onto the existing finish.
Widespread bubbling or bubbles that return after repair indicate deeper issues. You’ll need to strip the entire floor and start over with proper surface preparation.
When Spot Repairs Work
Spot repairs succeed when the underlying concrete is properly prepared and the bubbles resulted from application errors rather than substrate issues. Test a small repair first and monitor it for several weeks.
Work in small, manageable sections for better quality control. For floor coatings, that means strips the width of your roller from back to front. Rushing large areas creates inconsistencies and errors.

Prevention Tips for Future Applications
Prevention tips for the next application focus on surface preparation and environmental control. This is an area where cutting corners comes back to haunt you. Invest the effort upfront and you’ll save significant time and money over the next several years of use.
Concrete must be clean, dry, and properly profiled. Grinding or acid etching creates the surface texture epoxy needs for good adhesion. Remove any rust stains or oil contamination before starting.
Temperature and humidity control during application prevents most bubble formation. Ideal conditions are 60-80°F with relative humidity below 85%. Avoid application during rapid temperature changes.
Surface Preparation Checklist
Measure twice and commit once. A tape measure and five minutes of verification prevent the mistakes that take hours to fix. This applies to cuts, holes, and any irreversible step.
Test concrete porosity by dropping water on the surface. It should absorb within 30 seconds. If water beads up, you need additional surface preparation or a penetrating primer.
Wear appropriate protection throughout: safety glasses, gloves, respirator when working with chemicals or dust. Ventilate when using adhesives, paints, or solvents.
Environmental Factors
Your garage environment plays a crucial role in epoxy success. Poor ventilation traps moisture and extends cure times. Installing proper ventilation helps maintain stable conditions.
Seasonal timing matters too. Spring and fall typically offer the most stable conditions for epoxy application. Summer heat can cause rapid curing and bubble formation, while winter cold slows curing and may cause adhesion problems.
Consider your garage door seal condition. A worn weather stripping system allows moisture and temperature fluctuations that can affect your floor coating.

Digital Hygrometer
Monitor temperature and humidity conditions for optimal application timing
Practical Planning Tips
Set a realistic timeline and budget before buying anything. Most garage projects take 50% longer and cost 20% more than initial estimates, especially for first-timers. Build that buffer into your plan so unexpected discoveries don’t derail the entire project.
Research local building codes and permit requirements for your specific project. Some garage modifications require permits and inspections. Working without required permits can create liability issues and problems when selling your home.
Factor in maintenance when choosing your approach. The lowest-maintenance option isn’t always cheapest initially, but it usually wins over a 5 to 10-year window when you include touch-ups, repairs, and replacements.
If you’re planning other garage workshop improvements, coordinate the floor work with other projects. It’s much easier to apply epoxy coating before installing permanent fixtures or storage systems.
When to Call a Professional
DIY covers most bubble repair situations, but some conditions need professional help. Widespread adhesion failure, severe moisture problems, or structural concrete issues are worth outsourcing. A botched repair often costs more to fix than hiring the right person from the start.
Get two to three quotes, verify licensing and insurance, and ask for recent references. A reputable contractor explains the process clearly, provides a written estimate, and backs the work with a written warranty.
Professional application makes sense for large garages or when you need guaranteed results for a high-value space. The equipment and experience advantage often justifies the additional cost.

Epoxy Roller Kit
Professional-grade rollers reduce bubble formation during application
Frequently Asked Questions
How long will epoxy floor repairs last?
Properly executed repairs can last years with quality materials and correct installation. Surface preparation quality is the single biggest longevity factor. Spot repairs on well-prepared concrete often outlast the surrounding coating.
Can I prevent bubbles by applying thinner coats?
Thinner coats reduce bubble formation but may compromise durability and coverage. Follow manufacturer specifications for film thickness. Multiple thin coats work better than trying to build thickness in a single application.
Should I pop bubbles immediately or wait for curing?
Address bubbles while the coating is still workable, typically within the first few hours. Use a small roller to work out air pockets. Once fully cured, you’ll need to cut out and patch bubbled areas.
Are small pin-hole bubbles worth fixing?
Pin-hole bubbles smaller than a pencil eraser are often cosmetic only. They rarely affect performance and may not be worth the effort to repair. Focus on larger bubbles or areas where the coating feels soft or spongy.
This article contains affiliate links. We may earn a small commission at no extra cost to you.
