

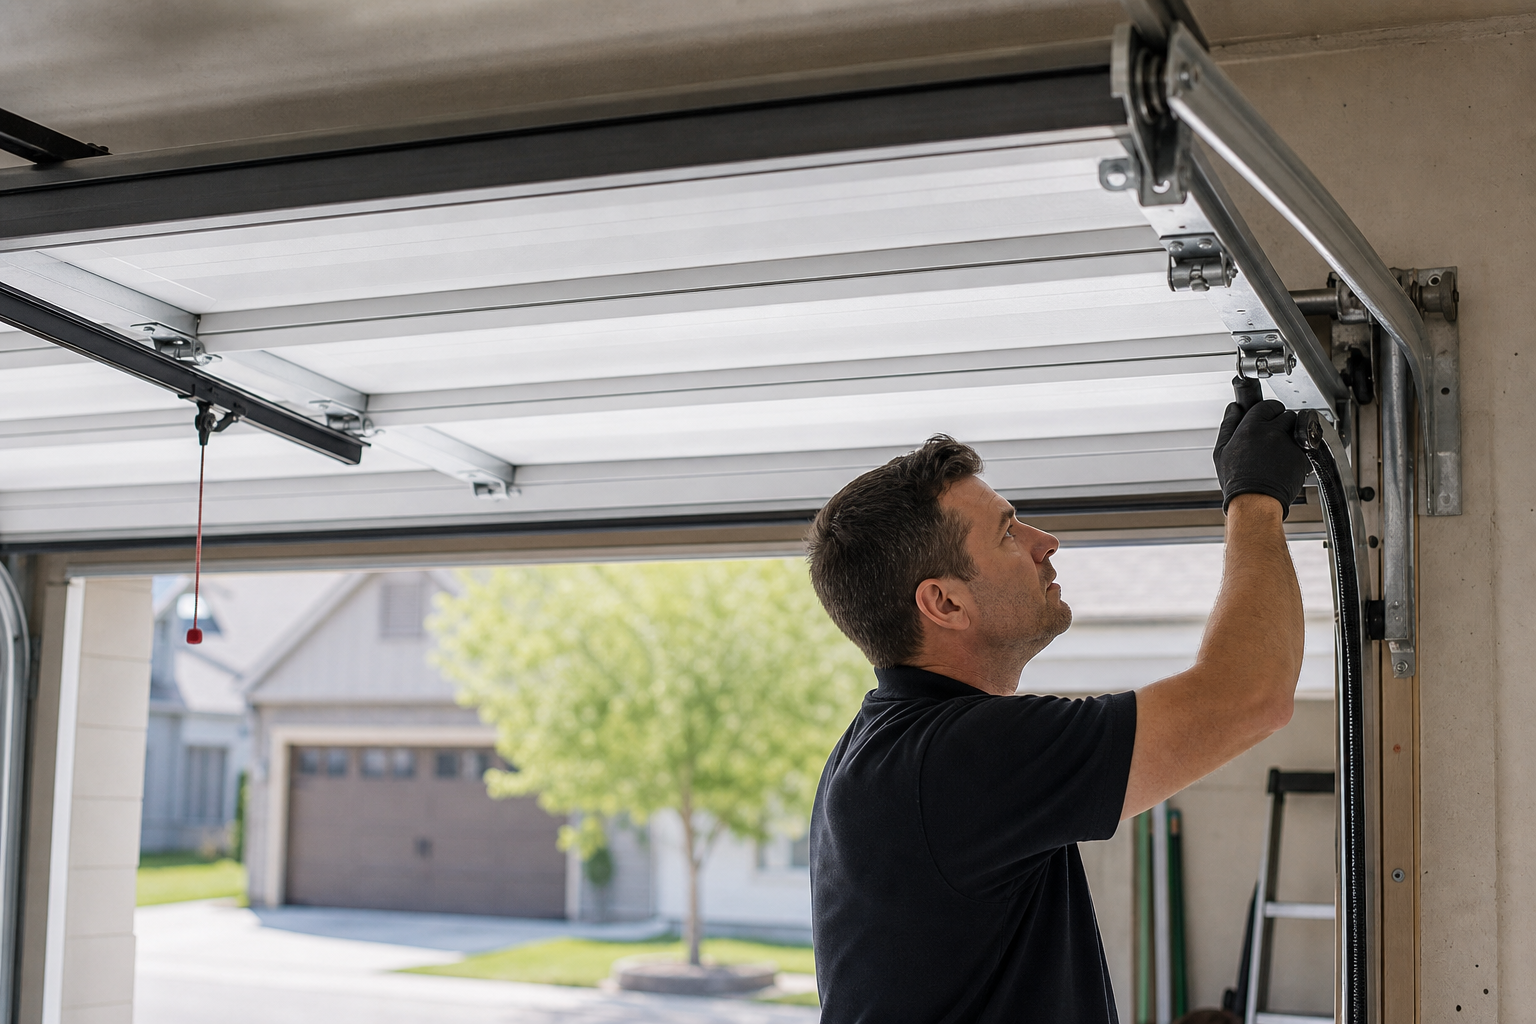
Dealing with a situation where your garage door jerks or shakes when opening is one of those garage frustrations that catches you off guard. Everything seemed fine until one day you notice something isn’t right. The reassuring truth is that these issues almost always trace back to identifiable causes with practical solutions.
This guide covers the most common culprits in diagnostic order, starting with the simplest checks. Most readers find their answer within the first few sections without needing a service call.
Understanding the Basics
Start troubleshooting by disconnecting the opener (pull the red emergency release cord) and testing the door by hand. If it moves smoothly and holds at the halfway point, the mechanical system is fine and the problem is in the opener or electronics. If the door is heavy or drifts, suspect the springs.
Safety sensors mount about 6 inches above floor level on both sides of the door opening. They send an infrared beam across the gap. If anything blocks or misaligns that beam, the door won’t close properly. Sensor issues are the number-one cause of “door won’t close” complaints and are almost always a quick fix.

Garage Door Safety Sensor
Essential for proper door operation and safety compliance
If you’re dealing with sensor alignment issues specifically, check out our detailed guide on garage door safety sensor alignment for step-by-step instructions.
Lubrication is the cheapest, most effective maintenance. Apply white lithium grease or silicone-based lubricant to hinges, rollers (unless sealed nylon), spring coils, and track contact points every 6 months. Skip WD-40 for this; it’s a solvent that displaces moisture but doesn’t provide lasting lubrication.
Common Mechanical Issues
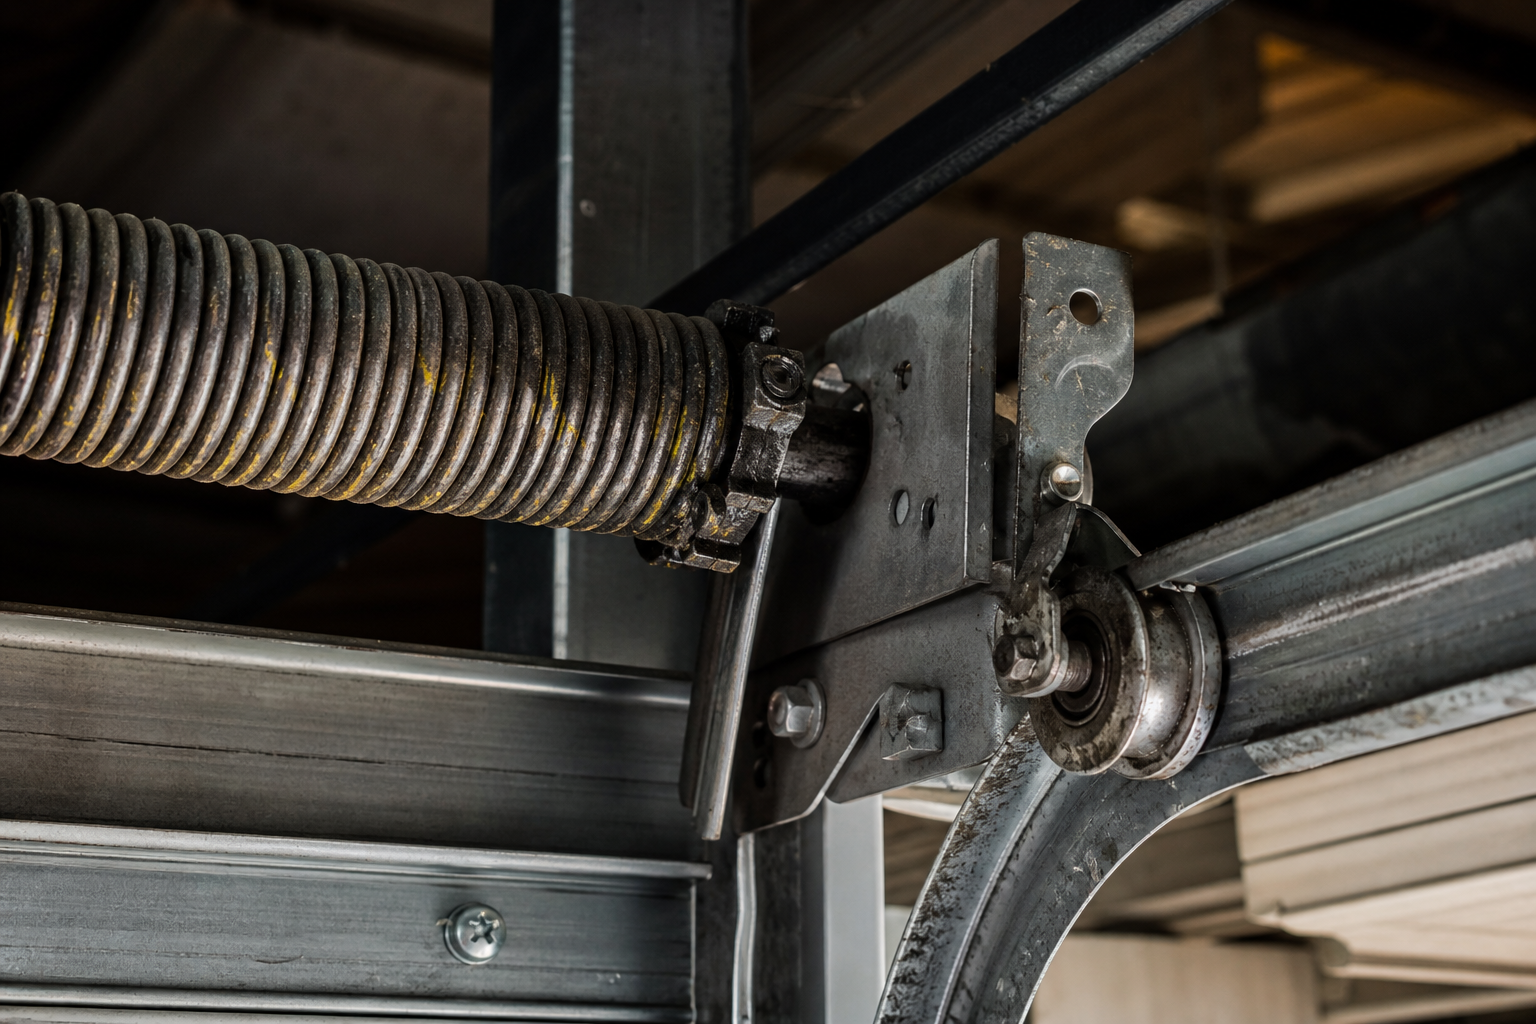
Worn Torsion Springs Losing Even Tension
Worn torsion springs losing even tension and dry or damaged rollers catching in the track create the jerky motion you’re experiencing. Getting this right requires matching your approach to actual conditions rather than following a generic formula. Climate, surface condition, and usage patterns all influence the best path forward.
Measure twice and commit once. A tape measure and five minutes of verification prevent the mistakes that take hours to fix. This applies doubly to cuts, holes, and any irreversible step.
Bent Shaft and Failing Gear Assembly
A bent shaft and an opener with a failing gear assembly represent more serious issues. This is an area where cutting corners comes back to haunt you. Invest the effort upfront and you’ll save significant time and money over the next several years of use.
Check specific requirements before purchasing materials. Measure the area, note unusual conditions (extreme temps, high humidity, uneven surfaces), and read product specs carefully. A mismatch between your conditions and the product’s rated range is the most common cause of unexpected failures.
If your door frequently stops halfway during operation, this could indicate the same underlying issues causing the jerky motion.
Expect at least one surprise during the project. Hidden moisture, non-standard dimensions, or outdated wiring are common discoveries. Having backup materials and a flexible timeline reduces the stress when they appear.
Recognizing Early Warning Signs
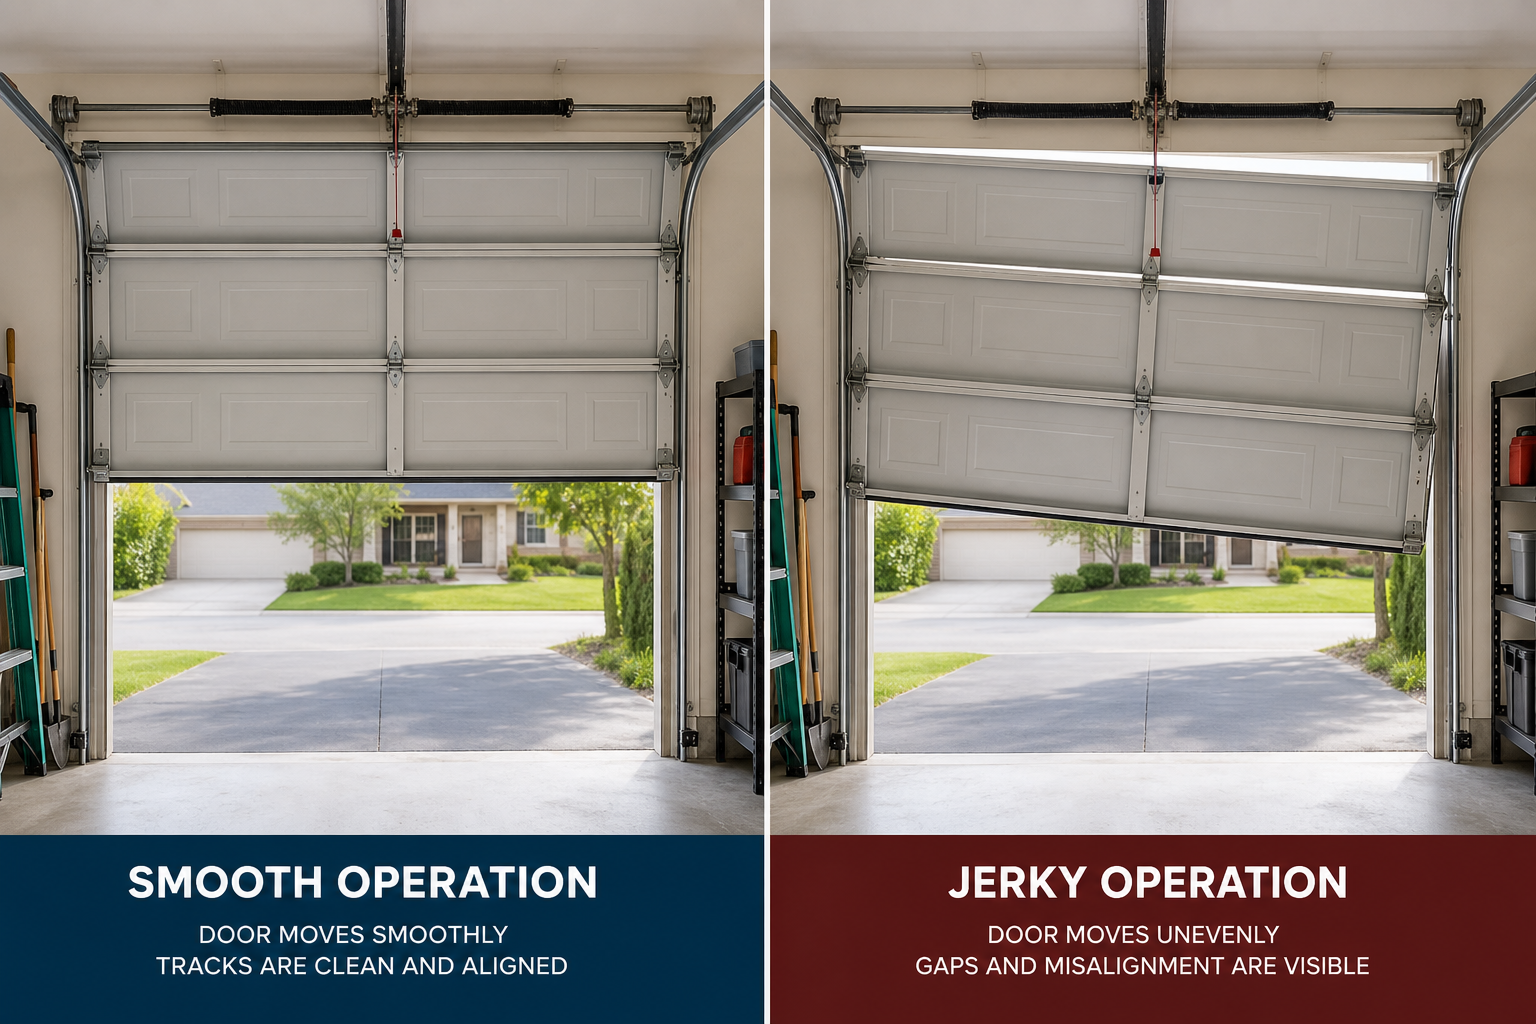
The difference between a smooth and jerky cycle serves as an early warning sign before a full failure. Getting this right requires matching your approach to actual conditions rather than following a generic formula. Climate, surface condition, and usage patterns all influence the best path forward.
Work in small, manageable sections for better quality control. For floor coatings, that means strips the width of your roller from back to front. For wall systems, complete one section fully before starting the next. Rushing large areas creates inconsistencies and errors.
Wear appropriate protection throughout: safety glasses, gloves, respirator when working with chemicals or dust. Ventilate when using adhesives, paints, or solvents. These aren’t optional precautions.
System Components and Diagnosis
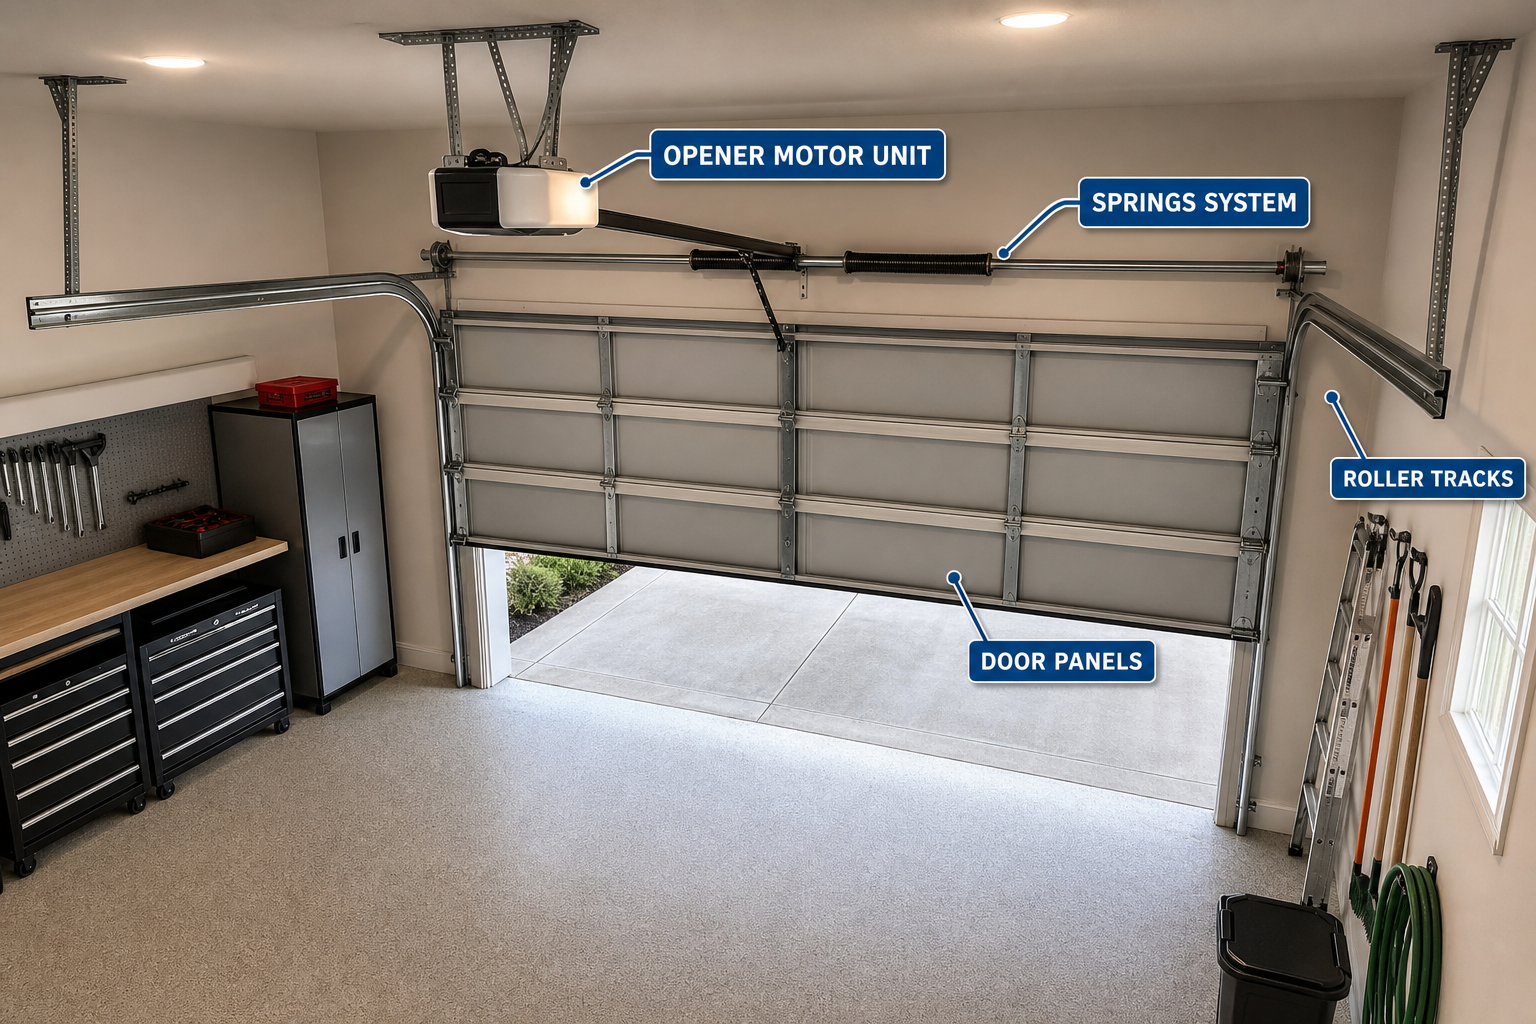
A garage door system includes panels, tracks, rollers, springs (torsion or extension), cables, hinges, weatherstripping, and the opener with its motor, drive mechanism, and safety sensors. When symptoms appear, the root cause isn’t always in the most obvious component.
Zone your garage before buying products. Common zones: tools/workbench, automotive, seasonal items, sports gear, lawn/garden, and household overflow. Each zone stays self-contained so everything for a given task lives in one spot.
For opener-related issues, consider whether you need more power. Our comparison of 1.25 HP vs 1.5 HP garage door openers can help you determine if your current motor is adequate for your door’s weight and size.
Practical Planning Tips
Consider the seasonal timing of your project. Floor coatings apply best in mild weather (50 to 85 degrees). Insulation projects are most motivating (and noticeable) before extreme weather hits. Electrical and plumbing work can happen year-round but should be completed before insulating or finishing walls over the wiring.
Prioritize your projects based on impact and urgency. Safety issues (faulty wiring, CO risk, structural problems) come first. Comfort improvements (insulation, lighting, climate control) come second. Cosmetic upgrades (floor coatings, paint, organization systems) come last. Following this order ensures you’re building each improvement on a solid foundation.
Before starting any garage project, take stock of what you have and what you need. Walk the space with a tape measure and a notepad. Record dimensions, note existing electrical outlets and their amperage, check for moisture issues, and photograph anything you want to change. This baseline assessment prevents surprises mid-project and helps you budget materials accurately.
When to Call a Professional
DIY covers most of what’s listed above, but some situations need professional help. High-voltage electrical work, garage door spring replacement, structural modifications, and commercial-grade coatings requiring specialized equipment are all worth outsourcing. A botched repair often costs more to fix than hiring the right person from the start.
Get two to three quotes, verify licensing and insurance, and ask for recent references. A reputable contractor explains the process clearly, provides a written estimate, and backs the work with a written warranty.

Garage Door Weatherstrip
Helps maintain door alignment and reduces wear on moving parts
For weatherstripping maintenance and replacement, our weather stripping replacement guide covers the complete process.
Frequently Asked Questions
Should I replace garage door springs myself?
Torsion springs store enough energy to cause serious injury. This repair should always go to a trained technician with proper tools. The risk isn’t worth the potential savings.
How long do garage door openers last?
10 to 15 years with regular maintenance. Belt-drive units tend to outlast chain-drive models. Motors, boards, and gears wear first. If you’re considering an upgrade, look into openers with battery backup for added reliability.
How do I maintain garage organization long-term?
Designated zones, clear labeled bins, and the discipline to return items to their zone after each use. The system only works if you maintain it consistently.
Can I adjust my garage door opener myself?
Basic adjustments like travel limits and force settings are DIY-friendly. However, spring adjustments and major mechanical repairs require professional service.
This article contains affiliate links. We may earn a small commission at no extra cost to you.
