

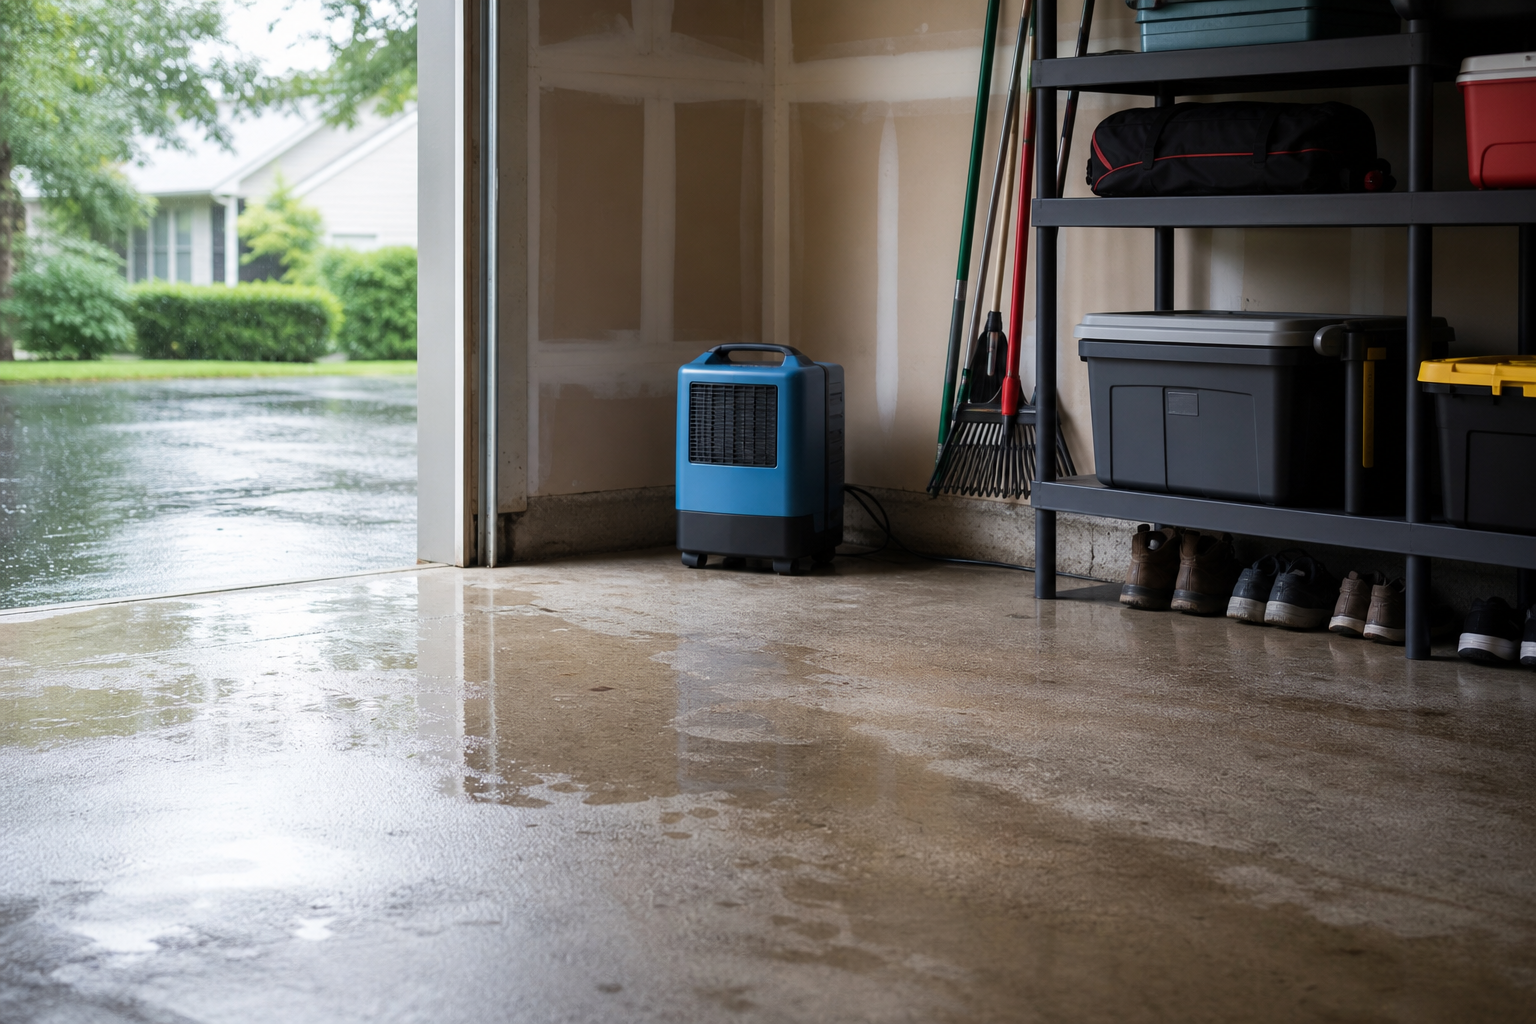
When your garage gets musty after rain, the temptation is to assume the worst. In reality, the cause is usually simpler and cheaper than expected. The key is working through possibilities systematically rather than guessing.
Below, you’ll find each common cause with specific diagnostic steps and fixes. Grab a flashlight and your basic toolkit, then work through these from easiest to most involved.
Understanding the Basics
Moisture in a garage comes from two primary sources. Vapor transmission moves water through the concrete slab from soil below. Condensation forms when warm humid air contacts the cooler slab surface. Each requires a different solution, and treating the wrong one wastes time and money.
A simple plastic sheet test identifies which type you have. Tape a 2-foot square of plastic flat on the floor, seal all edges with duct tape, and leave it 48 hours. Moisture on top means condensation (humidity issue). Moisture underneath means vapor transmission (slab issue). Different root cause, different fix.
Vapor transmission requires a penetrating concrete sealer (silane or siloxane based) that blocks moisture migration through the slab. Apply to clean, dry concrete and allow full cure. Severe cases may need a dedicated vapor barrier coating or membrane system before any decorative finish.
For condensation, a dehumidifier and improved ventilation are the most effective solutions. A 50-pint unit keeps relative humidity below 60% in most two-car garages. Choose a model with auto-defrost if your garage drops below 65 degrees, since standard units ice up in cool conditions. Position the unit centrally, at least a foot from walls, and empty the reservoir daily unless you set up a drain hose to a floor drain or exterior.
Check Your Door Seals First
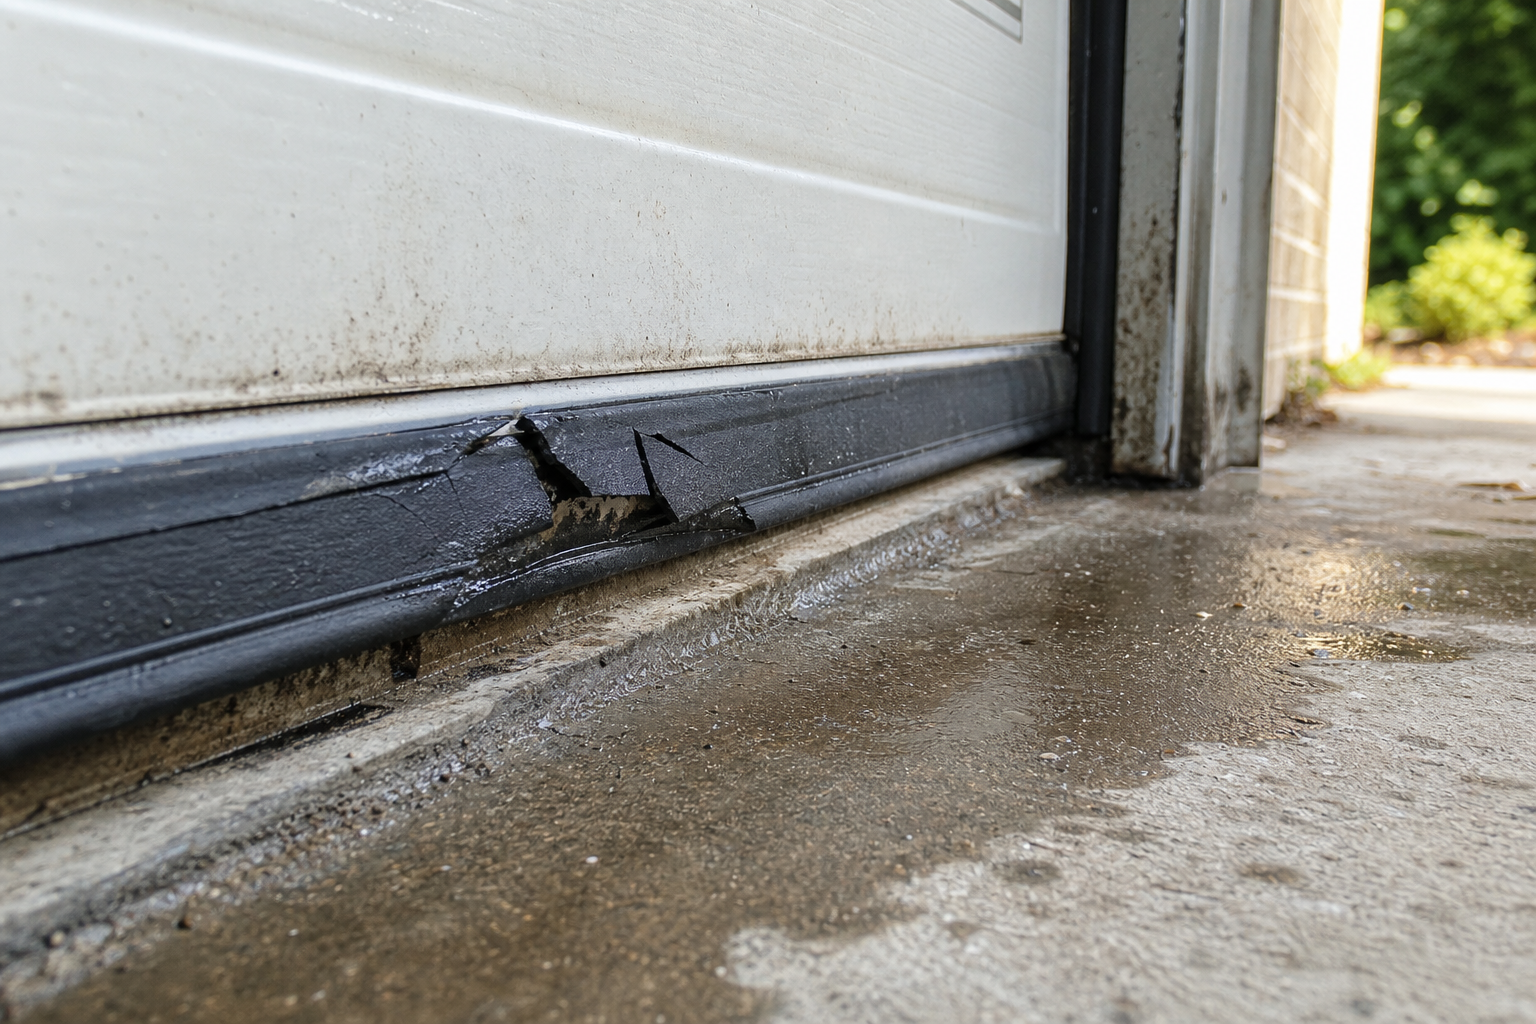
Start here because it’s the easiest fix and often the culprit. The bottom seal (or threshold seal) creates a barrier between the door and the floor. If it’s compressed, cracked, or missing chunks, water runs straight in during heavy rain.
Inspect the seal with the door closed. Look for gaps, especially at the corners and center. A working seal should contact the floor evenly across the entire width. If you can see daylight beneath the door, water is getting in.
Bottom seals come in T-shaped, bulb, beaded, and J-type profiles. Match the profile to your existing retainer channel (usually 3 or 4 inches wide). Measure channel width and height before ordering to avoid modification headaches.

Garage Door Bottom Seal
Essential for preventing water entry and available in multiple profiles to fit your door
Replacement is easy. Remove the old seal by pulling it out of the track. Clean the track with a wire brush and rag. Slide the new seal in from one end, working it into the channel. Trim to length with a utility knife. Most installations take 20 minutes.
Side and top seals matter too. These U-shaped rubber strips attach to the door frame and compress when the door closes. Check for gaps, hardening, or tears. Peel off the old seal, clean the mounting surface, and press the new seal into place. Self-adhesive versions stick directly to clean metal or wood. Nail-on versions require small finishing nails every 12 inches.
For a complete guide on replacing all types of door seals, check out our garage door weather stripping replacement guide.
Evaluate Grading and Surface Water
Walk your property during or right after a heavy rain. Watch where water flows. If it pools near the garage or runs toward the foundation, grading is your problem.
Ideal grading slopes away from the garage at a minimum of 1 inch per foot for the first 10 feet. Stand at the base of the garage wall and look outward. The ground should visibly drop. If it’s flat or slopes inward, water migrates toward the slab.
Fix minor grading issues by adding soil. Use clay-heavy fill dirt, not topsoil or sand. Build up the soil so it slopes away from the foundation, compact it with a hand tamper, and cover with sod or gravel. For a 20-foot-wide garage, you might need 2 to 3 cubic yards of fill to create proper slope.
Severe grading problems (water pooling within 3 feet of the foundation, existing slope toward the garage) often need professional regrading. Excavators or landscapers can recontour the yard properly. Expect professional regrading to cost between competitively priced and competitively priced depending on yard size and access.
Downspouts and gutters contribute to the problem when they dump water too close to the garage. Extend downspouts at least 6 feet from the foundation using rigid extensions or flexible corrugated pipe. Splash blocks alone don’t move water far enough. In heavy rain, they overflow and the water still pools near the slab.
Address Slab Permeability
Concrete is porous. Water vapor migrates through it from the soil below, especially in areas with high water tables or clay soil that holds moisture. This creates the damp, musty smell even when no visible water enters the garage.
Penetrating sealers absorb into the concrete and chemically react to block water movement. They don’t sit on the surface like a coating. Silane and siloxane formulas penetrate deepest (up to 4 millimeters) and last longest (5 to 10 years before reapplication).
Clean the slab thoroughly before application. Sweep, then scrub with a concrete degreaser if oil stains are present. Rinse well and let dry completely. The concrete must be dry or the sealer won’t penetrate.
Apply sealer with a pump sprayer or roller. Work in sections, keeping a wet edge. Most products require two coats 2 to 4 hours apart. Coverage rates vary, but plan on 150 to 200 square feet per gallon for porous concrete, more for dense slabs.
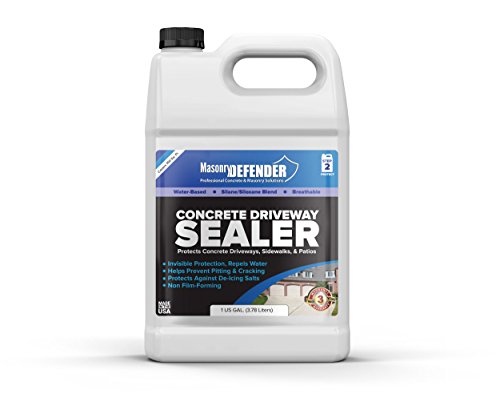
Penetrating Concrete Sealer
Blocks moisture migration through the slab with deep penetrating silane or siloxane formula
Cure time matters. Don’t walk on the surface for at least 4 hours. Avoid heavy traffic for 24 hours. Full cure takes 7 days. Rain during this window can ruin the application.
Follow manufacturer instructions exactly, even when online tutorials suggest shortcuts. Formulations differ between brands; what works for one product can cause failure with another. If the data sheet says 4 hours between coats at 60 degrees minimum, those numbers aren’t suggestions.
For extreme moisture issues (positive-side hydrostatic pressure, constant dampness even after sealing), consider an epoxy-based vapor barrier. These coatings create a physical barrier on the slab surface. They’re more expensive but handle moisture that would push through a penetrating sealer.
Before sealing, proper floor preparation is crucial. Our guide on how to seal garage floor before epoxy covers the complete process for best results.
Install Drainage Solutions
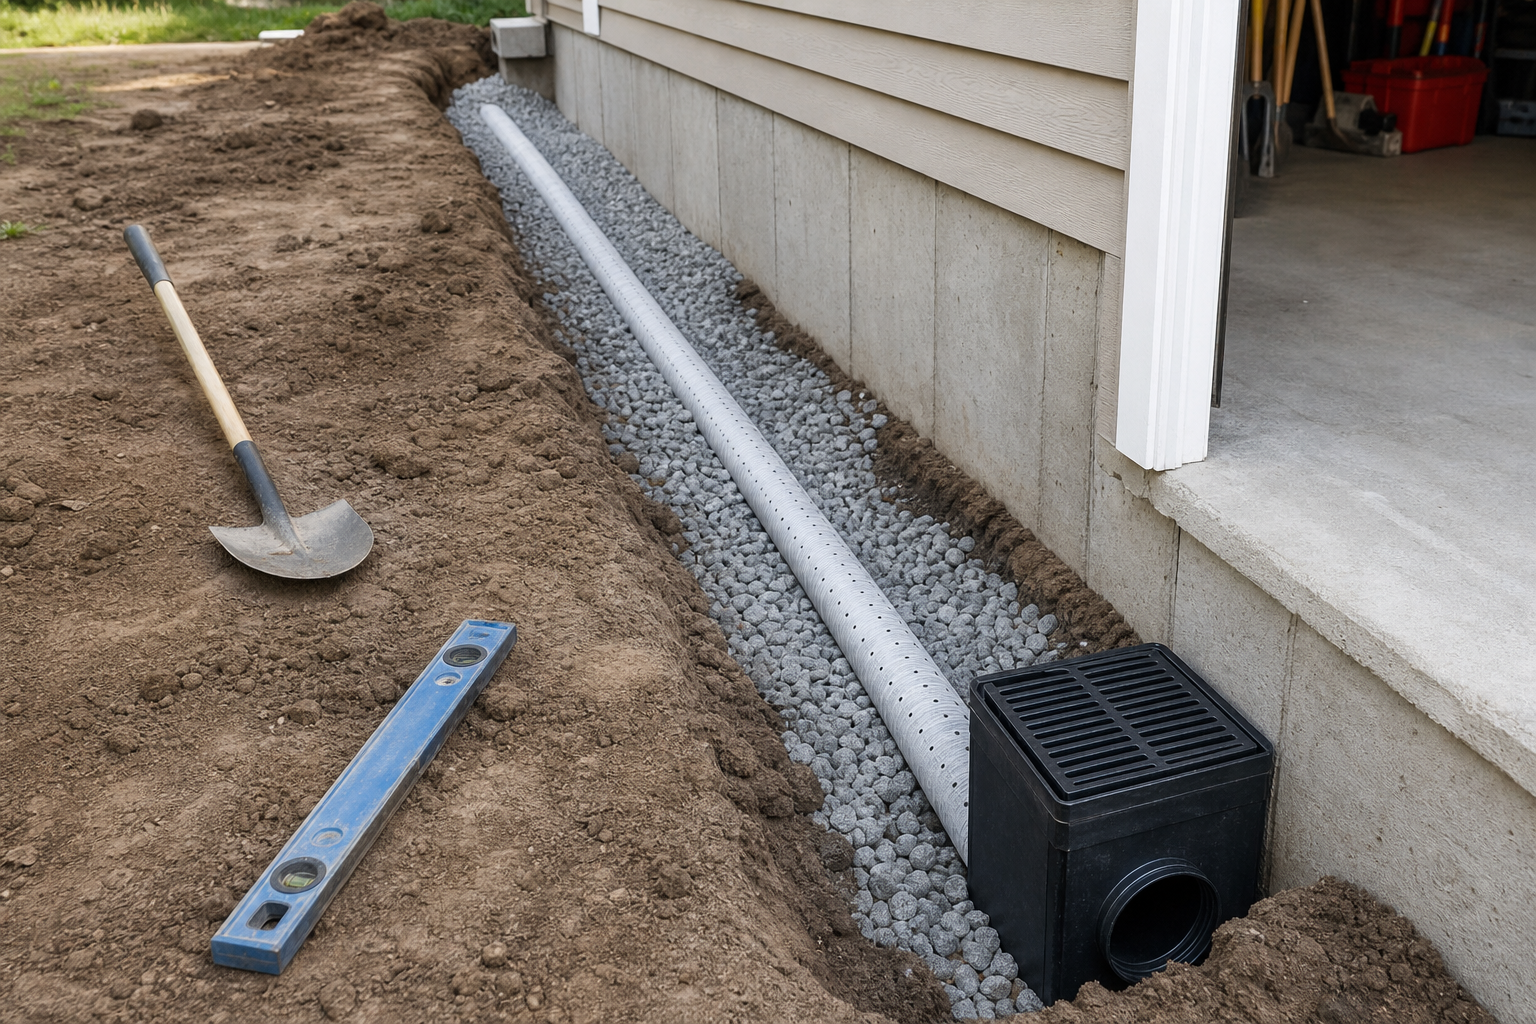
When surface fixes aren’t enough, subsurface drainage handles water before it reaches the slab. A French drain (a gravel-filled trench with perforated pipe) collects and redirects groundwater away from the foundation.
Position the drain parallel to the garage, 2 to 3 feet out from the foundation. Dig a trench 12 to 18 inches deep, sloping at least 1 inch per 10 feet toward a drainage outlet (daylight, dry well, or storm sewer connection if code allows).
Line the trench with landscape fabric. Add 2 inches of gravel, lay perforated drain pipe (holes facing down), cover with 6 to 8 inches more gravel, wrap the fabric over the top, and backfill with soil.
Interior floor drains work when the garage sits below grade or collects water from melting snow on vehicles. Installation requires cutting the slab, trenching for drain pipe, and connecting to an exterior drainage point or sump pit. This is professional territory unless you have concrete-cutting experience and understand local plumbing codes.

Garage Floor Drain
Reliable choice for handling interior water collection with solid reviews from garage owners
Trench drains (linear drains across the garage entrance) catch water before it spreads across the floor. They’re effective but require precision: the drain must sit flush with the slab, slope toward the outlet, and handle the garage door’s weight when it closes.
Expect professional French drain installation to competitively priced to competitively priced for a typical two-car garage. Interior drains and trench drains run competitively priced to competitively priced depending on complexity and whether you need to tie into existing plumbing.
For a detailed walkthrough of interior drain installation, see our guide on how to install garage floor drains.
Improve Ventilation and Humidity Control

Even with perfect seals and drainage, warm humid air creates condensation on cool concrete. Ventilation moves that humid air out. Dehumidifiers pull moisture from the air directly.
Natural ventilation uses windows, vents, or leaving the overhead door cracked. It’s free but inconsistent. You’re at the mercy of outdoor humidity. On a muggy summer day, outside air is often more humid than garage air.
Powered ventilation (exhaust fans) exchanges garage air with outside air on a schedule. Mount a fan high on an exterior wall, opposite a passive intake vent. Run the fan during high-humidity periods. A basic unit competitively priced to competitively priced and uses about as much power as a light bulb.
For more detailed ventilation options, check out our guide on how to install garage roof vents for passive solutions or best garage wall-mount fans for powered options.
Choosing the Right Dehumidifier
Dehumidifiers give you control. Set your target humidity (50 to 55 percent is ideal for garages) and the unit runs automatically. A 50-pint model handles most two-car garages. Larger spaces or very humid climates may need 70-pint capacity.
Placement matters. Set the unit in the center of the space or near the area that stays dampest. Keep it at least a foot from walls for airflow. If you’re running it year-round, route the drain hose to a floor drain or outside to avoid constant reservoir emptying.
Auto-defrost is non-negotiable in unheated garages. Standard dehumidifiers ice up below 65 degrees and stop working. Models with auto-defrost sense coil temperature and cycle off before ice forms. They cost more but function reliably in three-season garages.
Energy use varies. A 50-pint unit running constantly pulls 300 to 400 watts. In moderate climates, the unit won’t run constantly. Expect reasonable monthly costs in spring and fall, more in summer.
Seal Cracks and Joints
Hairline cracks aren’t a problem, but anything wider than 1/8 inch lets water wick up from below and holds moisture. Clean cracks with a wire brush, vacuum out debris, and fill with a concrete crack filler or polyurethane sealant. Flexible sealants accommodate minor slab movement better than rigid fillers.
Control joints (those intentional grooves cut into the slab) are designed to crack, controlling where cracks form. They still need sealing if moisture is an issue. Use a backer rod (foam tube) to fill the joint to within 1/4 inch of the surface, then top with polyurethane or silicone sealant. Smooth with a wet finger or tool.
The joint between the slab and foundation wall (cold joint) is a common entry point for moisture and insects. Clean it out, stuff with backer rod if the gap is wide, and seal with concrete caulk or polyurethane. This joint flexes slightly as temperature changes, so flexible sealant lasts longer than rigid filler.
Wear appropriate protection throughout: safety glasses, gloves, respirator when working with chemicals or dust. Ventilate when using adhesives, paints, or solvents. These aren’t optional precautions.
Practical Planning Tips
Set a realistic timeline and budget before buying anything. Most garage projects take 50% longer and cost 20% more than initial estimates, especially for first-timers. Build that buffer into your plan so unexpected discoveries don’t derail the entire project or blow the budget.
Before starting any garage project, take stock of what you have and what you need. Walk the space with a tape measure and a notepad. Record dimensions, note existing electrical outlets and their amperage, check for moisture issues, and photograph anything you want to change. This baseline assessment prevents surprises mid-project and helps you budget materials accurately.
Invest in quality tools for tasks you’ll repeat. A reliable stud finder, a good level, a quality tape measure, and proper safety gear (eye protection, hearing protection, respirator) make every project easier and safer. These tools pay for themselves across multiple projects over the years.
Consider the seasonal timing of your project. Floor coatings apply best in mild weather (50 to 85 degrees). Insulation projects are most motivating (and noticeable) before extreme weather hits. Drainage work is easier when the ground isn’t frozen or waterlogged. Dehumidifier installation can happen anytime, but you’ll see results fastest during humid months.
Tackle the simplest fixes first. Start with door seals and grading adjustments. If the musty smell persists after a few heavy rains, move to slab sealing. Only consider drainage installation if surface fixes haven’t solved the problem after a full season of testing.
Document your work with photos and notes. Record what you did, what products you used, and how much you spent. This information is valuable when you eventually sell the house and helpful if you need to troubleshoot issues later.
When to Call a Professional
DIY covers most of what’s listed above, but some situations need professional help. High-voltage electrical work, garage door spring replacement, structural modifications, and commercial-grade coatings requiring specialized equipment are all worth outsourcing. A botched repair often costs more to fix than hiring the right person from the start.
Get two to three quotes, verify licensing and insurance, and ask for recent references. A reputable contractor explains the process clearly, provides a written estimate, and backs the work with a written warranty.
Concrete cutting and subsurface drainage work requires specialized tools (concrete saws, trenchers, compactors) that are expensive to rent and tricky to use. If you need an interior floor drain or extensive French drain system, hire it out unless you’ve done similar projects successfully.
Foundation cracks wider than 1/4 inch, cracks that grow over time, or cracks with one side higher than the other indicate structural issues. These need professional assessment. A structural engineer or foundation specialist can determine if the problem is cosmetic or serious and recommend appropriate repairs.
Persistent moisture after you’ve sealed the slab, fixed grading, and installed drainage suggests a high water table or hydrostatic pressure issue. A waterproofing specialist can assess whether you need more aggressive solutions like exterior foundation waterproofing or a sump pump system.
Frequently Asked Questions
Are hairline garage floor cracks normal?
Yes
