It may be the Sunshine State, but it rains in Florida occasionally. It’s a little humid sometimes too…
After Hurricane Irma passed through town, it took weeks for the water to drain away. I spent a lot of time wading through more than my share of puddles (small lakes, really).
So when I started to drywall my garage, the first thing I thought about was how to keep out moisture. Waterproofing garage walls is an important part of that process.
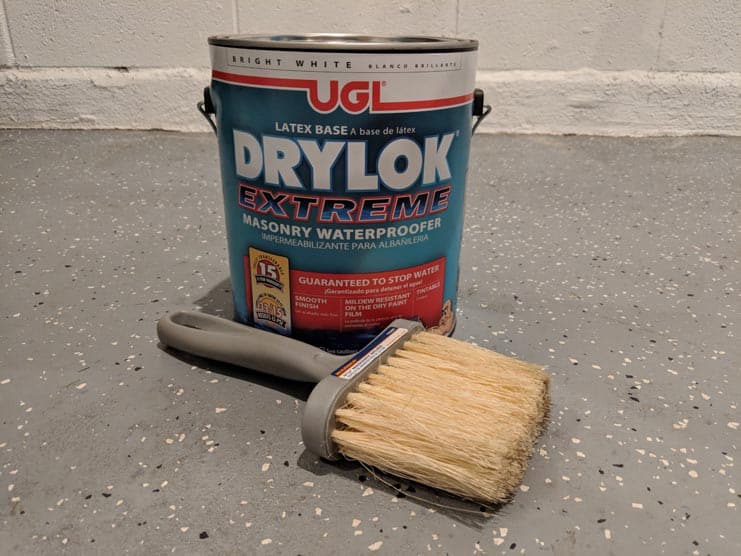
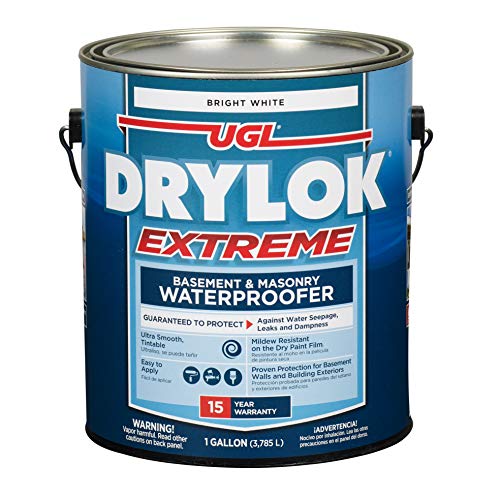
There are several concrete waterproofing paints that you can use, but I chose Drylok Extreme.
You can check out the other steps in my project here:
- Frame garage walls over concrete
- Insulating my concrete garage walls
- How much does it cost to drywall a garage?
- Drywalling my garage
Is Waterproofing Garage Walls Really That Important?
Most homes built in the last 30-40 years have a concrete block foundation because it’s solid and stable. More importantly, it’s inexpensive to produce and use.
However, it’s also extremely porous.
When the rains come, and in Florida, that happens just about every day, the wind slams the rain against your house, seeping in anywhere it can.
Once that water is in your walls or foundation, it can cause damage or act as a breeding ground for toxic mold and mildew.
The less water that can seep into your foundation, the less chance of that happening.
That’s why you should apply a waterproof paint for garage walls, even if you’re planning on adding an additional wall covering.
What is Drylok, and What Does It Do?
Drylok is a latex-based masonry waterproofer that goes on like paint.
The consistency is something between latex paint and maple syrup. It acts as both a primer and a finishing coat, making it ideal to use as a waterproof paint for garage walls.
You can use Drylok as a one-stop shop for both painting and waterproofing.
It’s available in a handful of colors, but you can always add a finishing coat of any latex paint over top of it.
Since my next step is adding insulation and drywall, I’m not concerned about the color.
There are a couple of essential things to know about Drylok:
- The walls should be clean and dry before you start painting.
- Drylok will adhere to latex or oil-based paints, but it loses its water resistance due to the nature of those types of paint.
- You can technically tint Drylok, but it’s not recommended. It’s better to use the Drylok as a white base coat and put a finishing coat of whatever color you want.
- Two coats of Drylok are needed to qualify for warranty protection.
- And speaking of the warranty… it’s covered for 18 years. For the record, that’s longer than most people stay in the same house.
How to Apply Drylok Waterproof Paint for Garage Walls
Step 1: Prep your walls
This part is easy but time-consuming.
I will assume that your walls don’t have paint on them already.
If your walls already have latex or oil-based paint, you must remove that first. This covers most residential paints, by the way.
Removing paint from brick and cinder block walls can be difficult, but this article has some quick tips that may help.
If applying Drylok waterproof paint to bare walls, you’ll want to thoroughly clean every surface you plan to paint.
Depending on the age of your house, you may have white streaks on your concrete, called efflorescence. This is when salts and minerals in the water coat and discolor the concrete.
It’s important to clean that off first because Drylok will have difficulty adhering to that coating.
Now is a great time to clean the spiderwebs and look for other signs of spiders in your garage.
One of the more aggressive cleaners you can use on concrete is muriatic acid. I recommend this only as a last resort.
A milder cleaning agent should do the trick unless your walls are heavily stained.
Step 2: Fill and cracks or holes
After I cleaned my walls and got rid of all the dust, dirt, and spiderwebs, I immediately put on the first coat of Drylok.
However, I should have done a better job of inspecting for any cracks or holes that needed to be filled before starting to paint.

Drylok usually takes a few hours to dry thoroughly, so you can complete everything in a single day.
However, I spread the project out over two weekends because I also had other projects I was working on.
Honestly, I’d prefer to do just about anything than paint, so I procrastinated.
After that first coat (during it, if I’m honest), I noticed several holes in my wall and a few hairline cracks. As good as Drylok is, anything larger than an Aspirin pill should be filled first.
Instead of compounding the problem and going straight into the second coat, I picked up a Drylok Masonry Crack Filler tube.

Let me be clear: Any masonry crack filler will do here.
I stuck with Drylok, but you certainly don’t have to.
There are many options at your local Lowe’s or Home Depot, and they’re all the same as long as it’s designed for use on concrete.
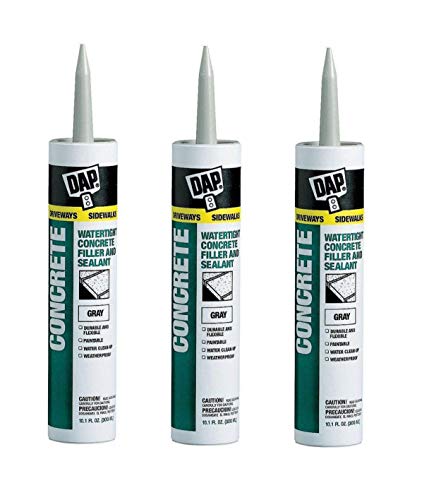
All you need to do is squeeze the masonry crack filler into the holes and trim any excess.
If the gap is over a centimeter deep, you’ll want to fill the crack in stages and let it dry.
For a smooth finish, use some sandpaper to take off the excess. I skipped this step since I would put the frame and drywall on top of it.
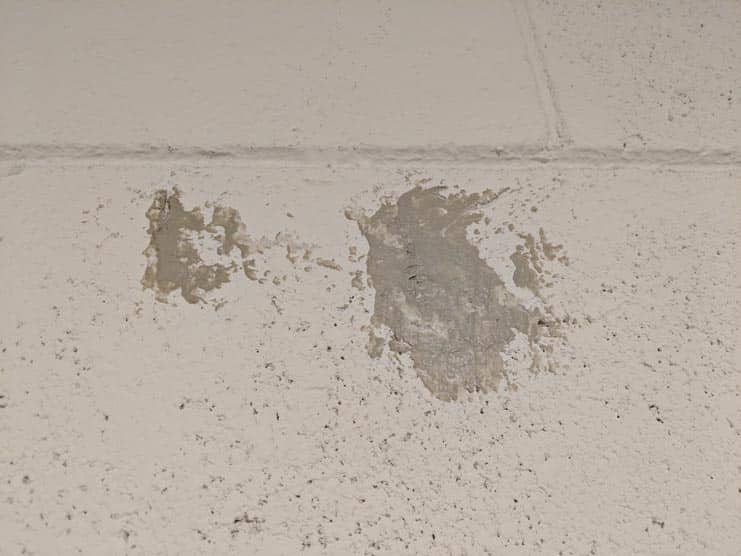
The important thing I want you to take away from this is to fill the cracks FIRST – before you start painting.
Got it? Good. Let’s move on.
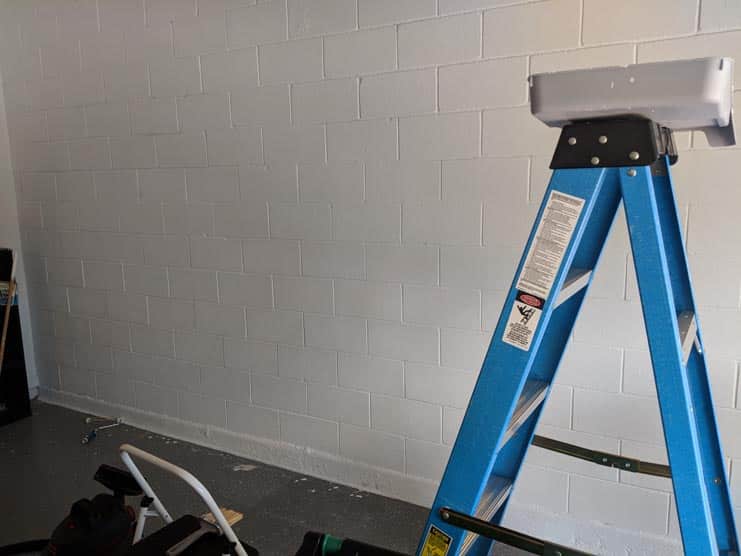
Step 3: Apply Drylok to the walls
If you like painting, you’ll love this part. Me? Not so much.
There are two parts to painting a wall – the edges and that big empty space in the middle.
You can get a small roller for the edges, but I don’t really trust myself not to make a huge mess, so I prefer a brush.
Either way, you’ll want the right tool for the job:
- Masonry brush: These brushes have heavier-duty brushes that are coarser than regular paintbrushes. The concrete wall is so rough that it will rip a standard paintbrush to shreds in minutes.

- Paint roller: Opt for a roller with at least a 3/4 inch nap. This will let it soak up enough of the paint and spread evenly over the rough surface.
The type of paint tray isn’t important. You can usually get by with a spare you’ve got left over from another paint job.
Just be sure that any old paint is thoroughly cleaned off first.
I bought a new one for under $5, but you can sometimes find them at your local hardware store for around $2.
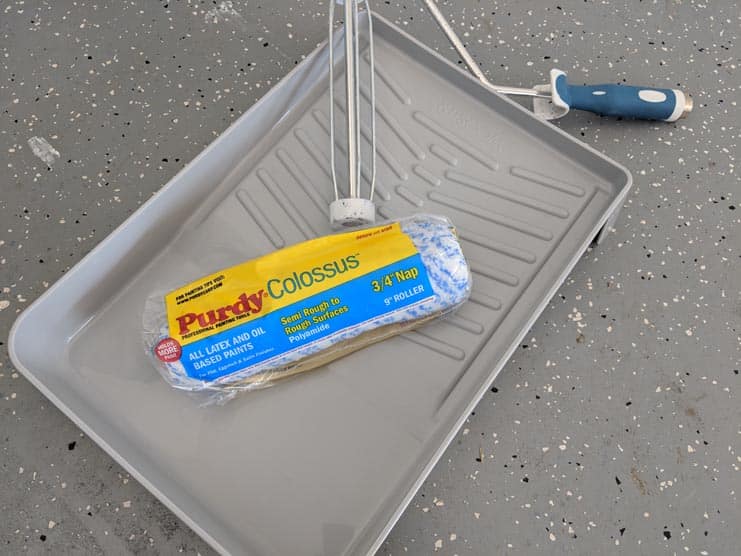
As I said before, Drylok goes on relatively thick and exactly like you’d paint any other surface. One gallon covers anywhere between 75-100 square feet.
So, I used about a gallon and a half of Drylok for two coats of paint for one wall in my garage.
It’s not cheap, but waterproofing garage walls with Drylok is much cheaper than fixing water damage from leaky walls.
I recommend using Drylok, even if you won’t put a finishing coat of paint to change the color.
Waterpoofing garage walls with Drylok paint will help freshen up the look, and (more importantly) stop any water from leaking in from the outside.
The next step in my garage transformation was to add a wood frame over the concrete garage walls and some water-resistant drywall over the top.