

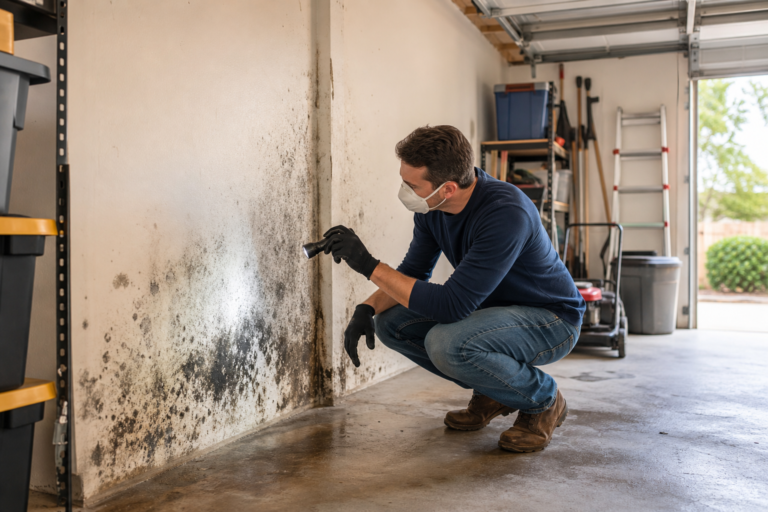
Dealing with mold in your garage is one of those problems that sneaks up on you. Everything looks normal until you spot dark patches creeping along the baseboards or smell that musty funk when you walk in. Here’s the encouraging part: garage mold growth almost always has an identifiable cause and a fix that doesn’t require tearing down walls.
This guide walks through the most common sources of garage mold in diagnostic order, starting with the quick checks. Most issues resolve without calling in a specialist.
Understanding the Basics
Mold needs three things: moisture, organic material to feed on, and temperatures above 40 degrees. Your garage probably has all three. The organic material comes from dust, cardboard boxes, wood, drywall, and even the paper backing on insulation. Temperature’s rarely an issue unless your garage stays below freezing year-round. That leaves moisture as the variable you can control.
Moisture in a garage comes from two primary sources. Vapor transmission moves water through the concrete slab from soil below. Condensation forms when warm humid air contacts the cooler slab surface. Each requires a different solution, and treating the wrong one wastes time and money.
Vapor transmission requires a penetrating concrete sealer (silane or siloxane based) that blocks moisture migration through the slab. Apply to clean, dry concrete and allow full cure. Severe cases may need a dedicated vapor barrier coating or membrane system before any decorative finish. For more details on proper floor preparation, check out our guide on how to seal garage floors before epoxy.
The Plastic Sheet Test
A simple plastic sheet test identifies which type you have. Tape a 2-foot square of plastic flat on the floor, seal all edges with duct tape, and leave it 48 hours. Moisture on top means condensation (humidity issue). Moisture underneath means vapor transmission (slab issue). Different root cause, different fix.
Water Intrusion Points
Beyond slab moisture, look for water intrusion from outside. Check where the garage door seals meet the floor, especially after heavy rain. Damaged weatherstripping lets puddles form inside. Inspect the threshold seal (the rubber strip across the bottom of the door) for gaps, cracks, or compression that’s lost its spring. A worn seal lets rain blow inside during storms. Our weather stripping replacement guide covers this process step by step.
Gutters and downspouts matter more than most people realize. If your downspout dumps water right next to the garage foundation, that water soaks into the ground and migrates under the slab or through foundation cracks. Extend downspouts at least six feet from the building. Check that gutters aren’t clogged and overflowing onto the foundation.
Foundation cracks let groundwater seep in during wet seasons. Walk the perimeter and look for visible cracks wider than a quarter-inch. Horizontal cracks or cracks that let you see daylight through them need professional evaluation. Hairline cracks you can seal yourself with concrete crack filler or hydraulic cement.
Controlling Humidity and Airflow
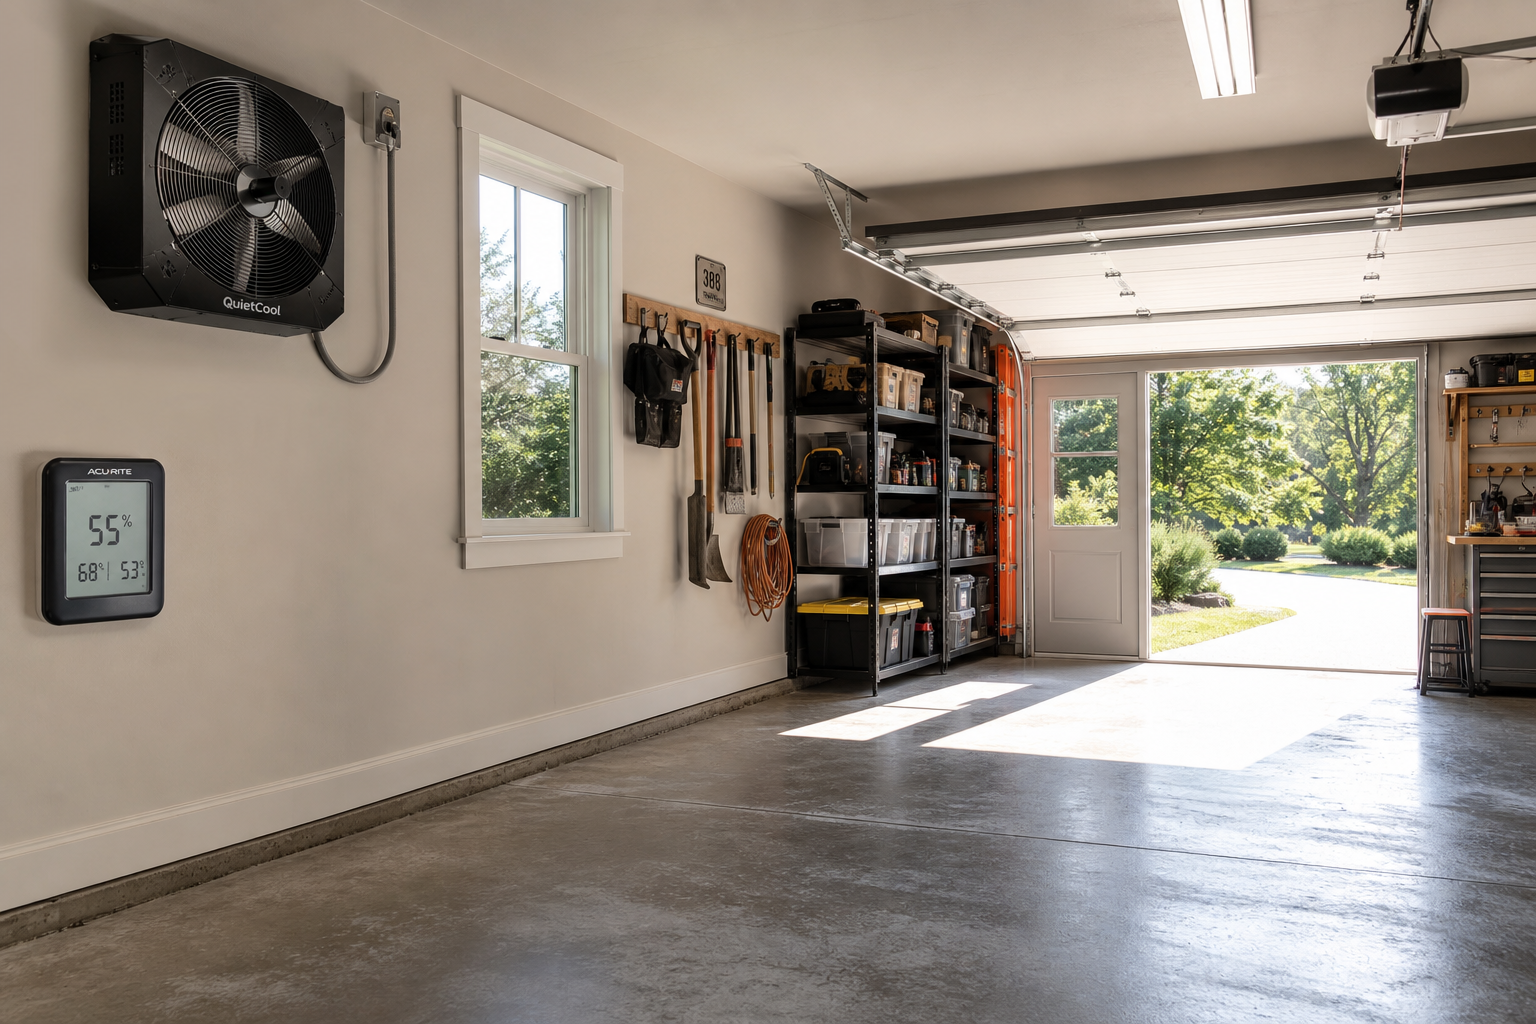
For condensation, a dehumidifier and improved ventilation are the most effective solutions. A 50-pint unit keeps relative humidity below 60% in most two-car garages. Choose a model with auto-defrost if your garage drops below 65 degrees, since standard units ice up in cool conditions.

50 Pint Garage Dehumidifier
Essential for controlling condensation in most two-car garages
Position the dehumidifier centrally, not shoved in a corner. Air needs to circulate around the intake and exhaust. Empty the bucket daily or run a drain line to a floor drain or utility sink if your garage has one. Units with built-in pumps can push condensate up and out through a window if you don’t have a floor drain installed.
Monitoring Humidity Levels
Check humidity levels with an inexpensive hygrometer. You’re targeting 50 to 60% relative humidity. Below 50% is great for mold prevention but can dry out wood and leather. Above 60% and you’re creating ideal mold conditions. During humid summer months, expect the dehumidifier to run constantly. That’s normal.
Ventilation Solutions
Ventilation alone won’t solve a serious humidity problem, but it helps. Crack a window on opposite sides of the garage to create cross-ventilation when weather permits. Run a box fan aimed toward an open door during and after activities that generate moisture: running a wet car inside, washing tools, painting, using a pressure washer.
Installing an exhaust fan gives you ventilation you can control without leaving doors or windows open. Mount it high on a wall or in the ceiling and wire it to a timer or humidistat so it runs automatically. A 200 CFM fan moves enough air for a two-car garage. You’ll need to provide makeup air (a vent or gap under the door) so the fan isn’t just fighting against a sealed box. For installation details, see our guide on installing garage roof vents.
Insulation Benefits
Insulating the garage helps if you’re dealing with temperature swings that create condensation. When hot humid summer air hits a cool concrete floor, moisture condenses. Insulated walls and ceiling keep interior temperatures more stable. Insulating the garage door makes a noticeable difference since that’s often the largest surface area and the thinnest barrier.
Don’t insulate directly against a moisture problem. If you’ve got active mold growth or wet walls, adding insulation traps moisture and feeds the problem. Solve the water intrusion first, then insulate.
Storage and Material Choices
What you store in the garage and how you store it affects mold growth. Cardboard boxes sitting on a concrete floor absorb moisture from the slab and create perfect mold habitat. Switch to plastic storage bins with tight-fitting lids. Lift everything off the floor, even plastic bins, using wire shelving or overhead racks.
Wood pallets and scrap lumber piled in a corner trap moisture and dust. If you’re storing wood, stack it on blocks with spacers between each layer so air circulates. Keep it away from exterior walls where condensation forms.
Fabric and upholstery hold moisture. That old couch or car seats you’re storing will grow mold if humidity’s high. Either move soft goods to climate-controlled space or accept that they won’t survive long-term garage storage in humid climates.
Paper products (old files, books, newspapers) attract moisture and mold. Store what you must keep in sealed plastic bins with desiccant packs. Consider digitizing important documents and tossing the paper.
Seasonal equipment (lawn mower, snow blower, garden tools) should be cleaned and dried before storage. Grass clippings left on a mower deck, salt residue on a snow blower, mud on shovels, all of it holds moisture and organic material. Rinse, dry, and store properly with our snow blower storage solutions.
Cleaning Existing Mold
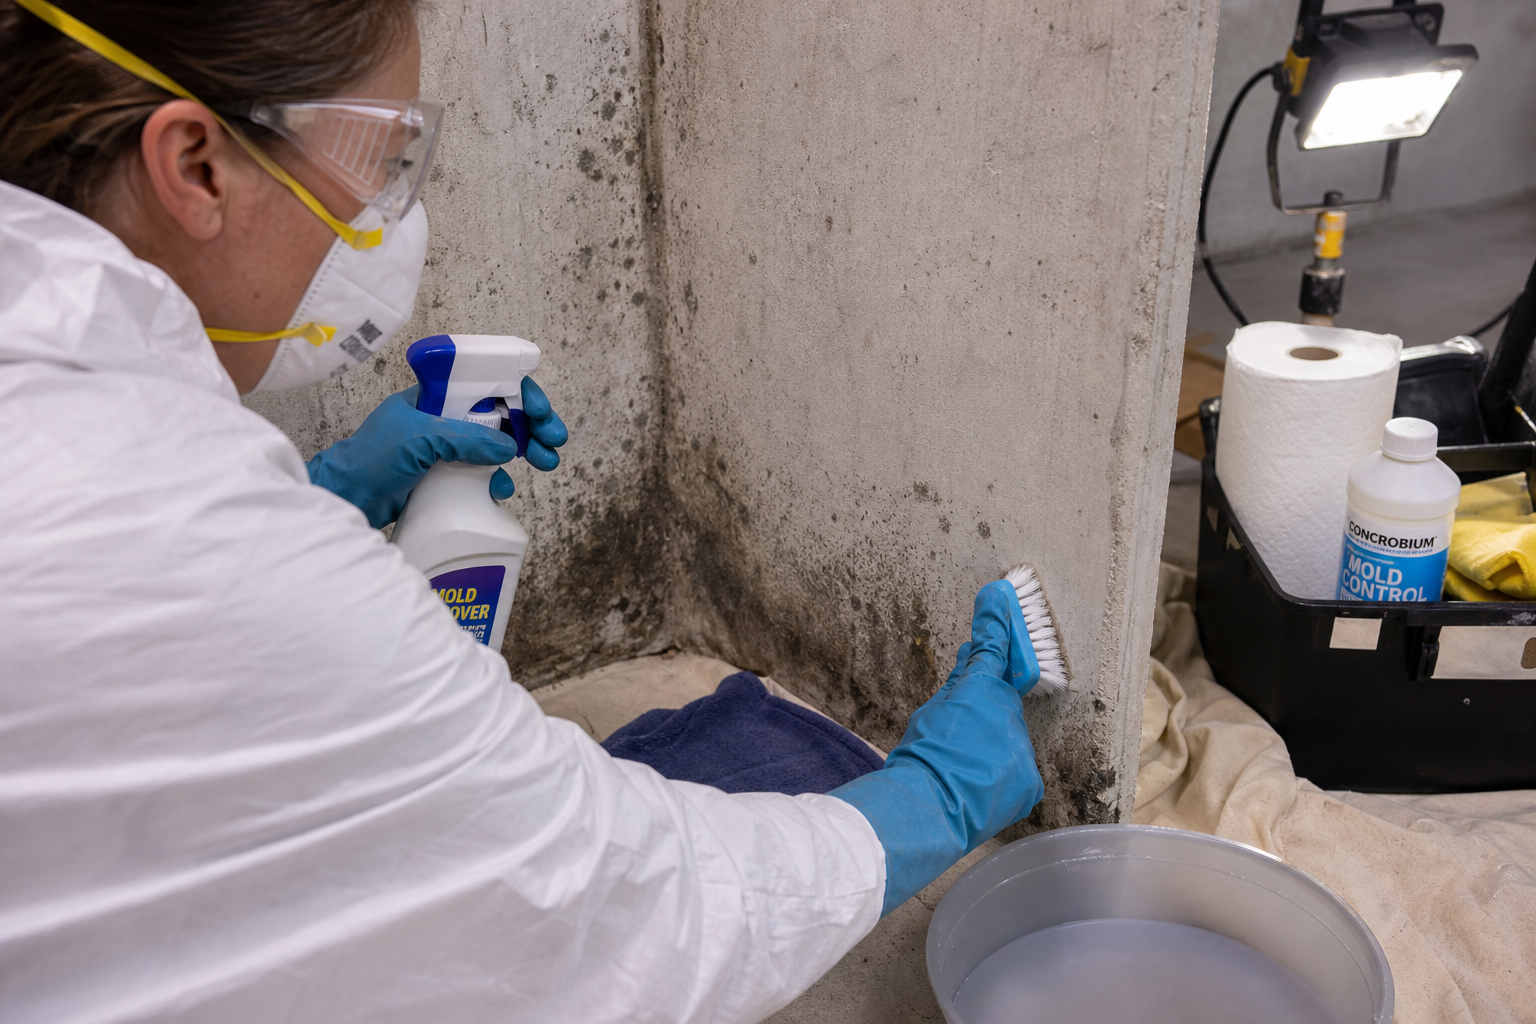
If you’ve already got visible mold, you need to kill what’s there before fixing the moisture problem. For hard surfaces (concrete, metal shelving, plastic bins), a solution of one cup bleach per gallon of water works. Scrub with a stiff brush, let it sit 10 minutes, then rinse. Wear gloves and eye protection. Ventilate well since bleach fumes are harsh in an enclosed space.
Bleach doesn’t penetrate porous surfaces like drywall or unfinished wood. For those, use a mold-killing primer or specialized mold remover (look for products with active ingredients like sodium hypochlorite or quaternary ammonium compounds). On drywall, if the mold has penetrated deep or covered large areas, cutting out and replacing the damaged section is often faster and more reliable than trying to clean it. Our drywall repair guide walks through this process.
Bag and dispose of moldy materials that can’t be cleaned: cardboard, insulation, ceiling tiles, fabric. Don’t just move them to another part of the garage. Get them out of the building.
After cleaning, run a HEPA vacuum over the area to capture mold spores that were disturbed during cleaning. Regular shop vacs blow spores back into the air. A HEPA filter traps them. Check out our recommendations for garage shop vacuums with HEPA filters.
Address the moisture source immediately after cleaning. Killing mold without fixing the root cause just means it’ll be back in weeks.
Long-Term Prevention Checklist
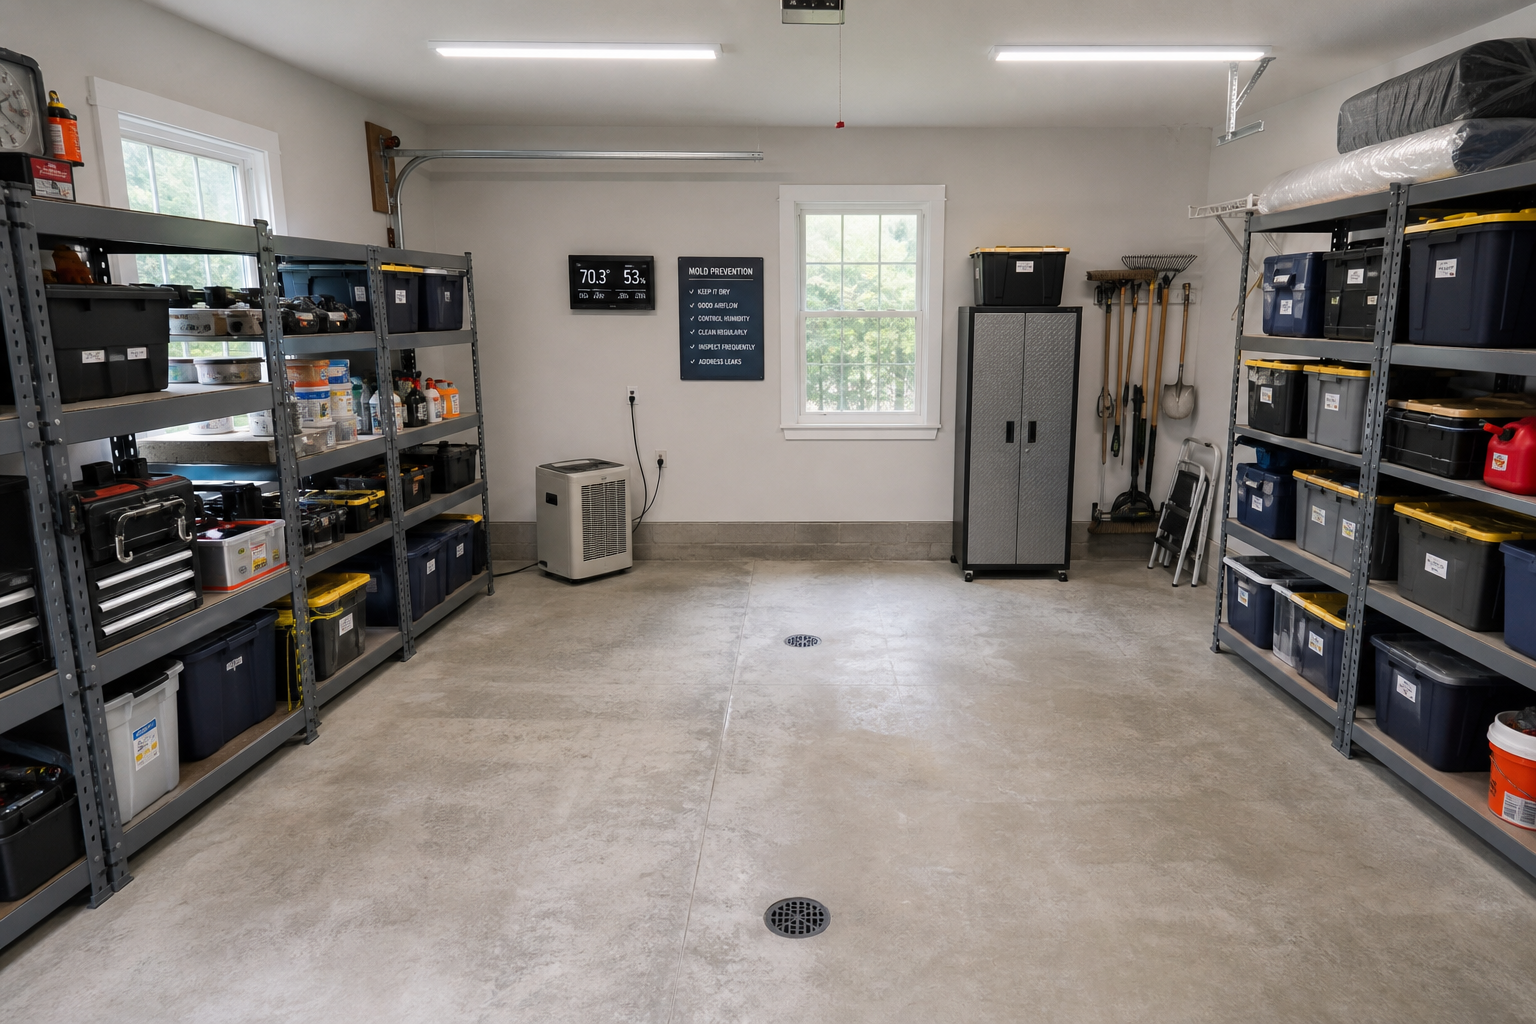
Walk the garage monthly and check for new water stains, musty odors, or visible mold. Catching problems early saves major remediation work.
Keep the floor clear of clutter so you can actually see the slab and identify moisture or cracks. A crowded garage hides problems until they’re serious.
Test your dehumidifier’s performance each spring before humid season hits. Make sure the bucket drains properly and the unit cycles on and off as humidity fluctuates.
Inspect weatherstripping annually. Door seals compress and crack over time. Replace them before you see water on the floor.
Clean gutters twice a year minimum (spring and fall). Clogged gutters overflow during storms and dump hundreds of gallons against your foundation.
Check the grading around the garage foundation. Soil settles over time. If the ground slopes toward the building instead of away from it, water pools against the foundation. Add soil and regrade so water drains away.

Steel Wool Pest Barrier
Essential for sealing gaps around pipes and utility penetrations
When DIY Isn’t Enough
Most garage mold prevention is manageable, but some situations need professional help. If you’ve got mold covering more than 10 square feet, that’s the EPA’s threshold for calling in a remediation specialist. Large-scale mold often indicates a bigger structural or drainage problem that needs expert diagnosis.
Black mold (Stachybotrys) or mold on HVAC components should be professionally handled. The health risks and the complexity of cleaning ductwork or air handlers safely aren’t worth the DIY gamble.
Foundation cracks that are actively leaking, horizontal cracks, or cracks wider than a quarter-inch need a structural engineer’s assessment before you start sealing anything. You might be looking at a foundation repair, not just a mold problem.
Persistent humidity problems despite running a dehumidifier and improving ventilation point to a hidden water source. A plumber or foundation specialist can run diagnostics (thermal imaging, moisture meters) to find leaks you can’t see.
Get two to three quotes, verify licensing and insurance, and ask for recent references. A reputable contractor explains the process clearly, provides a written estimate, and backs the work with a written warranty.
Practical Planning Tips
Set a realistic timeline and budget before buying anything. Most garage projects take 50% longer and cost 20% more than initial estimates, especially for first-timers. Build that buffer into your plan so unexpected discoveries don’t derail the entire project or blow the budget.
Consider the seasonal timing of your project. Floor coatings apply best in mild weather (50 to 85 degrees). Insulation projects are most motivating (and noticeable) before extreme weather hits. Electrical and plumbing work can happen year-round but should be completed before insulating or finishing walls over the wiring.
Research local building codes and permit requirements for your specific project. Electrical work, structural modifications, and HVAC installations often require permits and inspections. Working without required permits can create liability issues, insurance complications, and problems when selling the home.
Prioritize your projects based on impact and urgency. Safety issues (faulty wiring, CO risk, structural problems) come first. Moisture and mold problems come second since they damage the building and affect health. Comfort improvements (insulation, lighting, climate control) come third. Cosmetic upgrades (floor coatings, paint, organization systems) come last. Following this order ensures you’re building each improvement on a solid foundation.
Frequently Asked Questions
How long will the results last?
A properly sealed slab and controlled humidity keep mold at bay indefinitely. Dehumidifiers last five to seven years with regular maintenance. Weatherstripping needs replacement every three to five years. Foundation repairs and drainage improvements are typically one-time fixes that last decades.
What mistake should I avoid above all?
Treating symptoms without addressing the moisture source. You can bleach mold off a wall every month, but if water’s still getting in, it’ll keep coming back. Find where the moisture enters and stop it there.
How much should I budget?
A basic dehumidifier ranges from budget-friendly to premium options. Weatherstripping replacement costs minimal materials. Concrete sealer for vapor transmission varies depending on square footage. Professional mold remediation starts modestly for small areas and climbs fast. Foundation repairs vary widely but start at moderate costs and can reach significant amounts for serious structural work.
Can I handle this as a DIY project?
Most mold prevention (dehumidifiers, ventilation, cleaning small areas, sealing minor cracks, replacing weatherstripping) is DIY-friendly with basic tools. Large mold areas, foundation issues, and hidden water leaks benefit from professional diagnosis and repair.
This article contains affiliate links. We may earn a small commission at no extra cost to you.
